Auto Detailing Guide: How to Detail a Car Step by Step
Auto detailing is a full clean of a car, inside and out, done in the right order so each step helps the next one. It is not a faster car wash: a wash removes loose dirt, while a detail goes on to remove bonded contamination, fix dull paint, add protection, and clean the interior properly. Done in the right order, the work is straightforward, and the tools are simple — a wash soap, a clay kit, and a spray protectant cover most of it.
The short answer: a complete auto detailing job runs wash, decontaminate, correct, protect, then interior. Wash with a dedicated car soap, feel the paint and clay it smooth, correct swirls only if the paint needs it, seal the paint with a spray coating, and finish inside with a vacuum and a wipe-down. Skip a step and the next one works worse — wax over dirty paint does not bond, and clay on a dirty car scratches.
As an Amazon Associate I earn from qualifying purchases.
Quick Pick: Auto Detailing Supplies for Each Step
| Step | Product | What It Does | Check Price |
|---|---|---|---|
| Step 1: Wash | Meguiar’s Gold Class Car Wash, 64 oz (G7164) | Foaming car wash soap that cleans without stripping wax | Check Price on Amazon |
| Step 2: Decontaminate | Meguiar’s Smooth Surface Clay Kit (G1016) | Clay bars with lubricant that pull bonded grit off the paint | Check Price on Amazon |
| Step 4: Protect | Turtle Wax Hybrid Solutions Ceramic Spray Coating, 16 oz (53409) | Spray-on ceramic protection with strong water beading | Check Price on Amazon |
Table of Contents
Before You Start: What Auto Detailing Actually Is
Auto detailing is the difference between cleaning a car and restoring it. A car wash takes off the dirt you can see. A detail takes off the contamination you can feel, fixes the dullness you can see in direct sun, and leaves a protective layer that keeps the next wash easier. The five steps in this guide are the standard order: wash, decontaminate, correct, protect, then interior. Each step prepares the paint for the one after it, and doing them out of order wastes the work — claying before washing drags grit across the paint, and protecting before claying seals the contamination in.
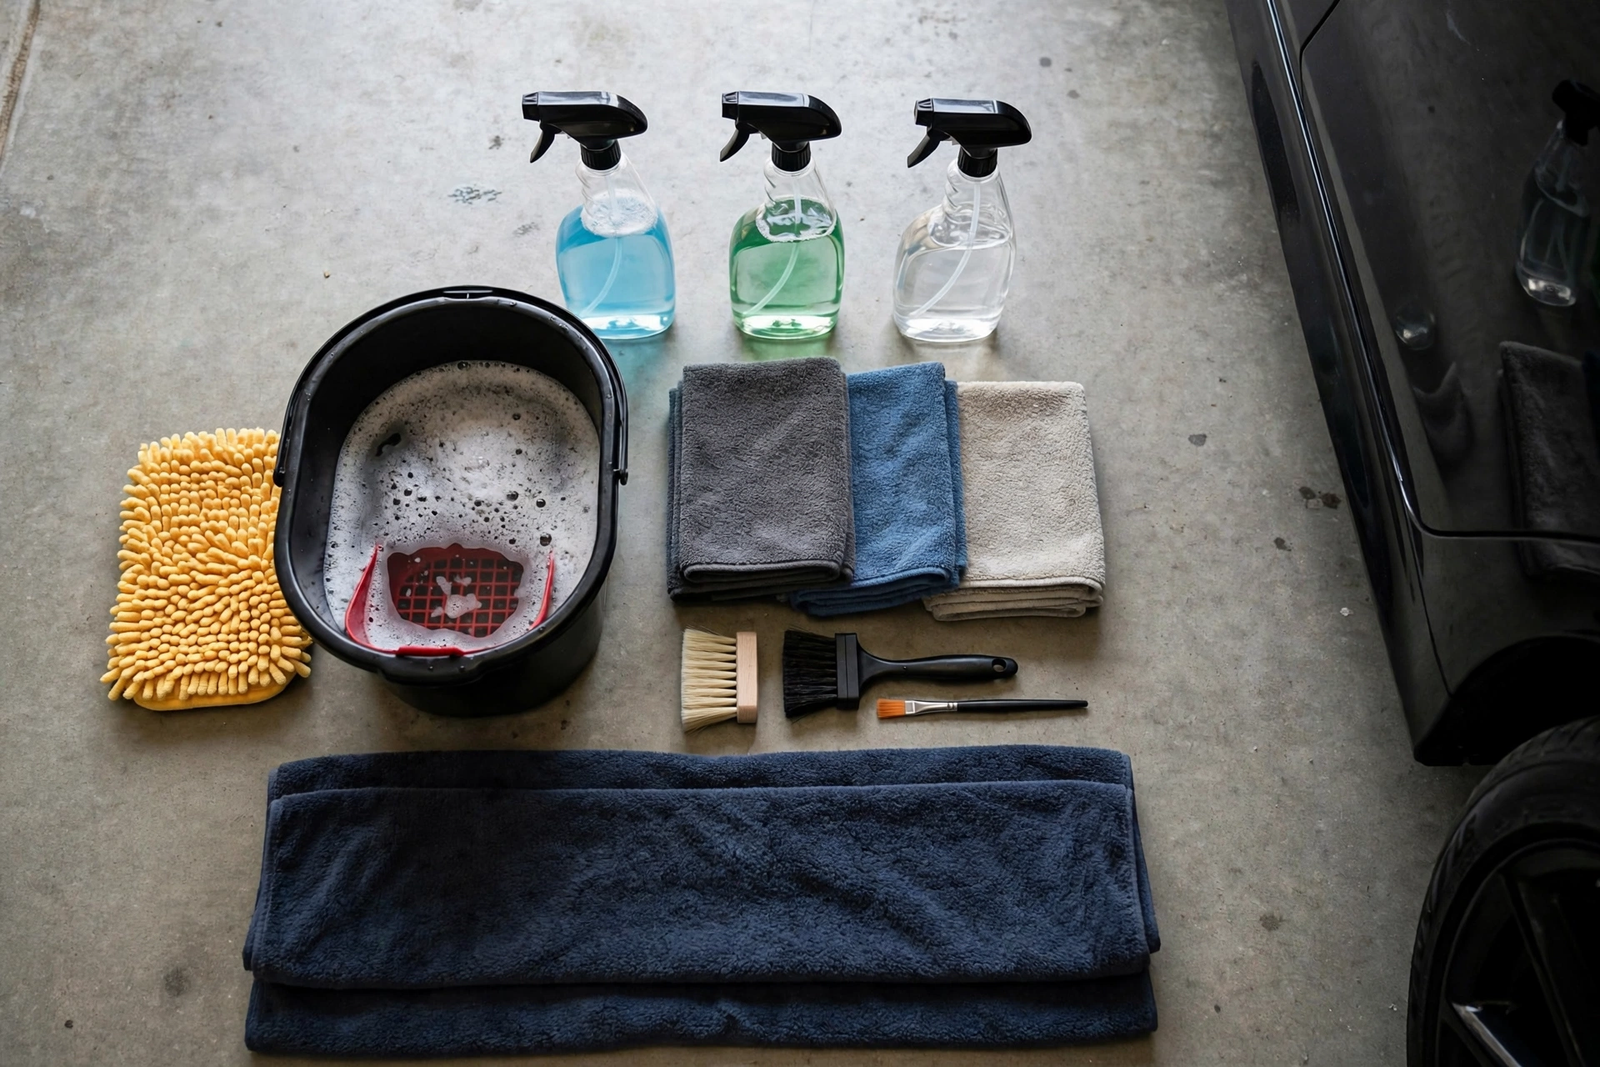
Work in the shade if you can, and wash the wheels first if they are heavily soiled, so brake dust does not splash back onto clean paint. Keep a stack of clean microfiber towels ready and fold each one into quarters, so a fresh face is always one fold away. If you would rather buy one box that covers the basics, our auto detailing kits roundup compares bundled kits — the three supplies in this guide are the individual products each step of the process uses, not another bundled kit. Our best car cleaning kit roundup covers the same ground from the kit angle if you want to compare the two approaches before you buy.
Step 1: Wash — Two Buckets, One Clean Car
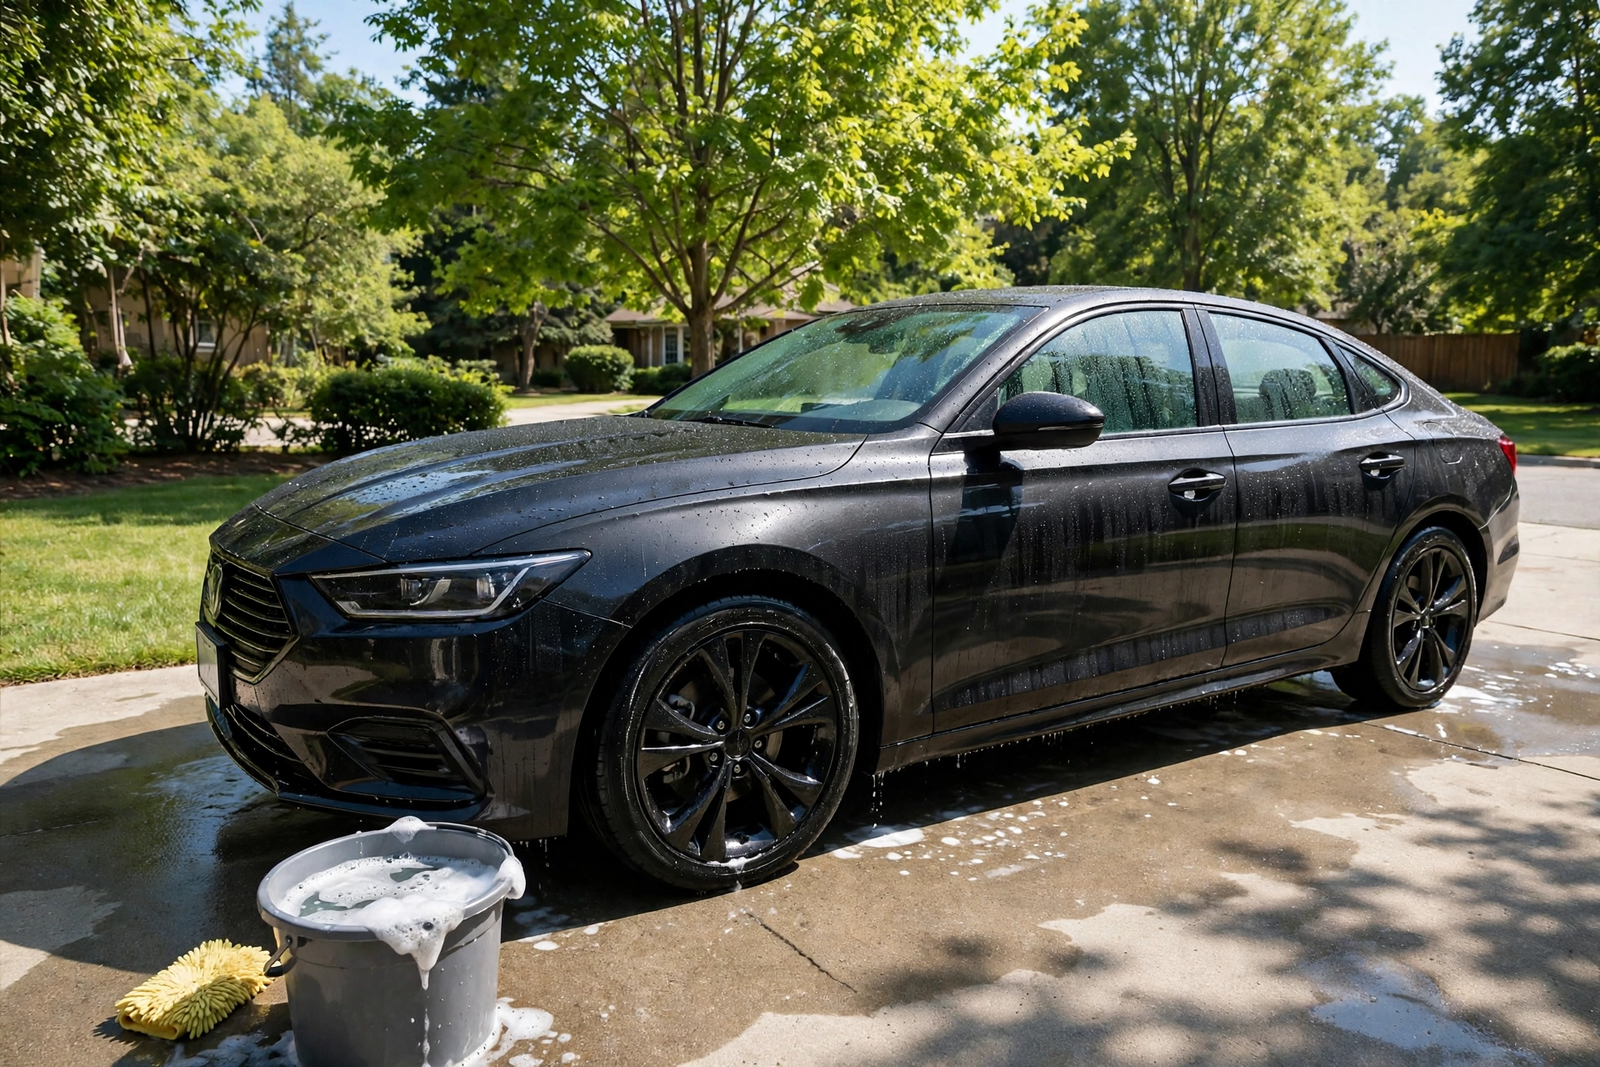
Start with a proper wash, because every later step assumes the paint is clean. Rinse the car first to knock off loose dirt, then wash with a dedicated car soap — never dish soap, which strips wax and dries out trim. Work top to bottom, one panel at a time, and rinse the wash mitt often so trapped grit does not get dragged across the paint. The two-bucket method is the simple version of this: one bucket holds the soapy wash water and the second holds clean rinse water, so the mitt is rinsed before it goes back into the soap.
The wash soap for this step is Meguiar’s Gold Class Car Wash, 64 oz, model G7164. The listing describes it as a premium foaming wash that is safe for clear coats and deep-cleans without removing waxes, which is exactly what a detail wash needs — the soap should clean the paint, not strip the protection that is already on it. One caution on this listing: crawls from several months ago showed no featured offers, so confirm a live offer is showing on the listing before you order.
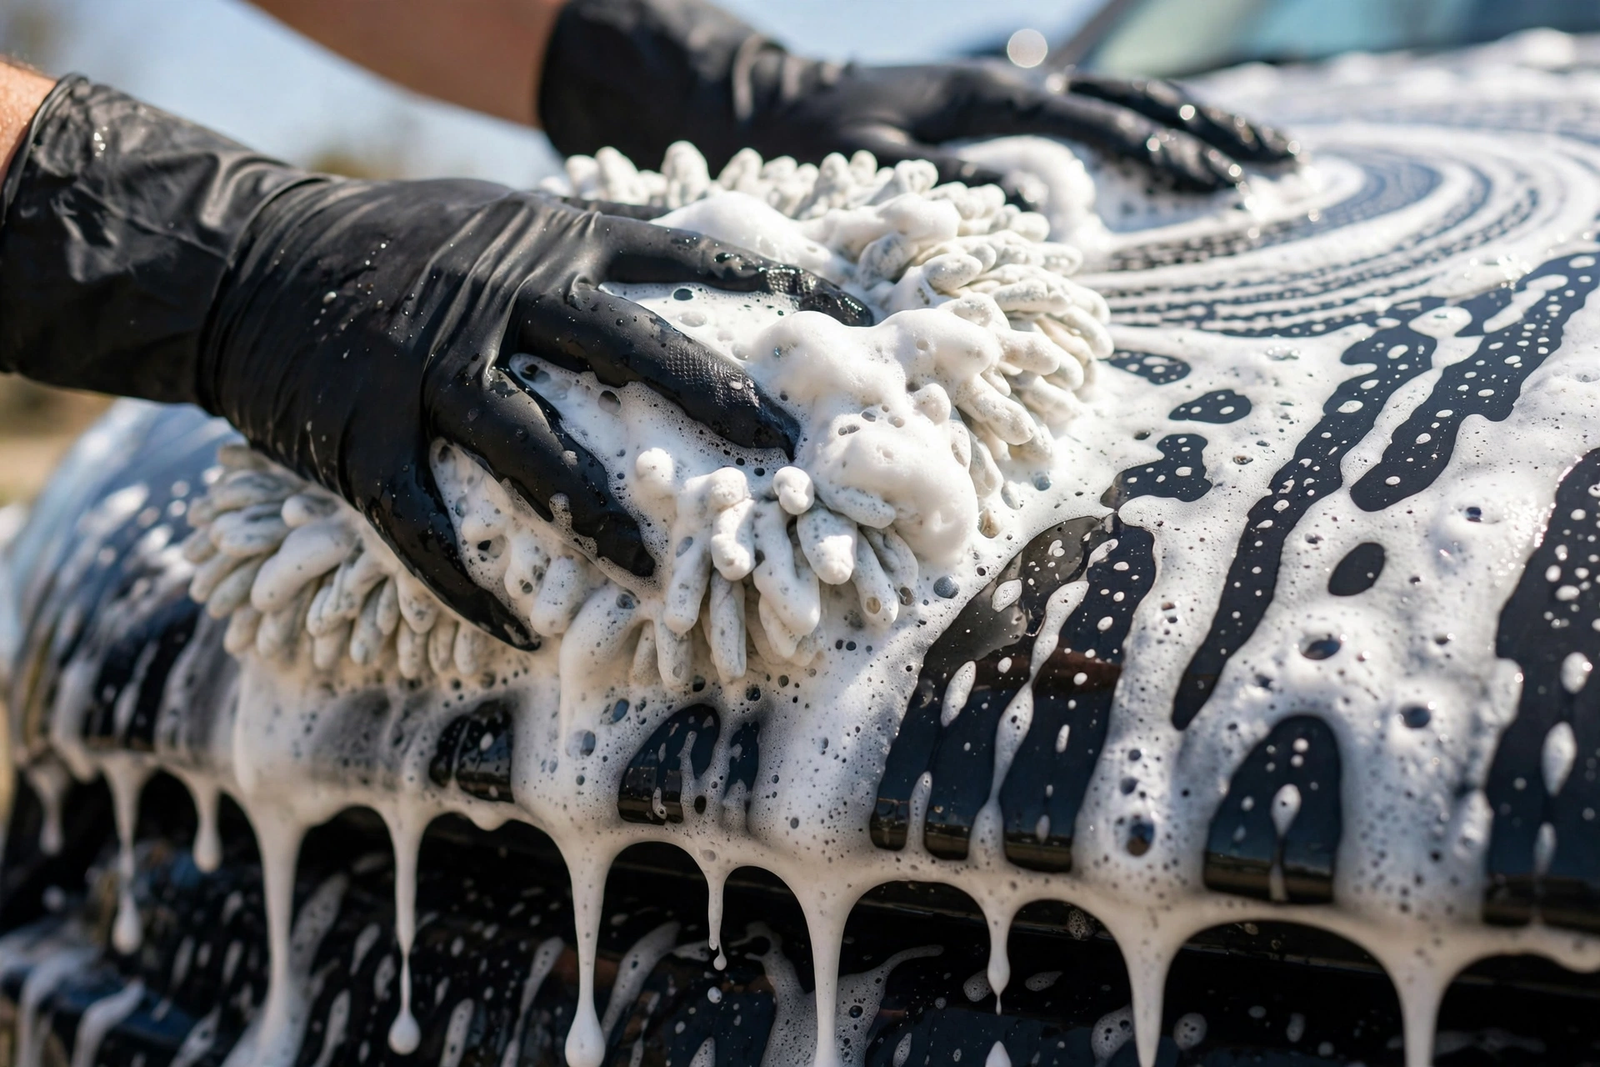
Meguiar’s Gold Class Car Wash, 64 oz (G7164) on Amazon: premium foaming car wash soap, safe for clear coats, deep-cleans without removing waxes per the listing.
Step 2: Decontaminate — The Clay Bar Test
After the wash, run your fingertips over the paint inside a thin plastic bag. If it feels gritty, the paint has bonded contamination — rail dust, tar specks, tree sap, industrial fallout — that no wash removes. That grit is what the clay step is for. Auto detailing without this step is guesswork: wax applied over gritty paint bonds to the grit, not the paint, and the finish feels rough no matter how much wax goes on.
Work on a wet, lubricated panel and glide the clay bar in straight lines with light pressure, folding the bar to a clean face as it picks up dirt. If the clay drops on the ground, throw that piece away — a dropped bar picks up grit that will scratch the paint. The kit for this step is Meguiar’s Smooth Surface Clay Kit, model G1016, which includes clay bars, a bottle of Quik Detailer lubricant, and a microfiber towel. The listing describes the result as a smooth-as-glass finish, and the kit gives you everything the step needs in one box: the clay, the lubricant to keep it gliding, and the towel to wipe each panel dry as you finish it — the paint must be dry before correction or protection, or the coating will not bond.
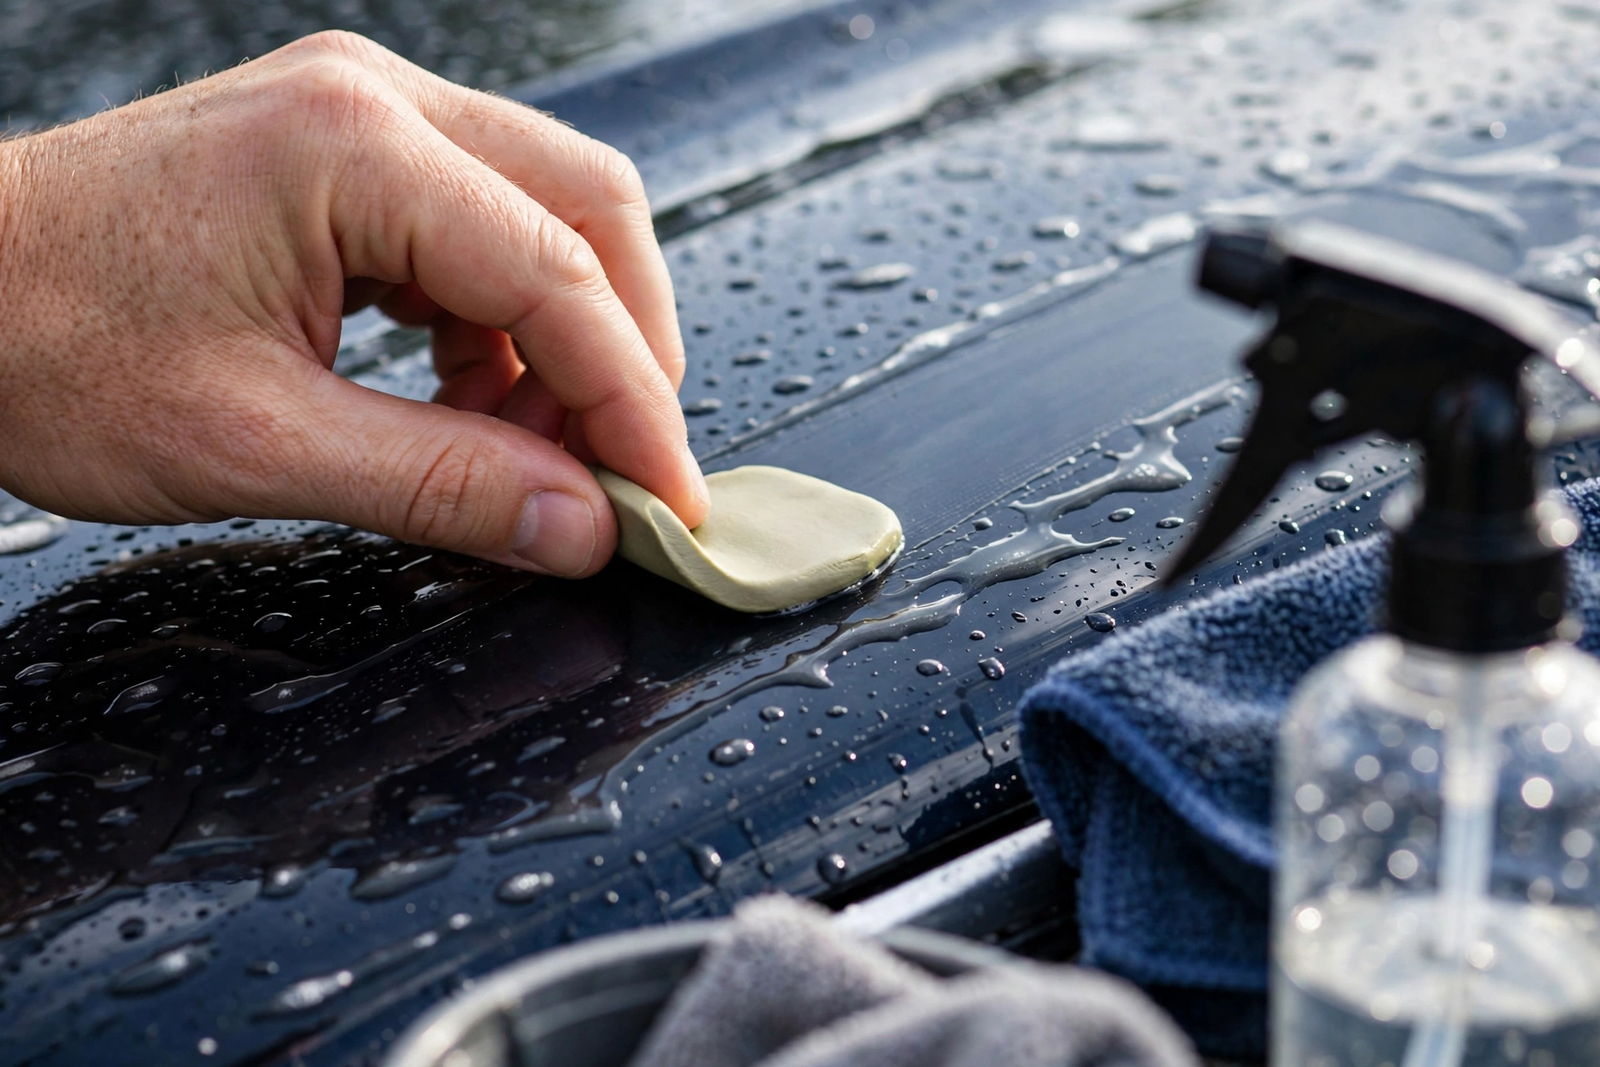
Meguiar’s Smooth Surface Clay Kit (G1016) on Amazon: clay bars, Quik Detailer lubricant and a microfiber towel; the listing describes the result as smooth as glass.
Step 3: Correct — Swirls, Scratches and Clear Coat
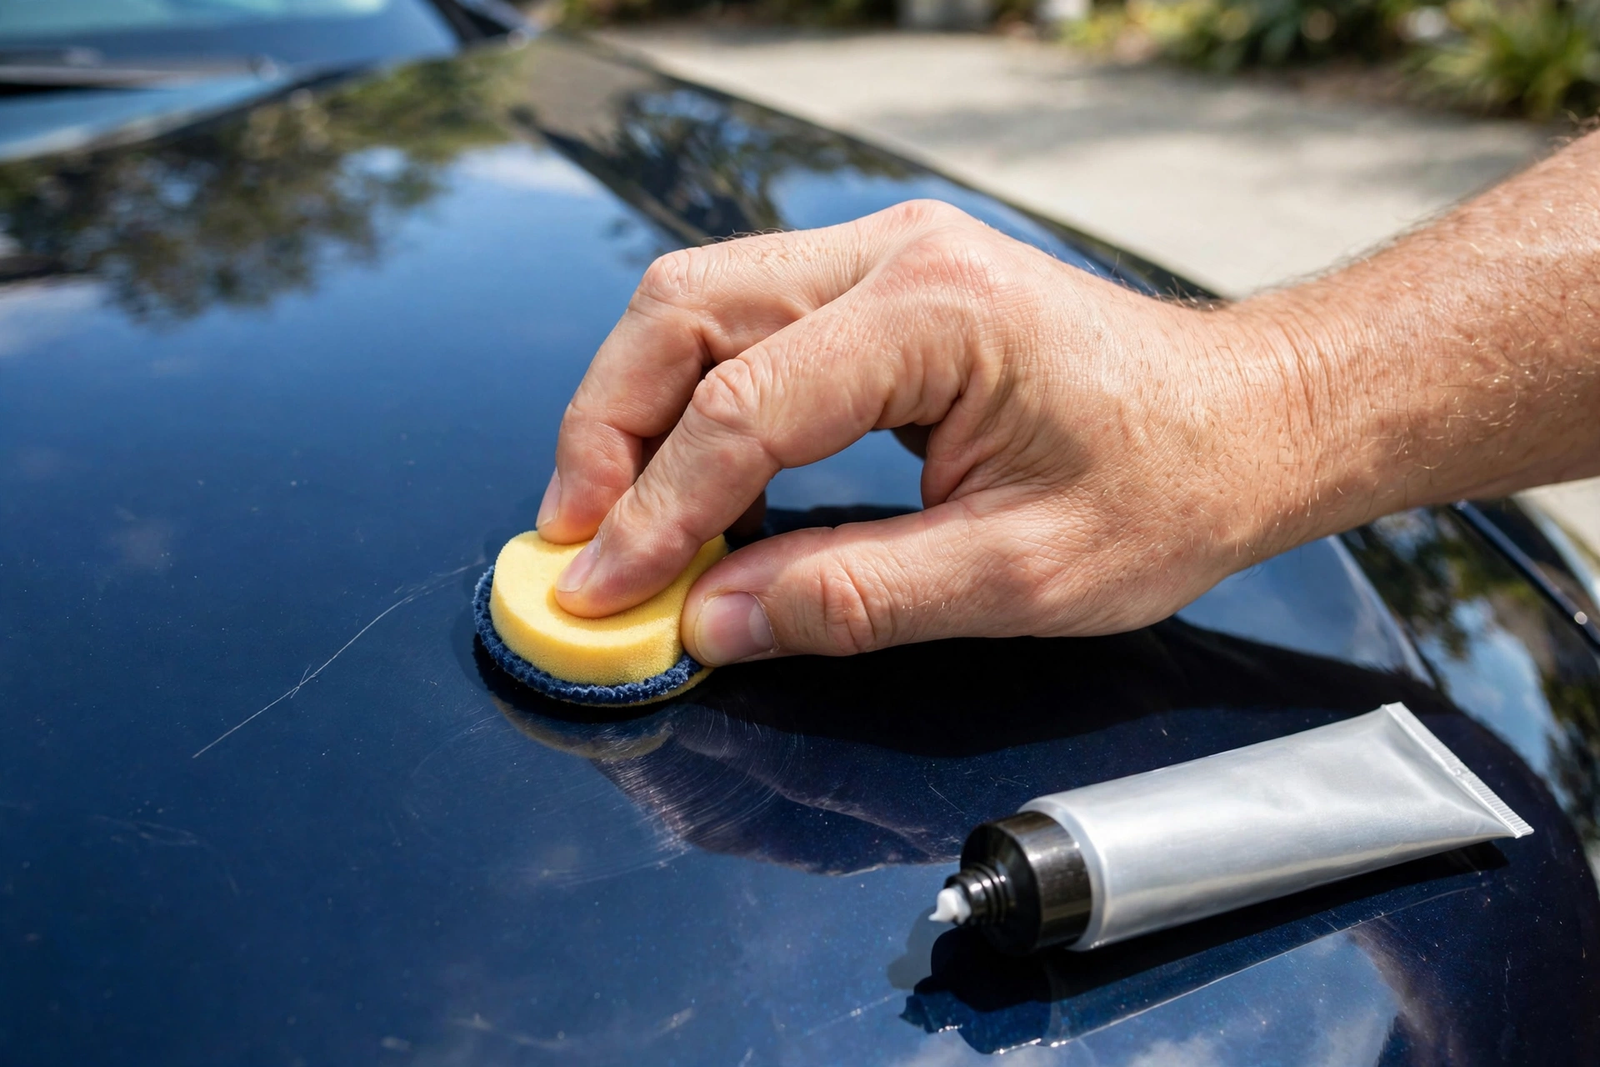
Correction is the only step that actually changes the paint. Swirl marks — the fine circular scratches that show up in direct sun — live in the clear coat, and a compound or polish levels that layer just enough to remove them. This is also the step where a detail can go wrong: cut too deep and you go through the clear coat to the colour coat, which leaves a dull patch that no polish can fix and only repainting can repair. Work a small test panel first, use the least aggressive product that does the job, and stop when the swirls are gone rather than chasing a perfect finish.
Not every car needs this step. If the paint looks good in direct sun after the clay step, skip correction entirely and go straight to protection — a car that does not need correcting should not be corrected. Deep scratches you can feel with a fingernail, stone chips, and peeling clear coat are not correction jobs either; those need touch-up paint or a body shop. Our paint correction guide covers this step in full, including when to correct by hand and when a machine polisher earns its place.
Step 4: Protect — Wax, Sealant and Ceramic Spray
Protection is a sacrificial layer on top of the paint: it takes the sun, the rain, and the road grime so the clear coat does not have to. A traditional wax gives a warm shine and lasts the shortest time, a synthetic sealant lasts longer, and a ceramic spray coating gives the strongest water beading with the easiest application — spray on, wipe off. For a first detail, a ceramic spray is the simplest choice: it goes on after the wash and clay steps, needs only a wipe-off with no waiting to dry, and the beading makes the next wash visibly easier — but let it cure for 24 hours before washing the car or adding a second coat, per Turtle Wax.
The protectant for this step is Turtle Wax Hybrid Solutions Ceramic Spray Coating, 16 oz, model 53409. The listing describes it as a spray-on, wipe-off ceramic coating with extreme water beading that is safe for glass, wheels, and trim as well as paint, and Turtle Wax says the protection lasts a minimum of 6 months. Apply it one panel at a time on cool paint, wipe it off before it dries, and do not apply it in direct sun — a coating that dries on the panel streaks, and dried-on streaks can be stubborn to remove.
Turtle Wax Hybrid Solutions Ceramic Spray Coating, 16 oz (53409) on Amazon: spray-on ceramic protection, extreme water beading per the listing, safe for glass, wheels and trim; Turtle Wax says protection lasts a minimum of 6 months.
Step 5: Interior — Seats, Dash and Glass
The interior comes last so nothing from the outside work gets tracked back in. Start by removing everything loose, then vacuum the seats, the floors, and under the seats before any liquid touches a surface — wiping a dusty dash just moves the dust around. Clean the seats by their material: cloth seats need an upholstery cleaner and a brush, leather needs a leather cleaner followed by a conditioner, and vinyl and plastic trim need only a damp microfiber and an interior cleaner. Glass comes last, wiped with a clean microfiber and a glass cleaner, because every other step leaves fingerprints on it.
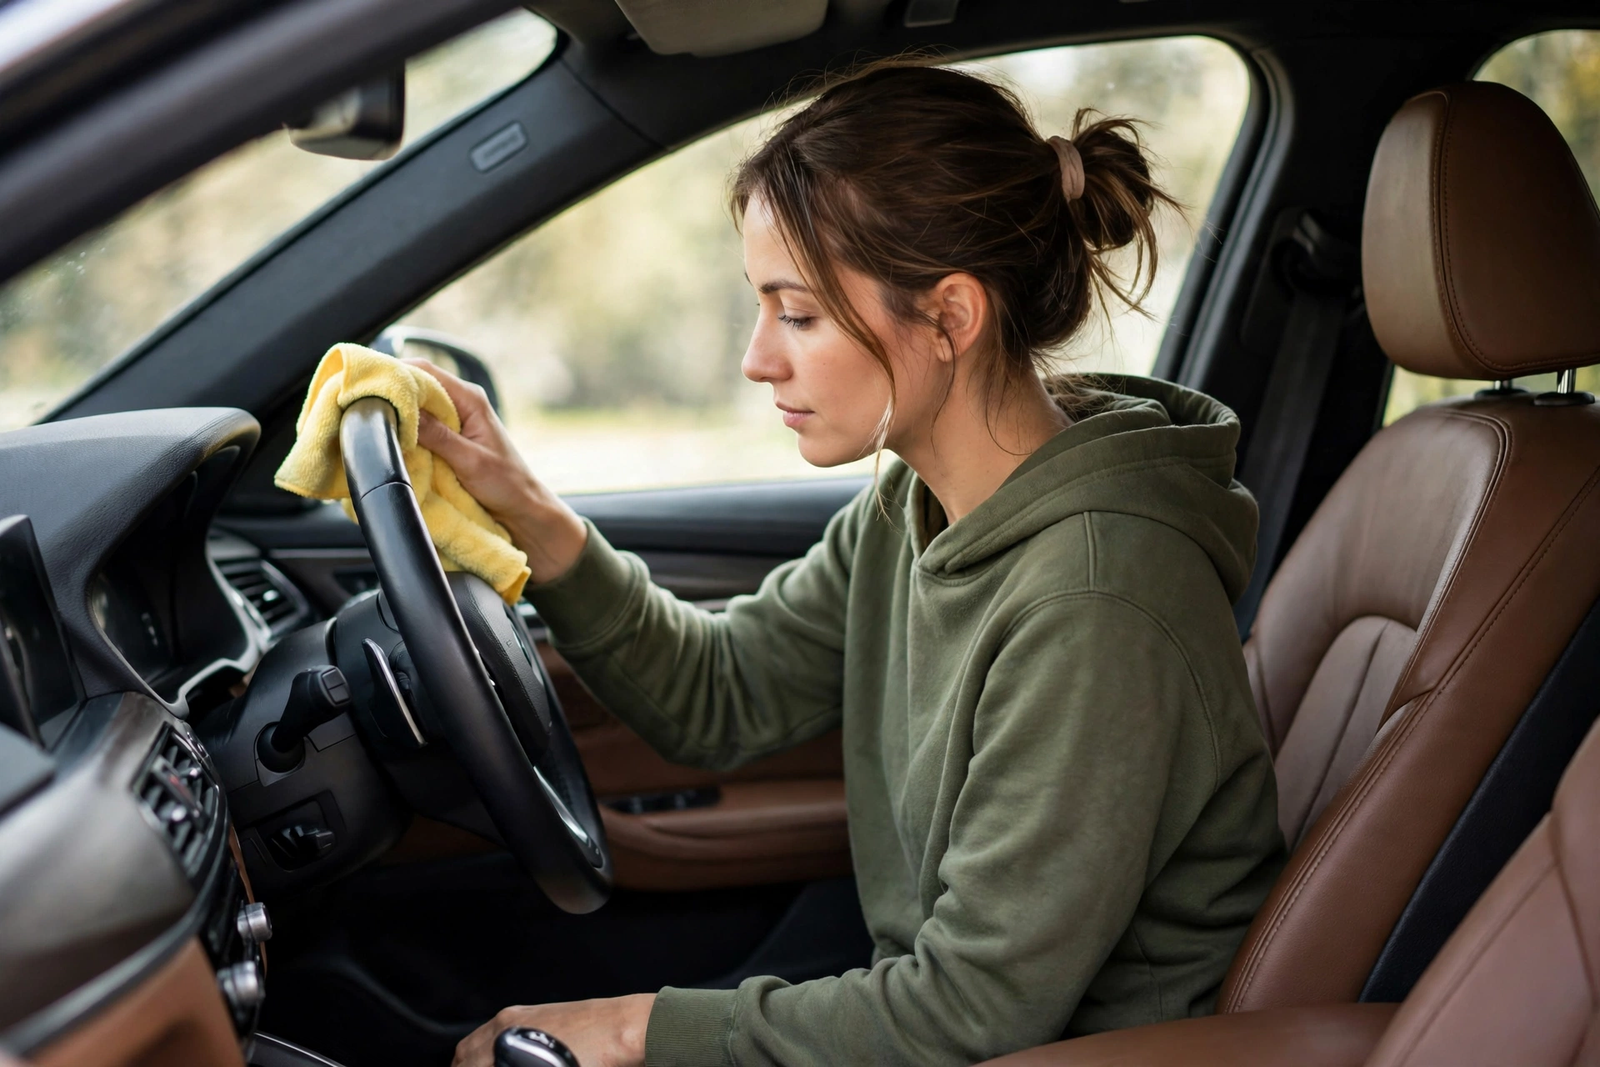
Do not use the same towels inside that you used on the paint, and do not dress the dash with anything glossy — a shiny dash reflects in the windshield. Our how to clean car seats guide covers the seat materials step by step, including which cleaner fits cloth and which fits leather, so the interior step does not need its own product here.
Auto Detailing Supplies Compared
The three supplies in this guide cover three different steps, so they are not alternatives to each other — the wash soap cleans, the clay kit decontaminates, and the ceramic spray protects. Steps 3 and 5 have no product row here: correction products live in the paint correction guide, and the interior step needs no single product. The table is the shopping list for the process: one product per step, in the order the steps run.
| Supply | Step | What It Is | Size / Model |
|---|---|---|---|
| Meguiar’s Gold Class Car Wash | 1 — Wash | Foaming car wash soap, safe for clear coats | 64 oz, G7164 |
| Meguiar’s Smooth Surface Clay Kit | 2 — Decontaminate | Clay bars, Quik Detailer lubricant, microfiber towel | G1016 |
| Turtle Wax Hybrid Solutions Ceramic Spray Coating | 4 — Protect | Spray-on ceramic protection, strong water beading | 16 oz, 53409 |
How Long Auto Detailing Takes and How Often to Do It
A first full detail takes noticeably longer than a wash alone, and the correction step is where most of the time goes — washing and claying a car is a straightforward job, while correcting swirls panel by panel is slow, careful work. That is why the guide tells you to skip correction when the paint does not need it: on a car with good paint, the wash, clay, protect, and interior steps are the whole job, and they run far quicker than a full correction. Auto detailing is a skill that gets faster with practice, and the second detail on the same car is usually quicker than the first, because the protection from the first detail kept bonded contamination down.
How often to detail depends on how the car lives. A daily driver parked outside needs the full process more often than a garaged weekend car, and the paint tells you when: when water stops beading on the paint, the protection has worn off and the car is due for a wash, clay, and fresh protection. Between full details, a regular wash with the same soap keeps the protection working — the wash step is the maintenance, and the full five-step process is the reset.
Mistakes That Ruin a Detail
Washing in direct sun: soap and water dry on the panel before they can be rinsed, and the dried spots can need a water-spot remover or polishing to remove. Wash in the shade or on a cloudy day.
Claying a dry panel: clay without lubricant drags and scratches. The panel must stay wet with the lubricant the whole time the clay is on it.
Correcting paint that does not need it: every correction removes a little clear coat, and clear coat does not grow back. If the paint looks good in the sun, skip the step.
Applying protection to dirty paint: wax and ceramic coatings bond to whatever is on the surface. Protect a gritty panel and you have sealed the grit in, not protected the paint.
Using one towel for everything: a towel that washed the wheels carries brake dust, and brake dust on paint is sandpaper. Keep separate towels for paint, glass, and interior, and retire any towel that has been dropped on the ground.
The Verdict
Auto detailing is five steps in a fixed order, and the order matters more than the brands. Wash with a real car soap, feel the paint and clay it smooth, correct only the swirls that are actually there, seal the paint with a spray coating, and finish inside. The three supplies in this guide — the Gold Class wash, the Smooth Surface clay kit, and the Turtle Wax ceramic spray — are the tools those steps need, and they are the same tools the second detail will need too.
Start with the wash. If the paint feels smooth after it, you may not need the clay step at all — and a detail that skips a step the car does not need is a good detail, not an incomplete one.
Meguiar’s Gold Class Car Wash, 64 oz (G7164) on Amazon: premium foaming car wash soap, safe for clear coats, deep-cleans without removing waxes per the listing.
Frequently Asked Questions
What is auto detailing?
Auto detailing is a full clean of a car, inside and out, done in a set order: wash, decontaminate, correct, protect, then interior. A wash removes loose dirt, while a detail also removes bonded contamination, fixes dull paint, adds a protective layer, and cleans the interior properly.
What do I need to detail a car at home?
You need a car wash soap, a wash mitt, a clay kit with lubricant, microfiber towels, and a spray protectant — the three supplies in this guide cover the wash, decontamination, and protection steps. A vacuum and an interior cleaner cover the inside. A machine polisher is optional and only needed if the paint has swirls to correct.
Is clay barring safe for car paint?
Yes, when the panel stays lubricated and the clay is used with light pressure — the clay glides on the lubricant and picks up bonded grit. Clay on a dry panel scratches, and a clay bar dropped on the ground must be thrown away, because it picks up grit that will scratch the paint.
Do I need to polish before waxing?
Only if the paint needs it. Polishing, or correction, removes swirl marks from the clear coat, and it should be skipped when the paint already looks good in direct sun. If you do correct, protect the paint right after, since correction leaves the clear coat bare and unprotected.
How is auto detailing different from a car wash?
A car wash removes loose dirt from the surface. Auto detailing goes further: it removes bonded contamination with clay, corrects swirls in the clear coat, adds a protective layer, and cleans the interior in detail. A wash is maintenance; a detail is the reset that the wash maintains.
Can beginners detail a car themselves?
Yes — washing, claying, protecting, and cleaning the interior are all beginner-friendly if you work in the shade, keep the clay lubricated, and use light pressure. The one step to treat with respect is correction, because it removes a thin layer of clear coat: test a small panel first, and skip it entirely if the paint does not need it.