Paint Correction Guide: How to Remove Swirls and Restore Gloss
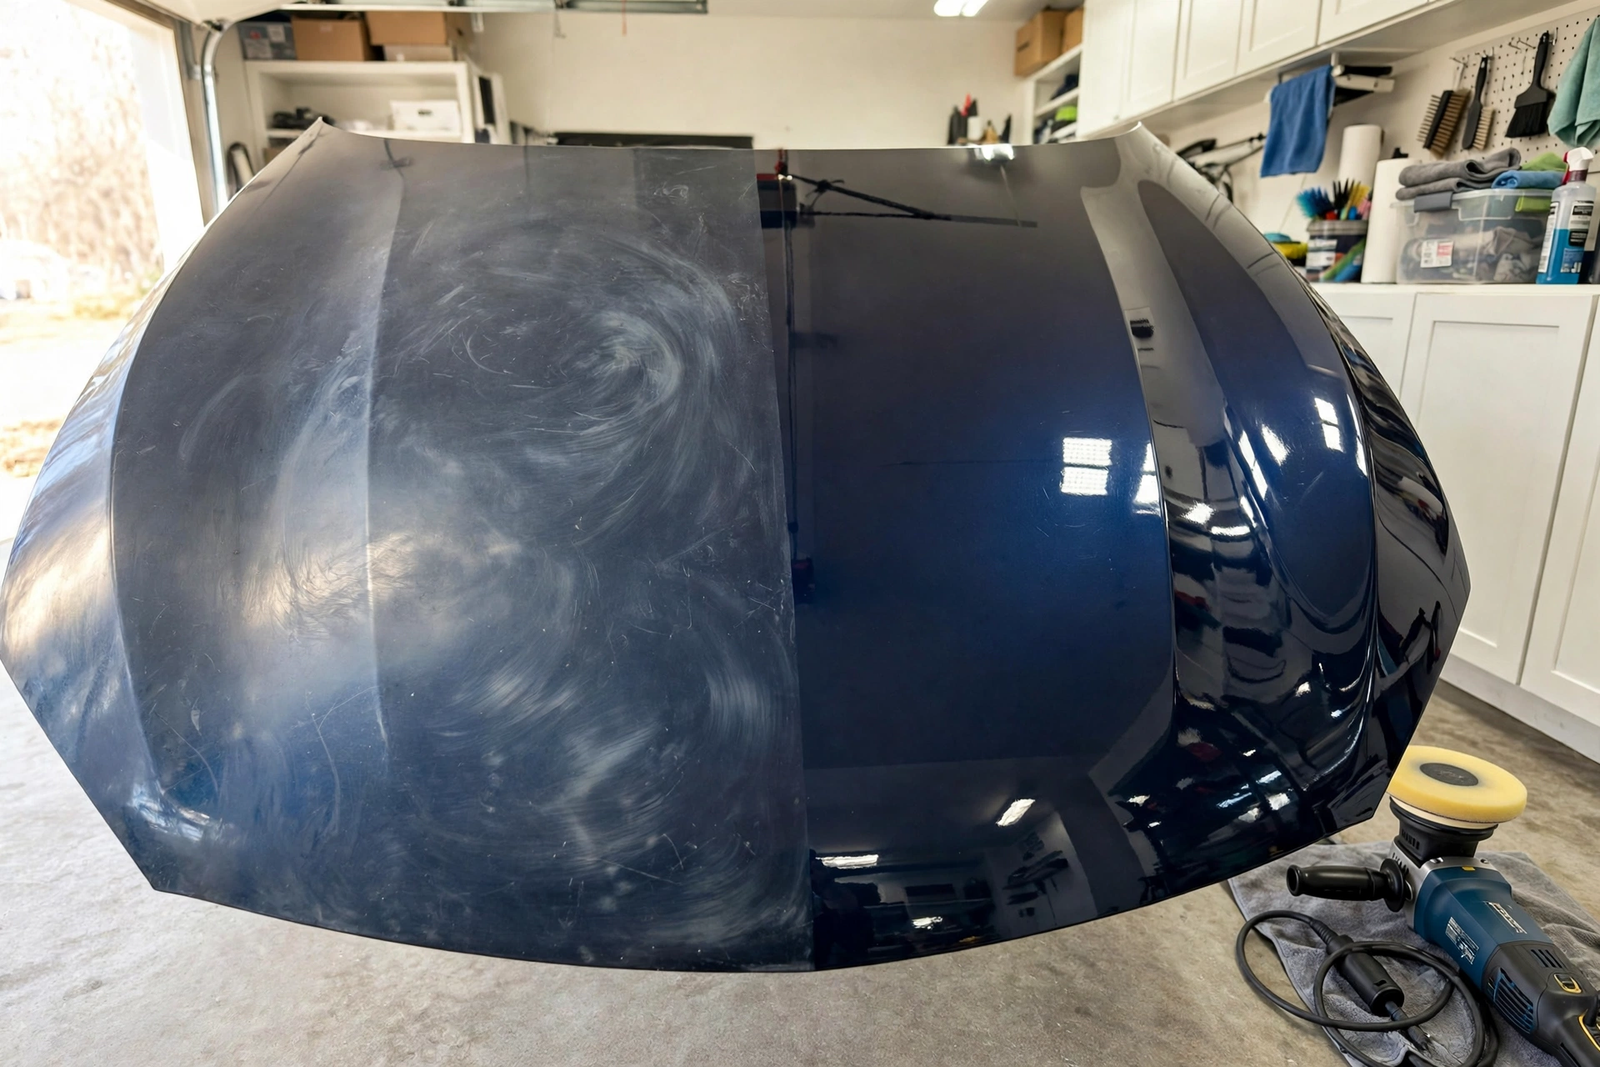
Walk past your car in bright sunlight and the paint tells the truth. A web of fine swirls spreads across the hood, a light scratch catches the light at exactly the wrong angle, and paint that looked fine in the shade suddenly looks tired and hazy. Paint correction is the fix for that — a process that levels the clear coat to remove swirls, oxidation and light scratches, instead of hiding them under wax until the next wash.
This guide explains what paint correction is, what it can and cannot fix, the five steps in order, and the clear-coat risks nobody should skip past. The short version: wash, decontaminate, compound, polish, protect — start with the least aggressive method that works, and hire a professional when the damage goes deeper than the clear coat.
As an Amazon Associate I earn from qualifying purchases.
| Pick | Product | Why it stands out | Check Price |
|---|---|---|---|
| Overall Winner | Meguiar’s Ultimate Compound, 15.2 oz (G17216) | The compound for swirls, light scratches and oxidation — by hand or machine | |
| Machine Pick | Chemical Guys TORQX Random Orbital Polisher Kit, 9-Piece (BUF503X) | Polisher, pads, polishes and compounds in one box — the complete starter kit | |
| Finish Pick | Meguiar’s Ultimate Polish, 16 oz (G19216) | Pre-waxing glaze that removes fine swirls and adds deep gloss before protection |
Table of Contents
Quick Pick: What You Need for Paint Correction
Paint correction needs less gear than the shelves suggest. The compound does the correcting, the polisher does the work on large panels, and the polish refines the finish before protection. Add a clay bar or clay mitt, clean microfiber towels, foam applicator pads, and a sealant or wax — plus a bright work light, because swirls hide in shade and only show under harsh angled light.
Do not buy a rotary buffer for your first correction. A dual-action polisher is the beginner-safe machine, and hand application with a foam pad is enough for spot repairs.
What Paint Correction Is — and What It Is Not
Paint correction is the mechanical levelling of a car’s clear coat. A compound with fine abrasives removes a very thin layer of damaged clear coat — and the swirls, light scratches and oxidation sitting in it — leaving a smoother surface that reflects light cleanly instead of scattering it. The fix is real because material is actually removed, which is also why the clear coat is finite and correction is not something to do every wash. Most cars carry primer, colour coat and a clear coat on top, and nearly every visible defect lives in that clear coat.
Just as important is what paint correction is not. It is not a wax: wax sits on top of the paint and protects it, but removes nothing. It is not a filler that hides scratches until the next wash — a filler masks defects, while correction removes them. It is not touch-up paint, so it cannot fill a chip or cover bare metal. It is not a wash either: compound on a dirty panel grinds grit into the paint.
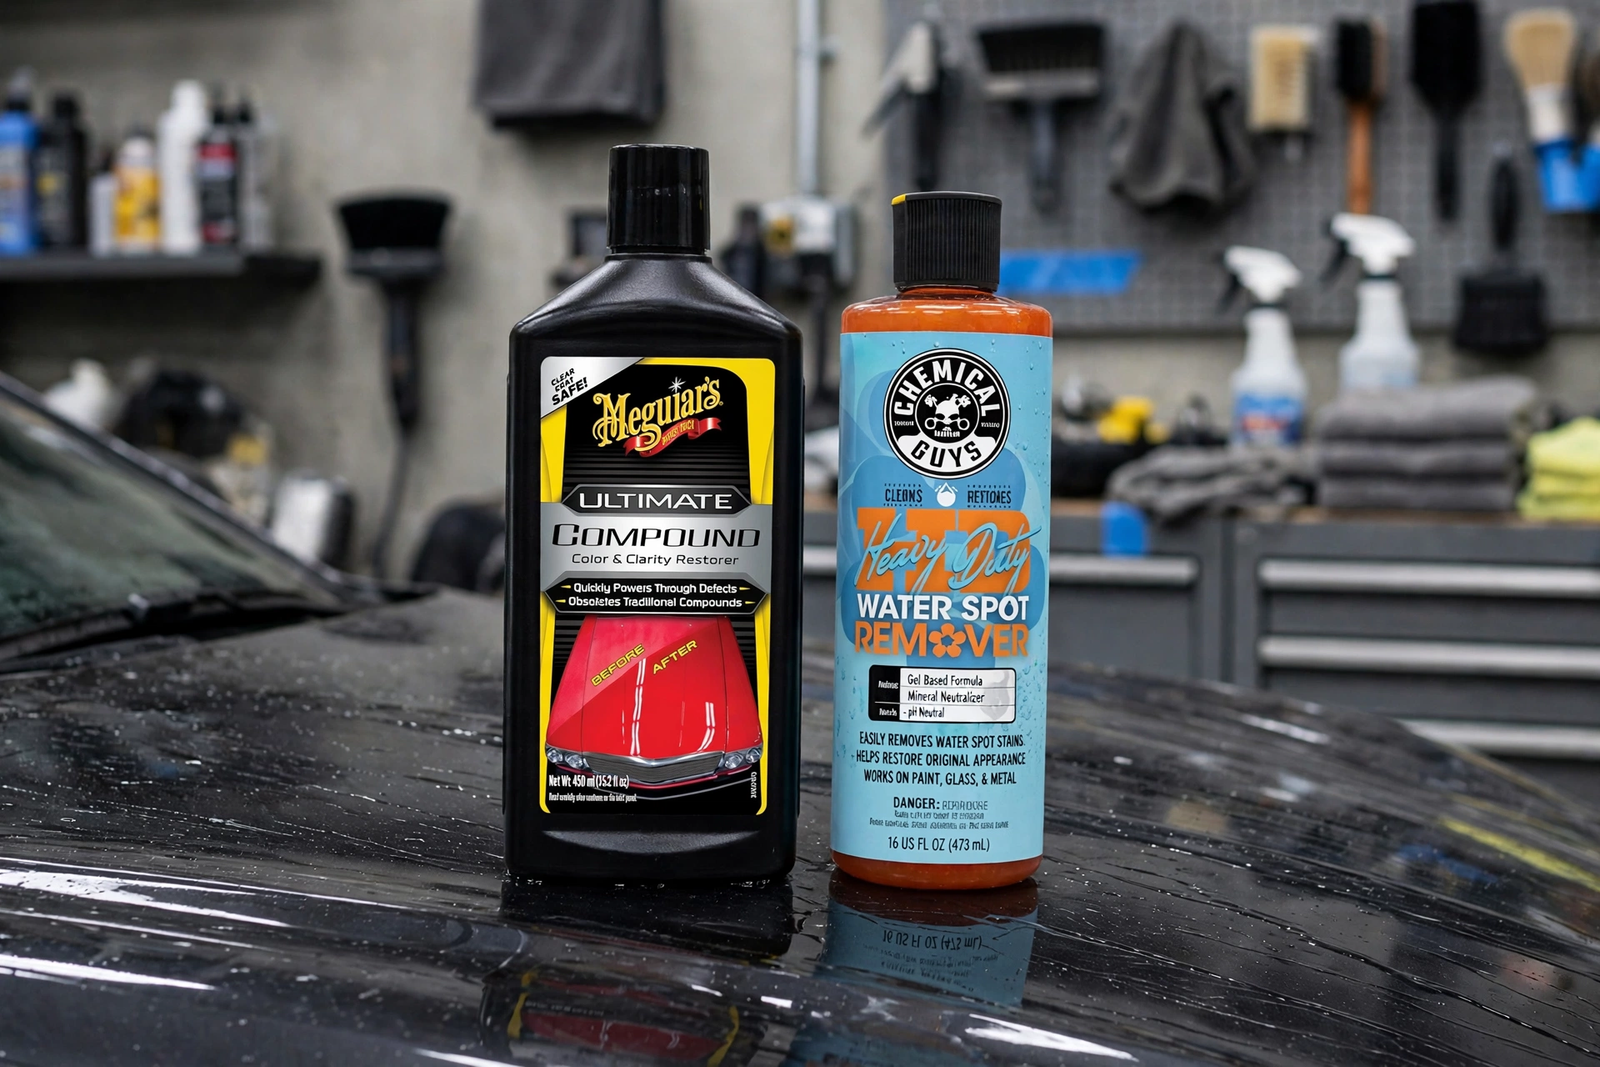
The compound most first-timers reach for is Meguiar’s Ultimate Compound, a 15.2 oz bottle (model G17216) built around diminishing abrasives that cut, then break down as you work, finishing toward a polish in the same step. Our full Meguiar’s Ultimate Compound review covers how it works and how to apply it.
Meguiar’s Ultimate Compound on Amazon: 15.2 oz, model G17216, diminishing abrasives, by hand or dual-action polisher.
Paint Correction vs Polish vs Wax
| Product | What it does | What it fixes | When to use it |
|---|---|---|---|
| Compound | Cuts the clear coat with abrasives | Swirls, light scratches, oxidation, hazing | Correction step, when defects are visible |
| Polish | Refines the surface with finer abrasives | Fine swirls, haze left by compounding, dullness | After compounding, before protection |
| Wax / sealant | Coats the surface; removes nothing | Nothing — it protects the corrected finish | Last step, on paint already in good shape |
A compound cuts the most, a polish cuts far less and mainly refines gloss, and a wax cuts nothing at all. That is why waxing a swirled car changes nothing: the swirls are still in the clear coat underneath, and they show again as soon as the wax wears off. A polish alone cannot fix real swirls either — it is too gentle to level the defects, though it refines the haze a compound leaves behind.
The practical rule: correct with a compound when you can see defects, refine with a polish when the paint needs gloss after compounding, and protect with wax or sealant once the paint is right.
What Paint Correction Can Fix — and What It Cannot
For most jobs, the question is depth. Run your fingernail across the scratch. If your nail glides over it, the defect is inside the clear coat and correction can level it. If your nail catches, the scratch goes through the clear coat and no compound will fix it — that is touch-up paint or professional work.
Paint correction can fix swirl marks from bad washing, light scratches you cannot feel, oxidation and fading, hazing, and light scuffs. These defects live in the top layer of clear coat, which is exactly the layer correction works on. A dull, oxidized hood is often the most dramatic before-and-after, because the compound removes the dead top layer and exposes fresh paint.
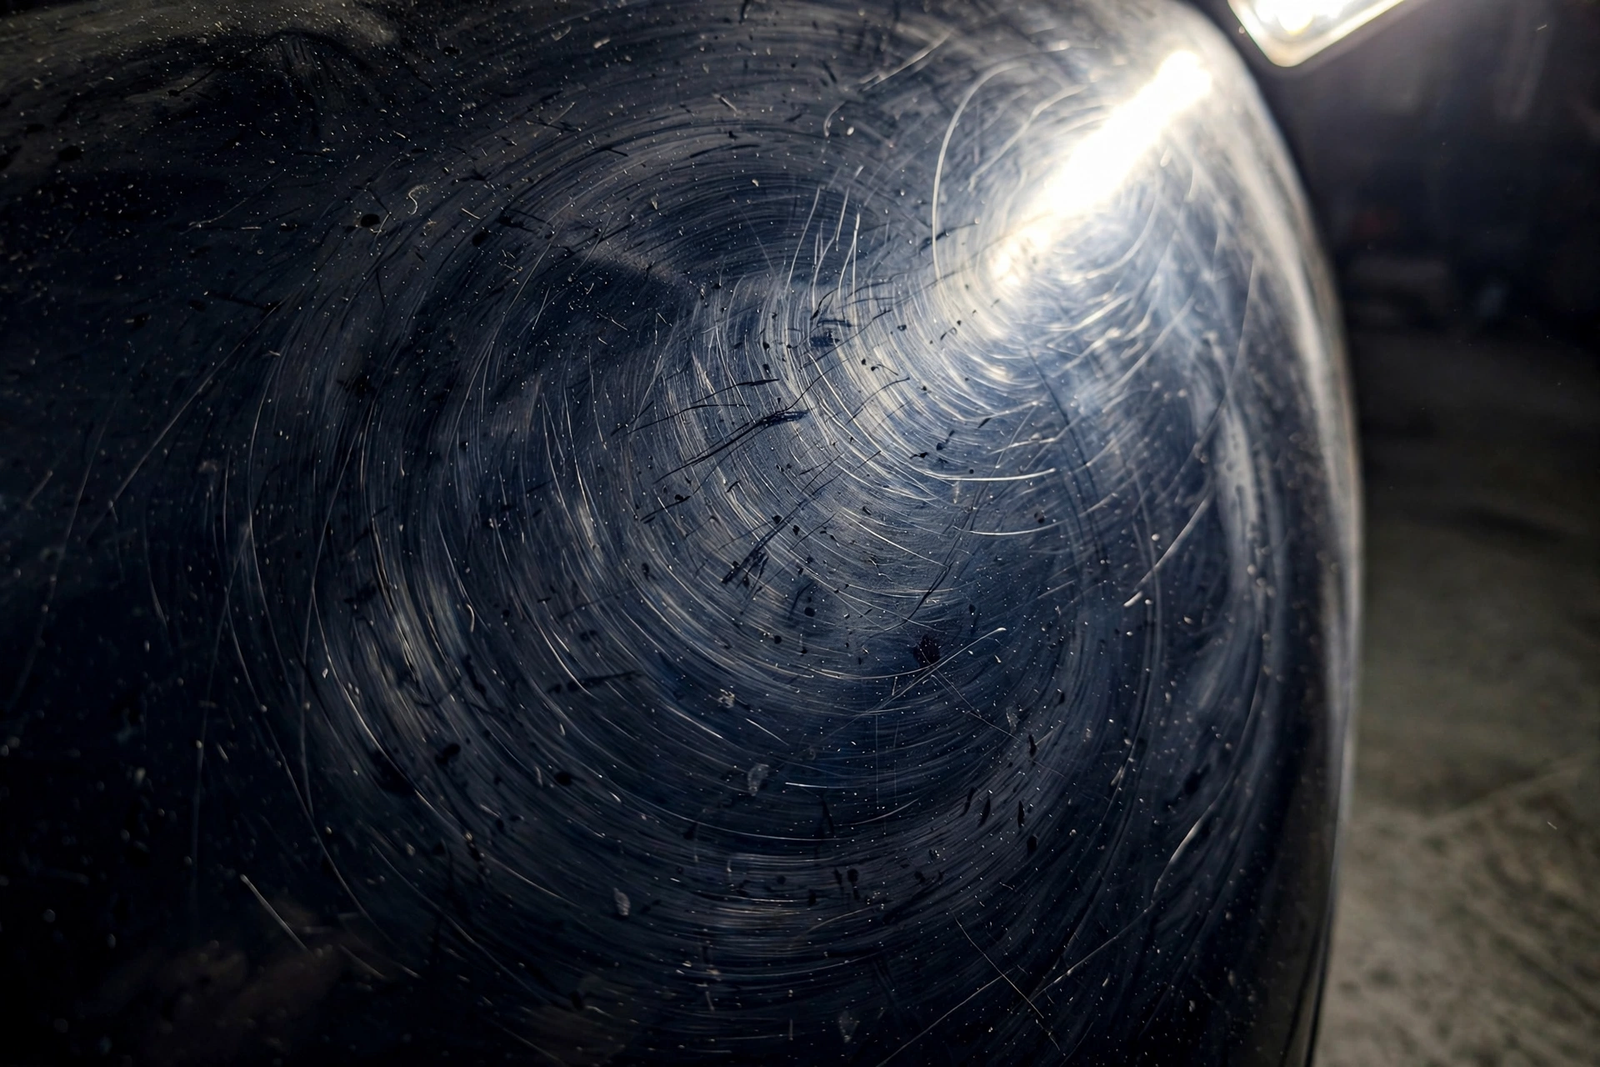
What paint correction cannot fix: deep scratches through the clear coat, rock chips down to primer or metal, etched water spots where minerals have eaten into the paint, dents, and peeling clear coat. Once minerals have etched, abrasives cannot dissolve them; that job belongs to a chemical water spot remover. Our Meguiars vs Chemical Guys head-to-head walks through the diagnosis — compound for swirls, light scratches and oxidation, gel for crusty white water-spot etchings. That diagnosis is the first step in learning how to remove scratches from car paint.
Peeling clear coat is the hardest limit. Once the clear coat is lifting or flaking, there is nothing left to level. That panel needs repainting, not correction.
The Clear-Coat Warning: You Can Burn Through Paint
Paint correction is not risk-free. Every pass removes a little clear coat, and clear coat is thin and finite. Correct the same panel aggressively, over and over, and you will eventually cut through to the colour coat underneath — a dull patch that no polish can fix and only repainting can repair.
The risk concentrates in a few places. Edges, body lines and panel corners carry the thinnest clear coat, because paint flows away from sharp edges as it dries — lean on a polisher there and you burn through fast. A rotary buffer concentrates heat and cut in one spot, which is why beginners should not use one. A dirty pad stops cutting and starts scratching.
The habits that keep correction safe are simple. Start with the least aggressive combination that gets the job done — a polishing pad before a cutting pad, a polish before a compound on light defects — and step up only if the gentler option is not cutting it. Work a small section at a time, keep the pad clean, and wipe and inspect as you go. Test on a hidden spot first, work in the shade on cool paint, and treat correction as an occasional job: correct once, protect the result, and fix the wash technique that caused the swirls.
How to Do Paint Correction Step by Step
Correction is step three of five — skipping the first two is how paint gets damaged. Work one panel at a time and inspect under a bright light before moving on.
Step 1: Wash the Car Properly
Wash in the shade with two buckets — one for soapy water, one for rinsing the mitt — and a clean microfiber wash mitt. Most swirls are born in the wash, from dirt dragged across the paint, so the wash itself is part of the correction. Rinse thoroughly, dry with clean microfiber towels, and do not move on while grit is still on the paint. Our beginner detailing kit guide covers the wash setup.
Step 2: Decontaminate the Paint
After washing, feel the paint with a plastic bag over your hand. Roughness means bonded contaminants — road tar, iron particles, tree sap — that washing cannot remove. Run a clay bar or clay mitt over the paint with lubricant to lift them off. Never compound over contamination, or you will grind it into the clear coat.
Step 3: Compound — the Correction Pass
Put a small amount of compound on a foam applicator pad or a cutting pad on your polisher, and work a 2-by-2-foot section with moderate, even pressure in slow, overlapping passes. Let the abrasives do the work — pressing harder does not cut faster, it cuts hotter. Wipe the residue off with a clean microfiber towel before it dries, then inspect under a bright light. As a car scratch remover, Meguiar’s Ultimate Compound is the default first bottle here because its diminishing abrasives finish down toward a polish, so light defects often need no second product.
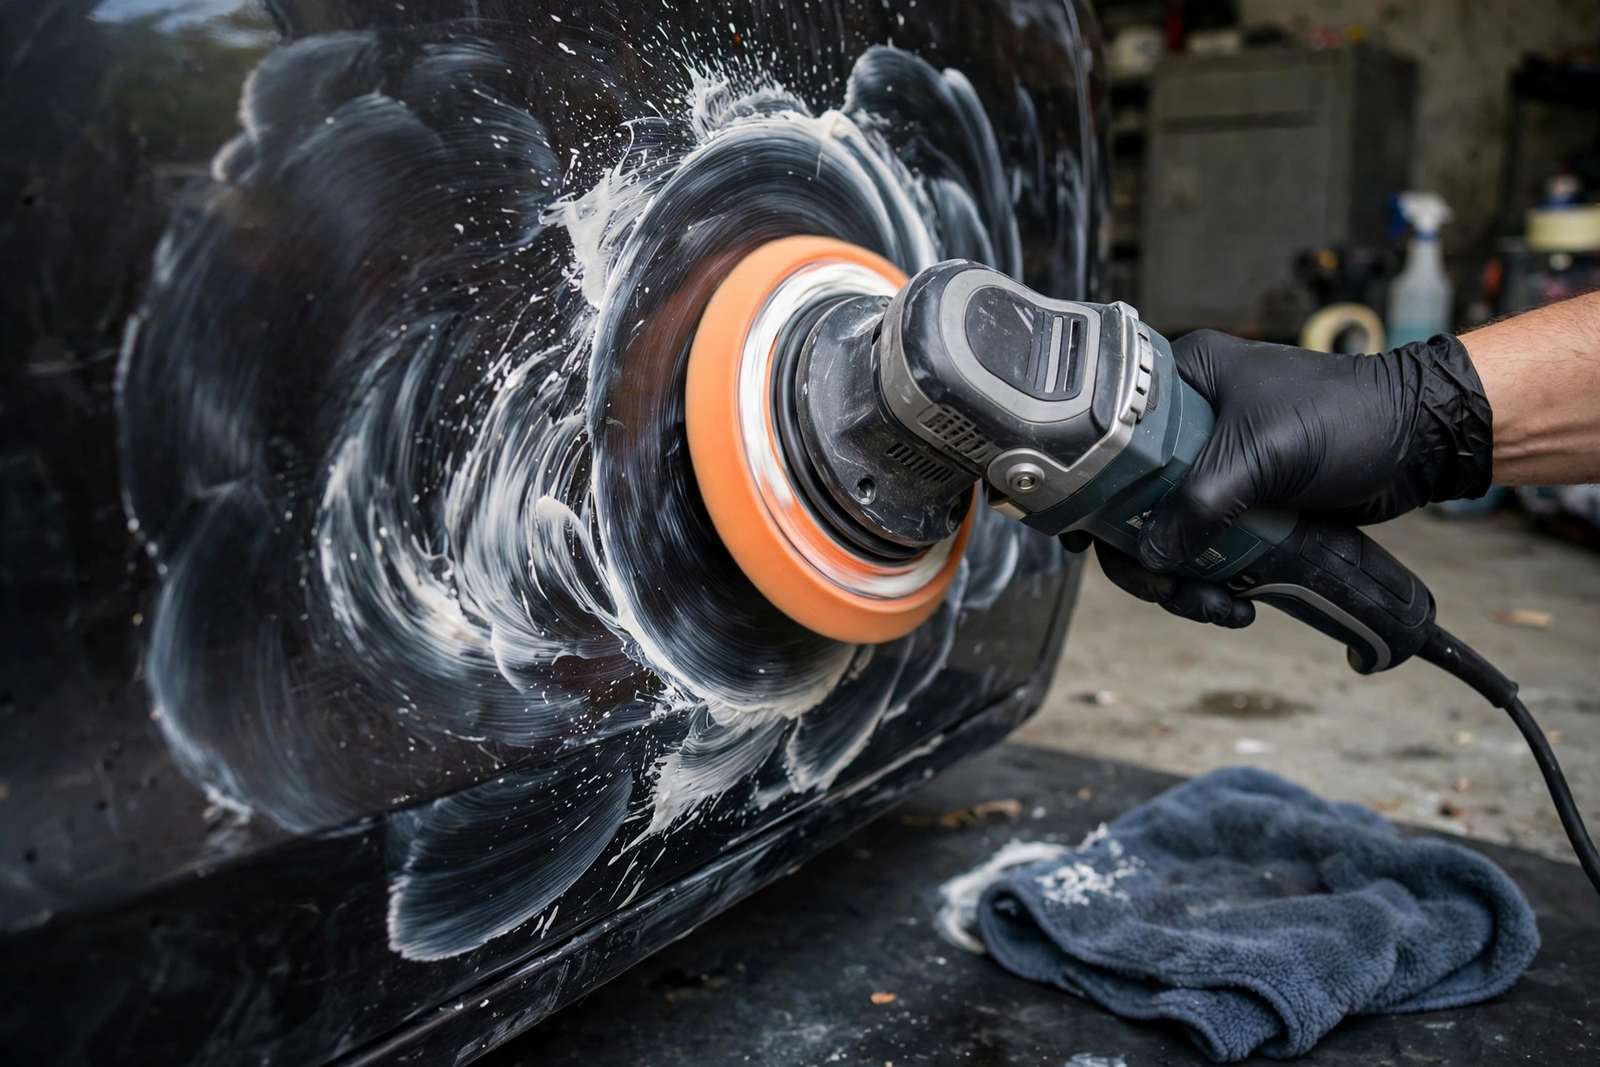
Step 4: Polish — the Refining Pass
After compounding, refine the finish with a polish on a soft polishing pad. This pass removes the faint haze compounding can leave and brings back the deep, wet gloss — especially on dark paint, where haze shows most. Meguiar’s Ultimate Polish (16 oz, G19216) is a pre-waxing glaze made for exactly this: it removes fine swirl marks and towel marks and deepens the colour before protection.
Step 5: Protect the Corrected Paint
Protection is not optional. Freshly corrected paint is exposed paint, with no wax or sealant left on it — the compound stripped whatever protection was there. Apply a sealant or wax over the corrected panels to lock in the work. Correction without protection is a short-lived victory; the next bad wash puts the swirls straight back.
Machine vs Hand: Which Way Should You Correct?
Hand correction is the forgiving way to start. A foam applicator pad with moderate pressure works well for spot repairs and a single panel, and a diminishing-abrasive compound breaks down under hand pressure too. It is slow on a whole car, but for a first-timer fixing one scratched door, it is the right call — and it removes the least clear coat.
A dual-action polisher is the faster route on large panels: more consistent, less tiring, and better at breaking the abrasives down evenly. It is beginner-safe because its oscillating motion resists burning through paint, unlike a rotary buffer, which concentrates heat and cut in one spot. The Chemical Guys TORQX (model BUF503) is a common first machine: a 700W motor, an 8mm orbit, and a 4.7 lb body.
Chemical Guys TORQX Random Orbital Polisher on Amazon: model BUF503, 700W motor, 8mm orbit, 4.7 lb, polisher only.
The honest rule: buy the machine when the job is bigger than one panel. Correcting a whole swirled car by hand takes a full weekend; a dual-action polisher turns it into an afternoon. But if the job is one scratch, hand application is cheaper, safer, and finished sooner.
When to Hire a Professional Instead
Some paint belongs to a professional. Hire a pro when the damage goes through the clear coat — deep scratches, rock chips to primer or metal, peeling or flaking clear coat. Hire one when the car has already been corrected before and you do not know how much clear coat is left; a pro measures thickness before cutting.
Also consider a pro when you have no shaded workspace or when the defects cover every panel. Professional correction costs more than a bottle of compound — the price varies widely by car size, paint condition and region, so get a quote rather than assuming a figure.
The Verdict
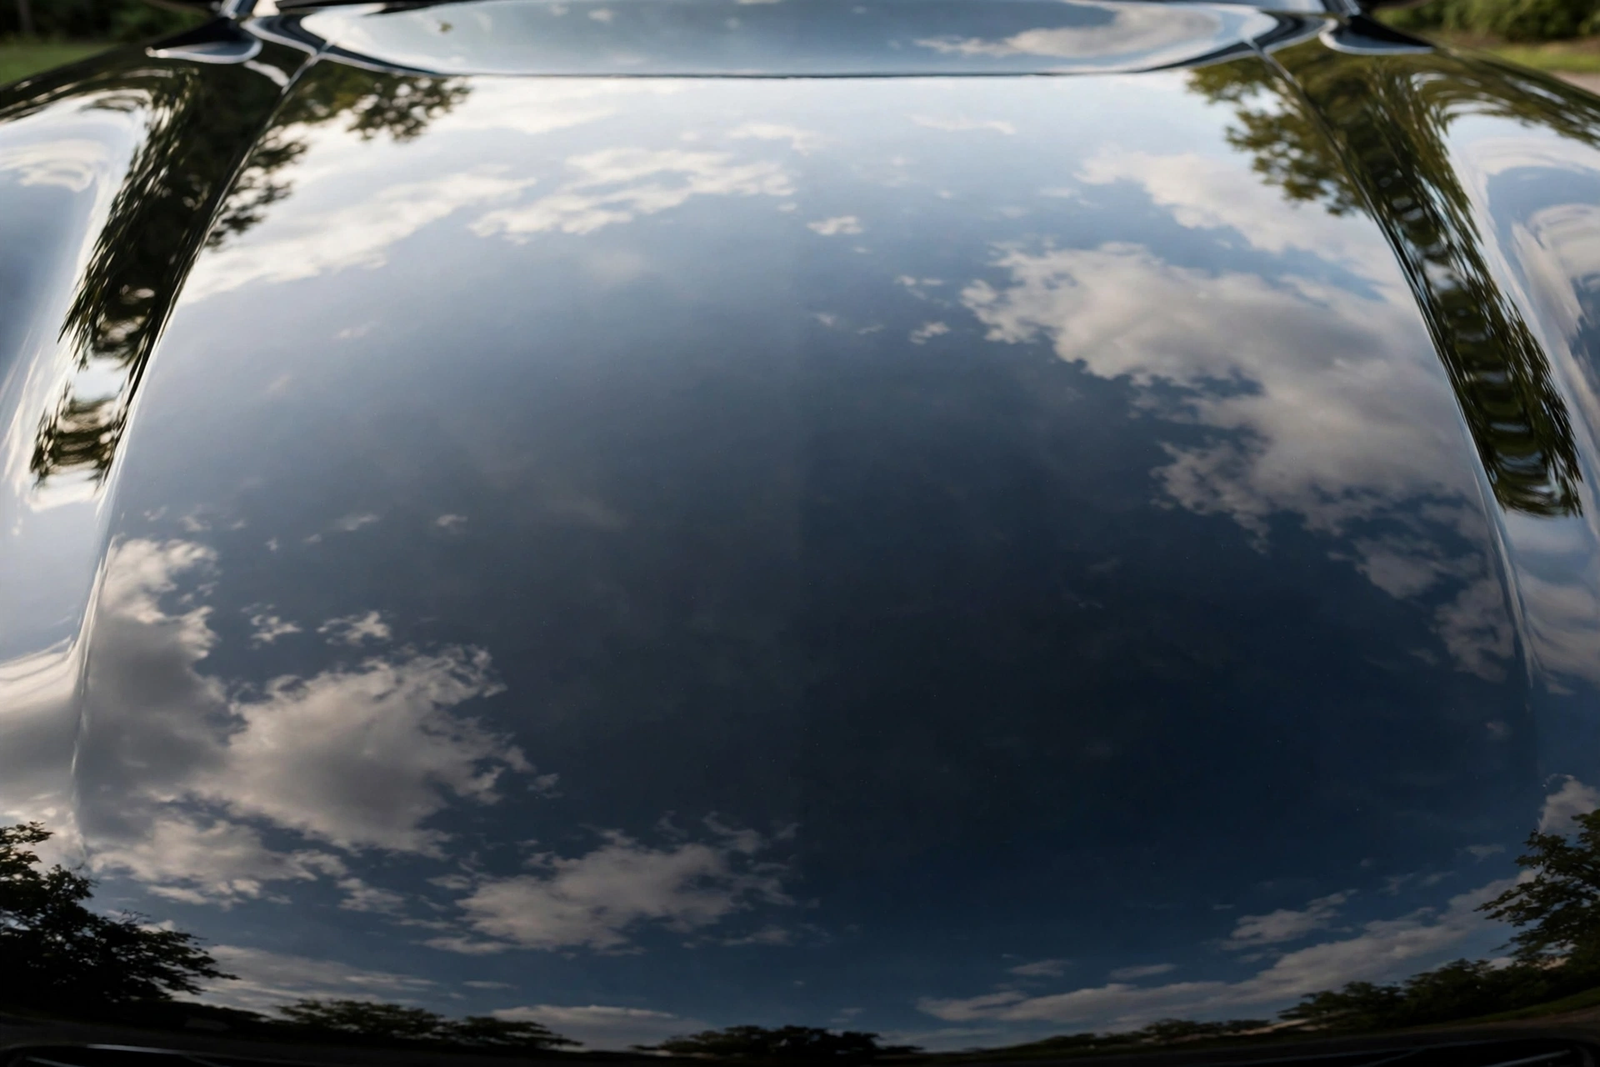
Paint correction is the only real fix for swirled, oxidized paint — it levels the clear coat and removes the defects instead of hiding them, and the result is paint that reflects light like glass. The process is straightforward: wash, decontaminate, compound, polish, protect, starting with the least aggressive method that works.
Start with the compound, not the machine. One bottle of Meguiar’s Ultimate Compound and a foam pad will fix a scratched door. Add the dual-action polisher when the job grows to a whole car, add the polish for deep gloss, and protect everything the moment the correction is done. And if the damage is deeper than the clear coat, skip the bottle and call a professional.
Meguiar’s Ultimate Compound on Amazon: 15.2 oz, model G17216, the compound to start a paint correction with.
Frequently Asked Questions
What is paint correction?
Paint correction is the mechanical levelling of a car’s clear coat. A compound with fine abrasives removes a very thin layer of damaged clear coat — and the swirls, light scratches and oxidation sitting in it — leaving a smoother surface that reflects light cleanly. It is not a wax and not a filler: wax protects without removing anything, and a filler only hides defects until the next wash.
Can I do paint correction by hand?
Yes. A foam applicator pad with moderate pressure works well for spot repairs and small areas, and a diminishing-abrasive compound breaks down under hand pressure too. A dual-action polisher is faster and more consistent on large panels, but it is not required — hand correction also removes the least clear coat of any method.
Will paint correction remove deep scratches?
No. Paint correction only fixes defects inside the clear coat — swirls, light scratches, oxidation and unetched water-spot haze. If your fingernail catches in the scratch, it goes through the clear coat and no compound will fix it; that needs touch-up paint or professional repair.
How long does paint correction last?
There is no fixed expiry. Corrected paint stays corrected until new swirls are put into it, so the result lasts as long as the protection holds and the wash technique stays gentle — two buckets, clean mitts, dry promptly. A bad wash puts the swirls straight back, while careful washing and a sealant or wax keep the finish looking corrected for a long time.
Is paint correction safe for clear coat?
Yes, when used as directed and with the least aggressive method first. Compounding removes a thin layer of clear coat, so it is a tool for occasional correction, not every wash. Keep the pad clean, use moderate pressure, work a small section at a time, test on a hidden spot first, and stay away from edges and body lines where the clear coat is thinnest.
Do I need to wax after paint correction?
Yes. The compound offers no lasting protection on its own, so freshly corrected paint is exposed paint. Apply a sealant or wax over the corrected panels to lock in the work, and protect the trim and rubber around the paint as well.