As an Amazon Associate I earn from qualifying purchases.
Frequently Asked Questions
Which headlight restoration kit lasts longer, Cerakote or 3M?
In the cerakote vs 3m headlight restoration matchup, CERAKOTE lasts longer out of the box. Its ceramic coating chemically bonds to the lens and independent sources report 2-4 years of clarity. The 3M Ultra’s wax protectant is not a true UV coating, and community reports show re-yellowing in 1-2 years unless you apply a separate sealant afterward.
Do I need a drill for the CERAKOTE headlight restoration kit?
No. CERAKOTE is a fully hand-powered 3-step process: oxidation wipes, wet sanding with 2000/3000 grit paper, and a wipe-on ceramic coat. The 3M Ultra kit does require a household drill, which is not included.
Can these kits fix deeply pitted or cracked headlights?
They fix surface oxidation, haze, and yellowing on plastic lenses. Deep pitting, cracks, moisture inside the housing, or damaged projector internals are beyond what any wipe-on or sanding kit can repair — those need professional work or replacement housings.
How long does the CERAKOTE ceramic coating take to cure?
The manufacturer specifies at least 60 minutes of dry time before driving after applying the ceramic coat. Apply it in a single direction, work in the shade, and do not touch the lens during curing.
Will headlight restoration improve my nighttime visibility?
Yes, meaningfully. Oxidized lenses scatter and block light output; restoring clarity lets the designed beam pattern through again. It will not make old bulbs brighter, so consider fresh bulbs at the same time if yours are aged.
Is the 3M Ultra kit good for beginners?
It is workable for beginners who are comfortable with a drill, but it is less forgiving than CERAKOTE. Keep the drill moving, follow the grit progression in order, and mask the surrounding paint. First-timers should watch a complete walkthrough before starting.
Yellowed, hazy headlights are not just ugly — they cut your nighttime visibility. Two kits dominate the DIY headlight restoration conversation: the CERAKOTE Ceramic Headlight Restoration Kit with its wipe-on ceramic coating, and the 3M Ultra Headlight Restoration Kit with its drill-powered sanding system. They take fundamentally different approaches to the same problem. This head-to-head compares method, effort, durability, and cost so you pick the right one for your lenses.
The short answer: CERAKOTE wins for most drivers — no drill needed, a true ceramic UV coating, and about 30 minutes of hand work. The 3M Ultra wins for severely yellowed lenses, where its drill-driven multi-grit sanding cuts through damage faster than any hand method. Match the kit to the damage.
Quick Picks: CERAKOTE vs 3M Headlight Restoration
| Pick | Product | Best For | Check Price |
|---|---|---|---|
| Overall Winner | CERAKOTE Ceramic Headlight Restoration Kit | Most drivers: no drill, ceramic UV coating, 30-min hand process | Check Price on Amazon |
| Best Budget | CERAKOTE Ceramic Headlight Restoration Kit | Lower price tier, no power tools to buy | Check Price on Amazon |
| Premium Pick | 3M Ultra Headlight Restoration Kit | Severe oxidation: drill-powered 500–3000 grit sanding | Check Price on Amazon |
CERAKOTE vs 3M: Side-by-Side Specs
All details below come from the manufacturers’ published kit contents and independent 2026 comparison testing (Zelpio, CarCareTruth), checked the same day this article was written.
| Spec | CERAKOTE Ceramic | 3M Ultra |
|---|---|---|
| Method | Chemical wipe + hand sanding + ceramic coat | Drill-powered multi-grit sanding + polish |
| Power tools needed | None | Household drill (not included) |
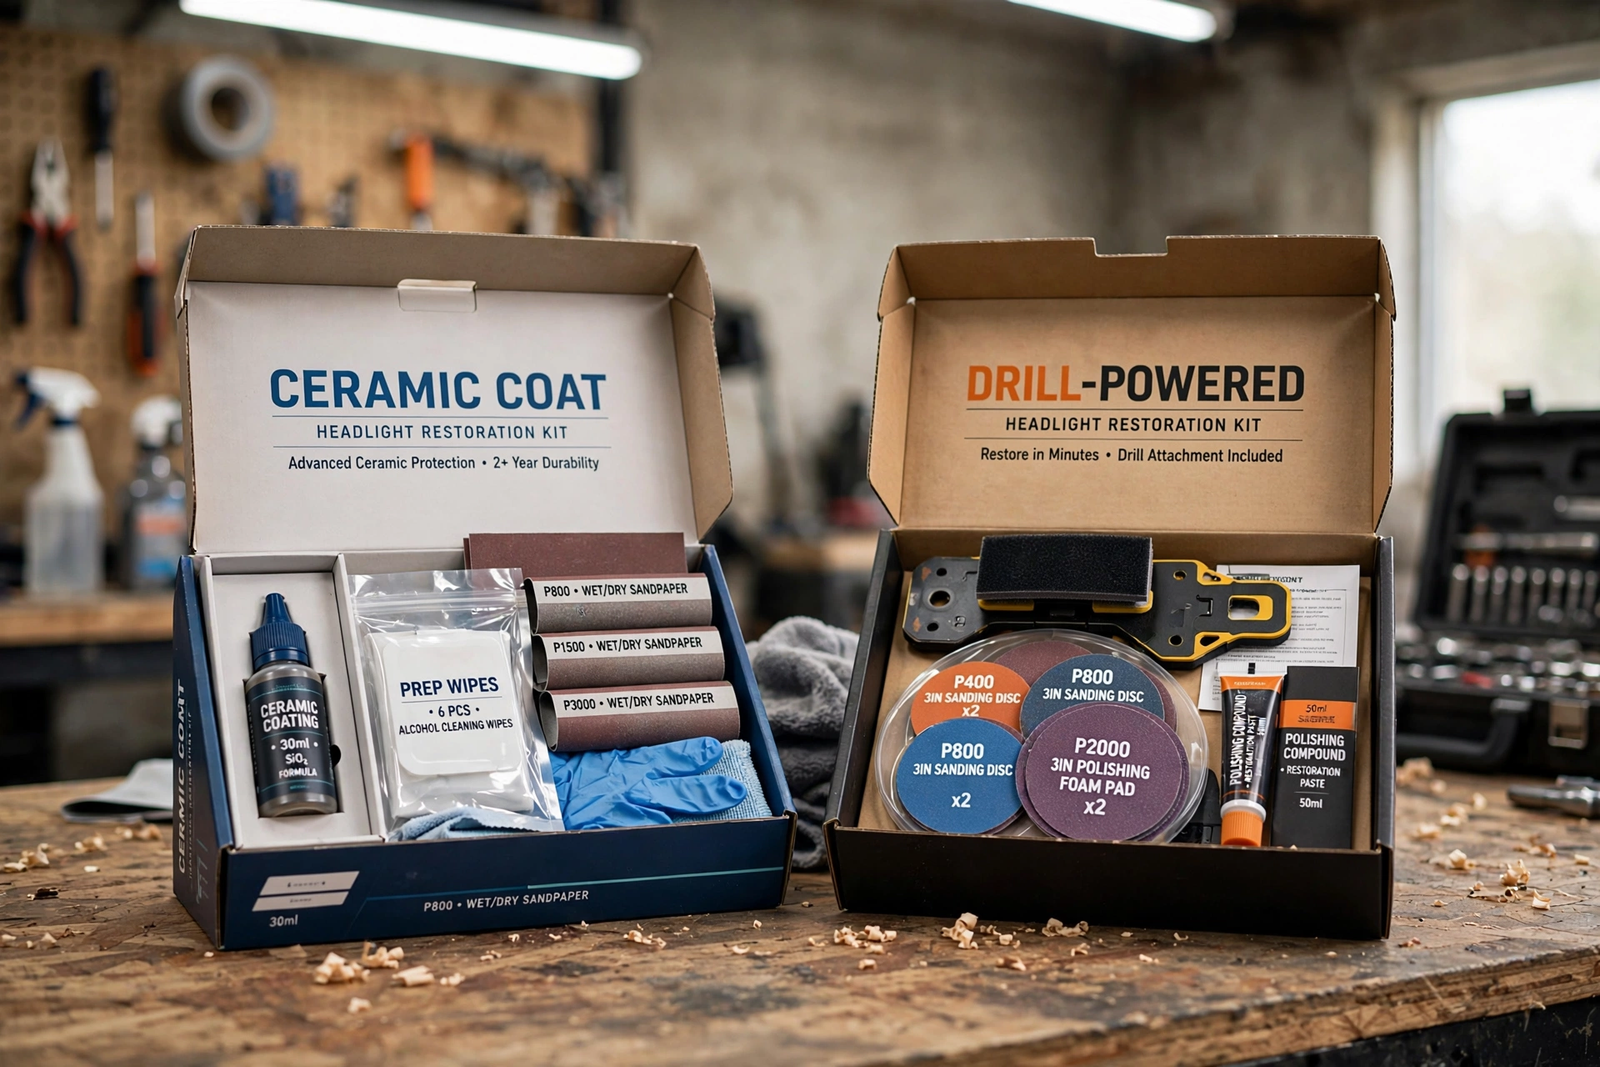
| Abrasives | 2000 and 3000 grit + oxidation remover wipes | 500, 800, and 3000 grit discs |
| Protective coating | Ceramic clear-coat wipes (UV barrier) | Wax protectant (no true UV ceramic coat) |
| Process time | About 30 minutes + 60-min coating dry time | About 30–45 minutes of drill work |
| Coating durability | 2–4 years per independent sources | 1–2 years; re-yellowing reported without added sealant |
| Works on | Headlights and tail lights (plastic lenses) | Headlights (plastic lenses) |
| Skill level | Beginner-friendly hand process | Comfortable with a drill |
The core trade-off: CERAKOTE trades raw cutting speed for a better finish coat and zero tool requirements. 3M trades coating longevity for the fastest defect removal. Independent testing found 3M’s abrasives cut through damaged polycarbonate roughly twice as fast as CERAKOTE’s hand method — but CERAKOTE’s cured ceramic finish was notably harder to scratch than any other coating tested.
Method Compared: Wipe-On Ceramic vs Drill Sanding
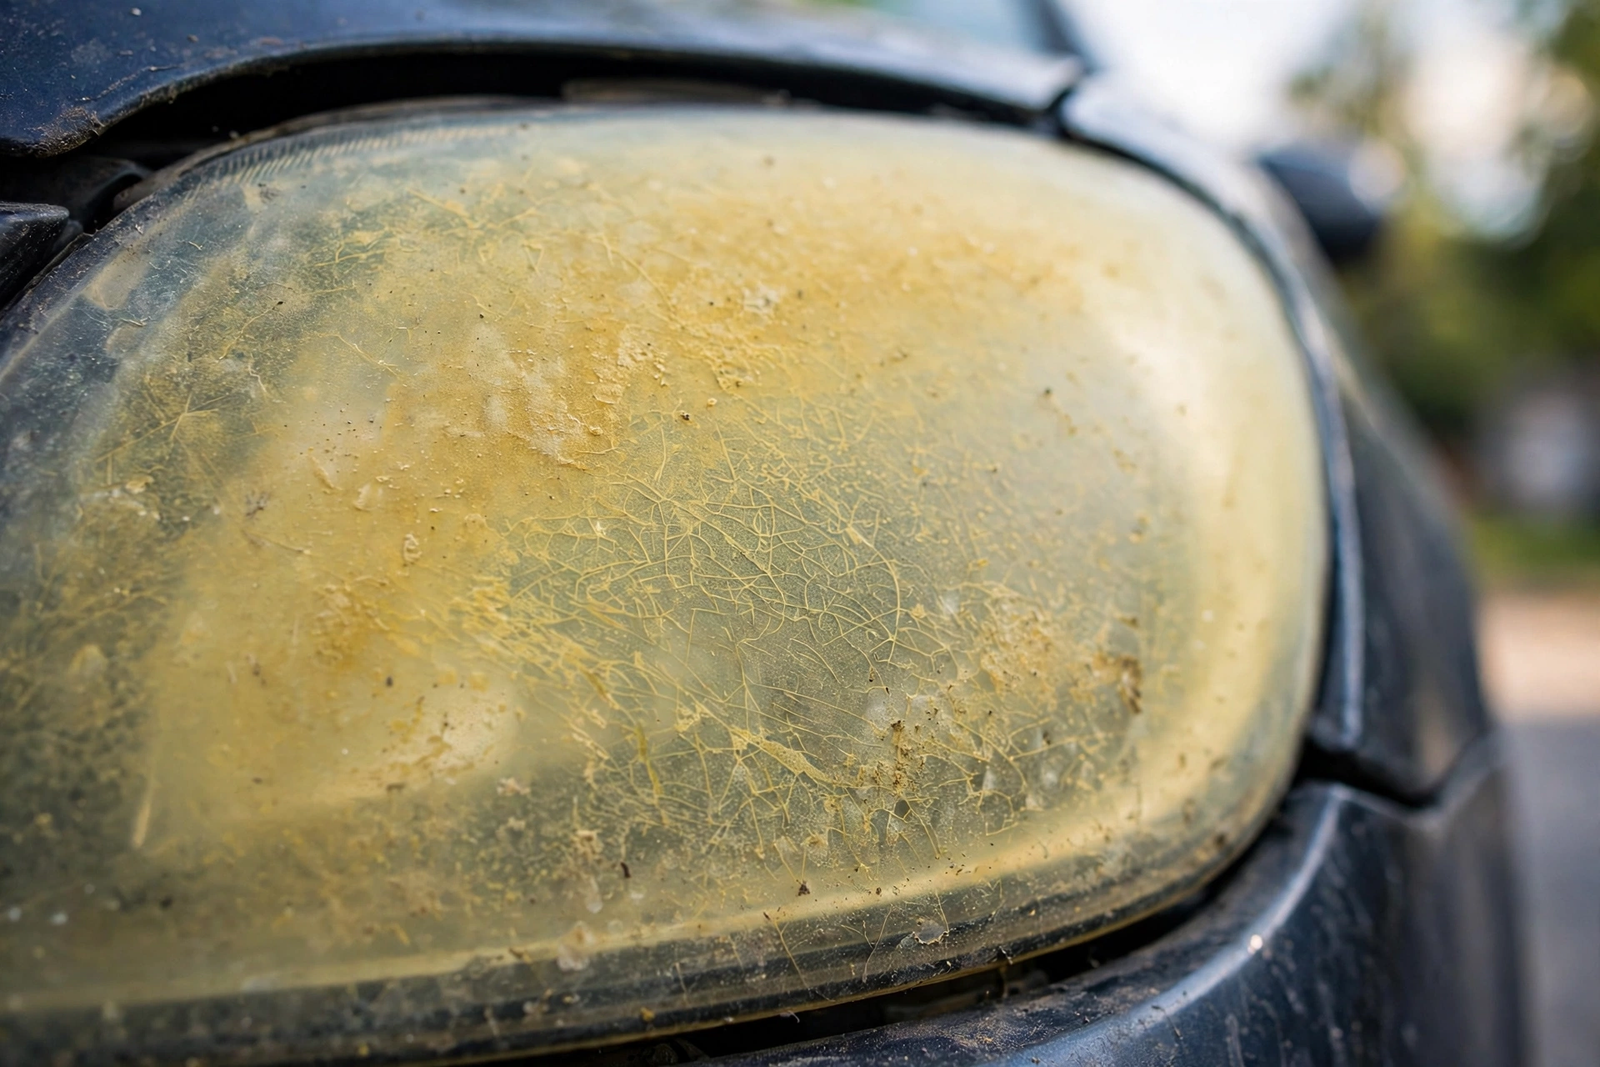
CERAKOTE’s process is three steps by hand: scrub with the oxidation-remover wipes (they turn yellow as they lift oxidation), wet-sand with the included 2000 and 3000 grit paper, then wipe on the ceramic clear coat in a single direction and let it cure for at least 60 minutes before driving. No drill, no buffer, no extension cords.
The 3M Ultra is a four-stage drill system: a disc pad holder drives 500-grit discs for heavy defect removal, 800-grit to refine, 3000-grit to smooth, then rubbing compound to polish. You supply the drill. It is the faster cutter — in controlled testing it removed the damaged layer in about 20 seconds versus CERAKOTE’s ~35 — which matters when lenses are deeply yellowed or pitted.
The practical difference: CERAKOTE is a Saturday-morning hand job anyone can do. 3M is a power-tool job that rewards experience — a drill with a sanding disc can burn through the lens coating unevenly if you linger in one spot.
Durability: Where the Coating Decides
This is the section that matters most long-term, because a restoration that re-yellows in months was barely worth doing.
CERAKOTE’s ceramic coating chemically bonds to the plastic and provides a genuine UV barrier. Independent sources put its clarity duration at 2–4 years, and in scratch testing its cured finish was the toughest of all kits tested. UV is what yellowed your lenses in the first place, so the coating is doing the real protective work.
The 3M Ultra includes a wax protectant but no true UV-cured coating. Community reports consistently show 3M-restored lenses re-yellowing in roughly 1–2 years, and faster (months) for cars parked outdoors in strong sun, unless you apply a separate UV sealant afterward. The honest move with the 3M kit: budget for a standalone ceramic or UV sealant as a follow-up step, which narrows the price gap between the two kits.
Ease of Use and What Can Go Wrong
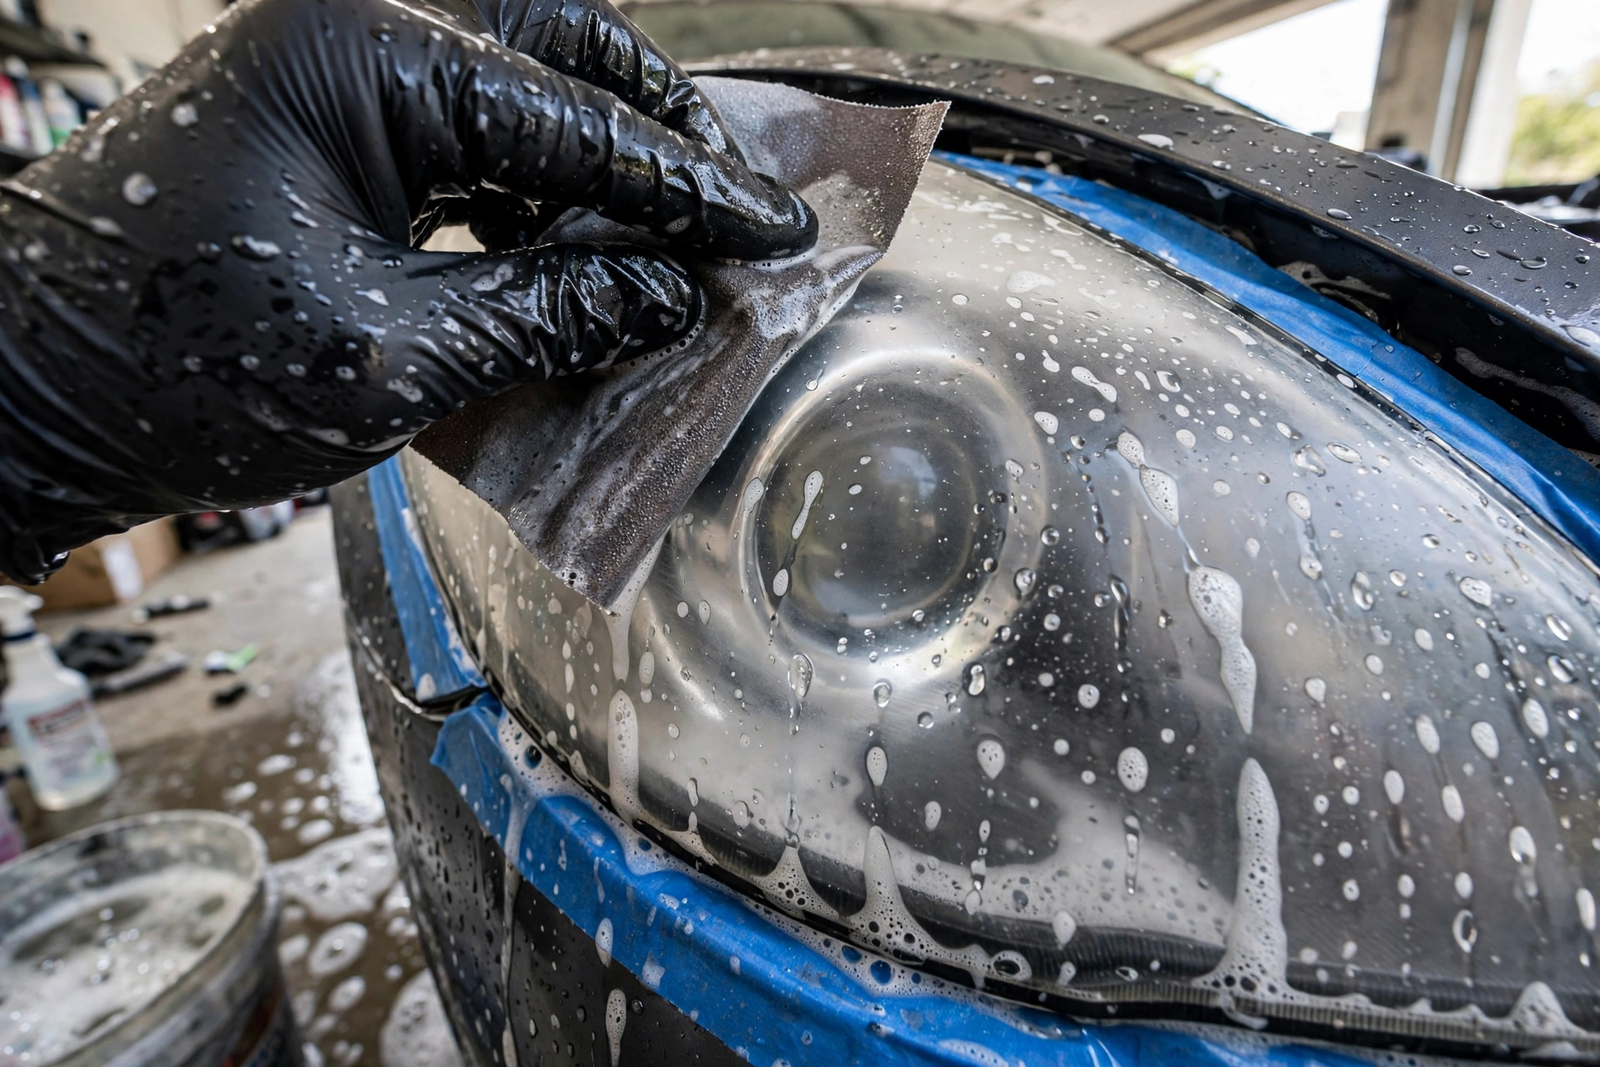
CERAKOTE is the lower-risk kit for beginners. The wipes and hand sanding are forgiving, and the main failure mode is impatience — driving before the 60-minute coating cure, or applying the ceramic coat in multiple directions instead of one smooth pass. Work in the shade, take your time with the wet sanding, and it is hard to ruin.
The 3M kit demands more care: masking the paint around the lens (tape is included), keeping the drill moving to avoid heat spots, and stepping through the grits in order. Skip a grit or rush the compounding and you will leave sanding marks visible in the finished lens. Experienced DIYers will be fine; first-timers should watch a full video walkthrough before starting.
One safety note from published safety data sheets: CERAKOTE’s ceramic coating step carries skin and eye hazard warnings — wear the included gloves and avoid touching your face during application. 3M’s rubbing compound has its own handling warnings. Neither kit is a bare-hands job.
Price-Tier Trade-Off
CERAKOTE typically sits in the lower price tier and needs no tools beyond what is in the box. 3M sits a tier higher and assumes you own a drill. If you need to buy a drill for the 3M kit, the real cost gap widens further — and if you add the UV sealant the 3M restoration really needs for longevity, the two kits end up close on total spend.
Value verdict: CERAKOTE is the better value for light-to-moderate haze because the coating is built in. 3M is the better value for severe damage because no hand kit cuts as fast — just budget the sealant.
Who Should Buy CERAKOTE vs 3M
Buy the CERAKOTE Ceramic kit if: your headlights are hazy or lightly yellowed; you do not own a drill or do not want to use one; you want the longest-lasting result from a single box; you are a first-time restorer. This is most drivers.
Buy the 3M Ultra kit if: your lenses are severely yellowed, pitted, or have deep scratches; you already own a drill and are comfortable with it; you plan to follow up with a UV sealant for longevity.
Either works if: the haze is moderate and you are comfortable either way — then CERAKOTE’s coating is the tiebreaker for longevity.
For the full single-product deep dive, see our CERAKOTE ceramic headlight restoration kit review, and our headlight restoration kit roundup for the wider field.
The Verdict
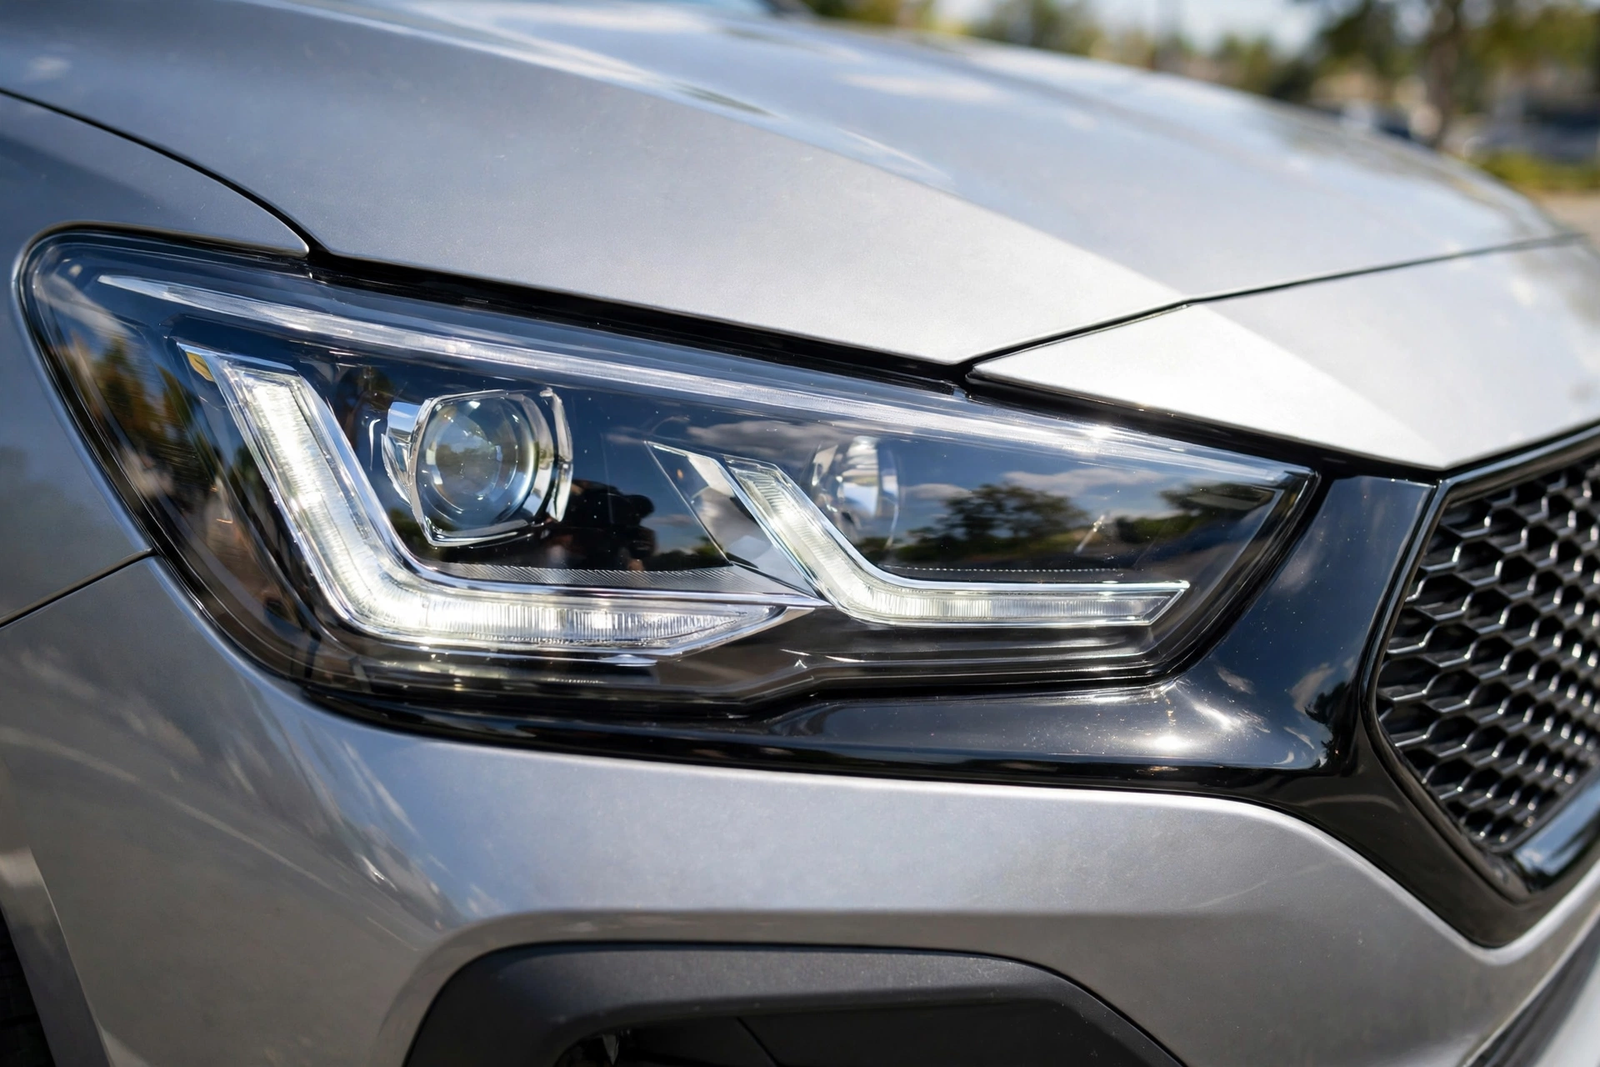
CERAKOTE vs 3M comes down to damage level and tools. CERAKOTE’s no-drill process and bonded ceramic coating make it the right pick for most drivers with light-to-moderate haze — easier, and the result lasts longer out of the box. The 3M Ultra’s drill-powered sanding is the right pick for severe oxidation where cutting speed matters, with the honest caveat that you should seal the result afterward. Match the kit to your lenses, wear the gloves, and either one beats driving on yellowed headlights.
CERAKOTE Ceramic Headlight Restoration Kit on Amazon: 3-step, no drill, ceramic UV coating.
3M Ultra Headlight Restoration Kit on Amazon: drill-powered, 500–3000 grit, fastest cutting.