As an Amazon Associate I earn from qualifying purchases.
Headlight Restoration: How to Fix Cloudy, Yellowed Headlights
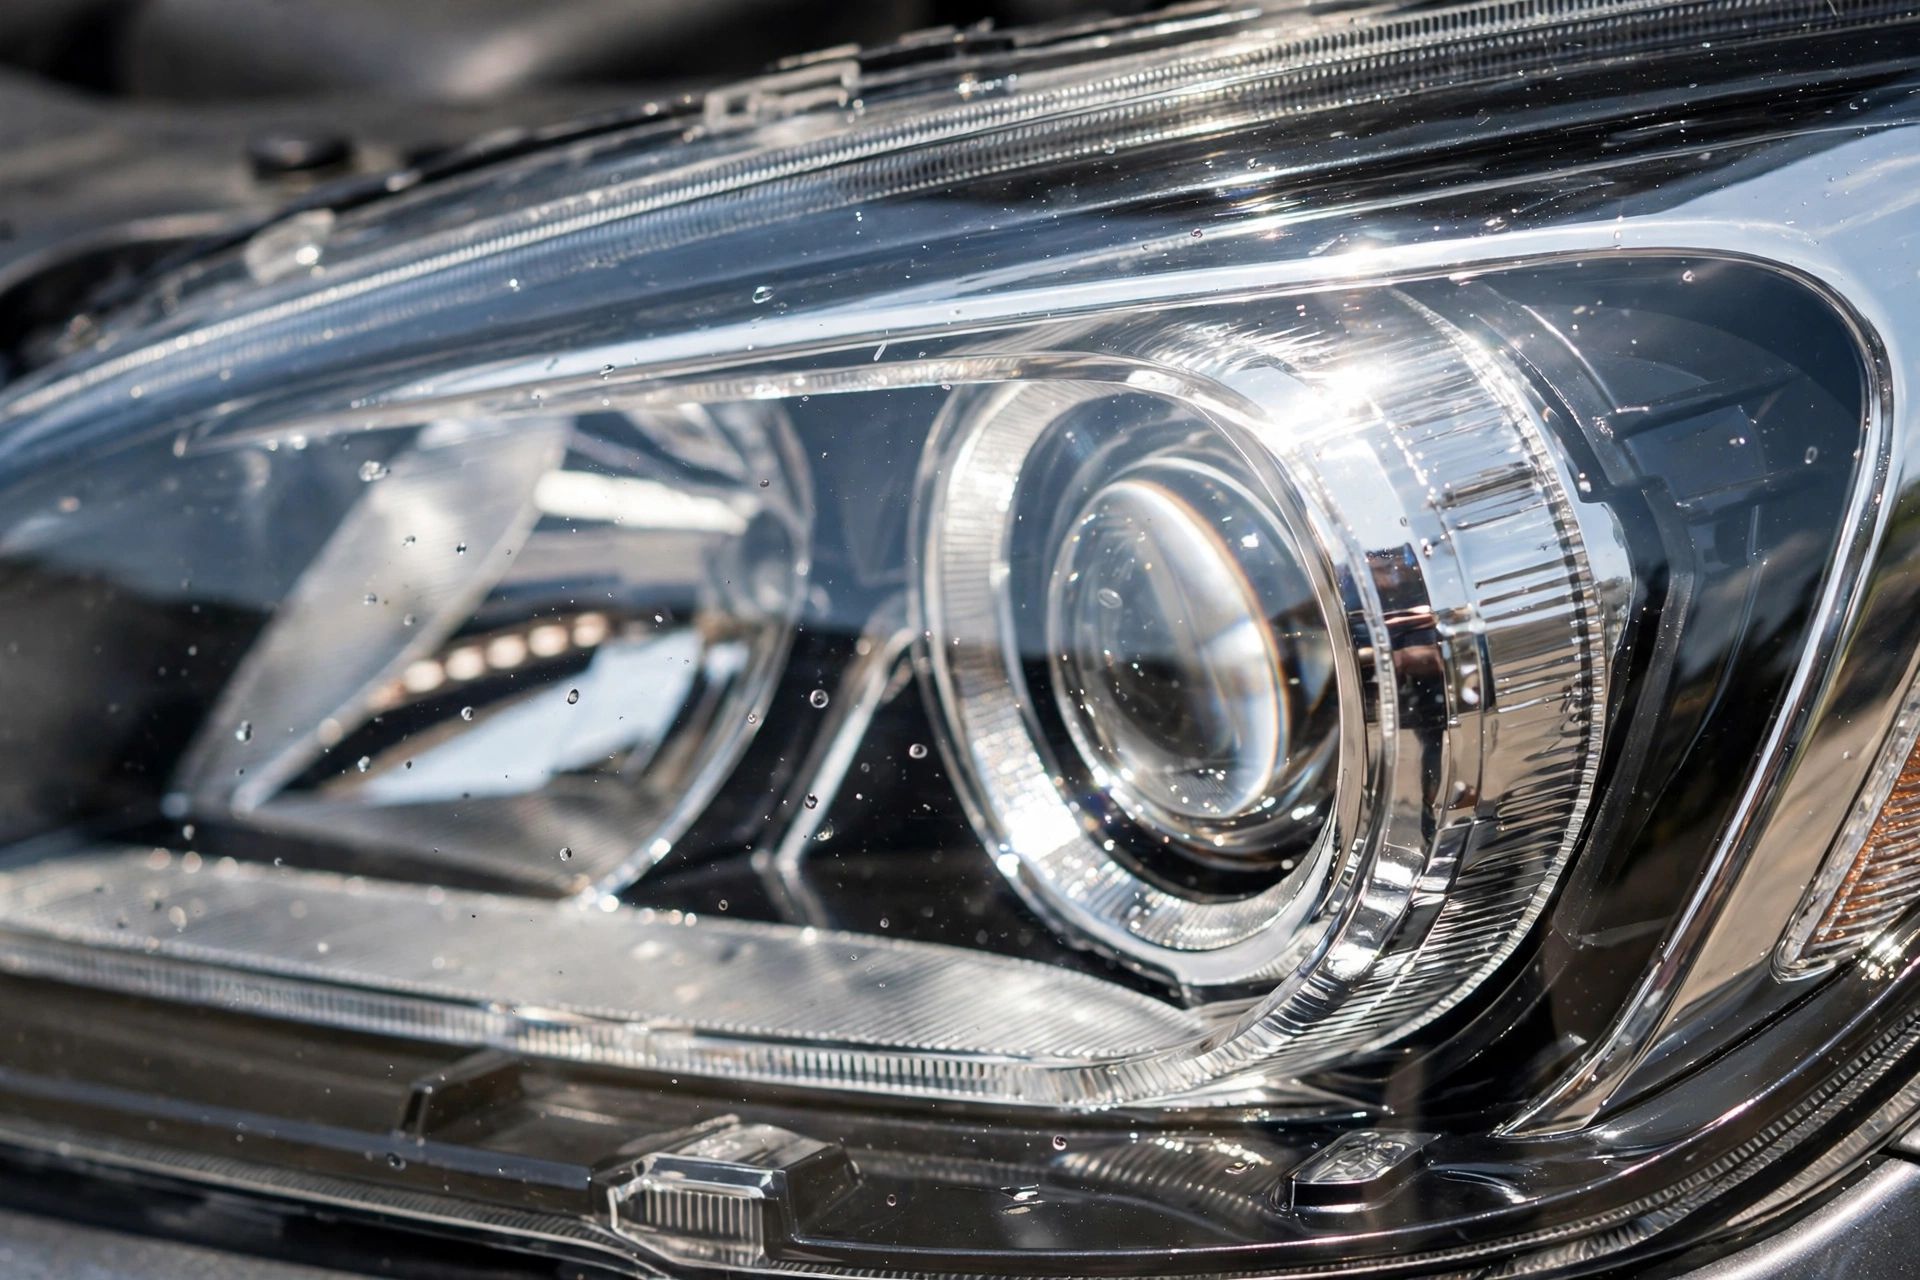
Cloudy headlights are one of the most common problems on cars older than five years. That hazy, yellow film on the lens is not dirt. It is oxidation of the polycarbonate plastic, and it cuts the light reaching the road. Dim headlights mean shorter visibility at night, a weaker high beam, and a car that looks older than it is. The good news is that headlight restoration is a straightforward DIY job. A quality kit, an hour of your time, and some patience can bring lenses back to near new clarity for a fraction of what a body shop charges. This guide explains why headlights cloud over, how to restore them step by step, and which kits are worth buying.
Top 3 Quick Pick
| Overall Winner | Best Budget | Premium Pick | |
|---|---|---|---|
| Product | CERAKOTE Ceramic Headlight Restoration Kit | Meguiar’s Two Step Headlight Restoration Kit (G2970) | 3M Ultra Headlight Restoration Kit (39195) |
| Key spec | 3-step wipe system with ceramic UV coating, no power tools needed | Simple two-step cleaner plus coating, no drill required | Full heavy-duty system with sanding discs, masking tape and wax protectant |
Why Headlights Turn Cloudy
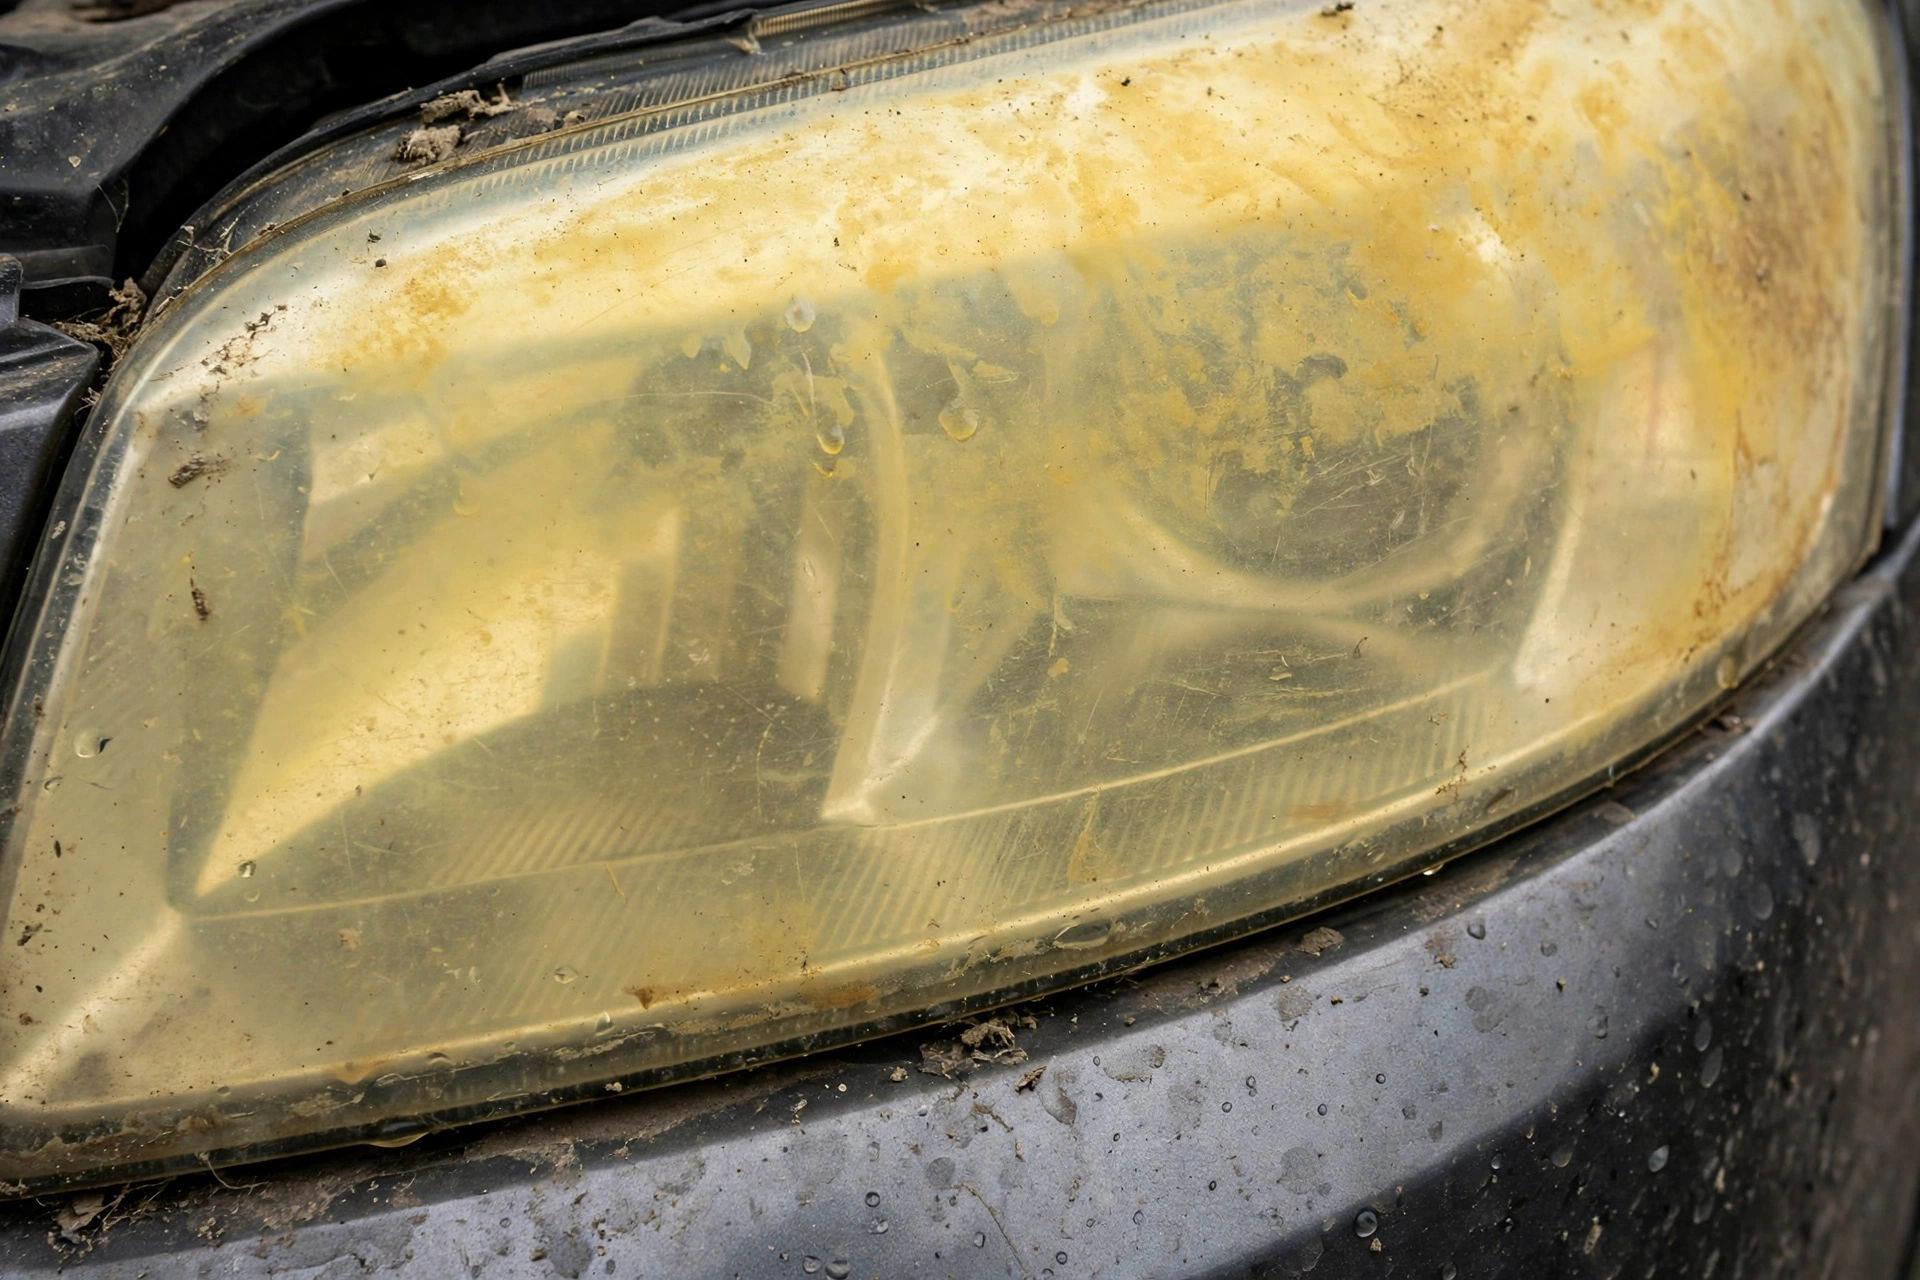
Modern headlight lenses are made from polycarbonate plastic, not glass. Polycarbonate is light and impact resistant, but it is vulnerable to ultraviolet light. From the factory, lenses are coated with a hard UV-resistant clear coat. Years of sun exposure, heat cycles, road grime and car wash chemicals slowly break that coating down. Once the factory coating fails, the raw plastic underneath oxidises, and that oxidation is the yellow haze you see.
Oxidation is only part of the story. Tiny pits from road debris roughen the surface and scatter light, which makes the lens look frosted even in daylight. Moisture and exhaust film add a dull layer on top. The result is a lens that can cut headlight output dramatically. Some studies have measured light loss of 50 percent or more on badly degraded lenses, which is a genuine safety issue on unlit roads.
The encouraging part is that the damage is almost always confined to the outer surface. The reflector and bulb behind the lens are usually fine. That is why headlight restoration works: you are removing a thin layer of damaged plastic and resealing the surface, not rebuilding the whole assembly. Understanding this also explains why a simple wipe with polish gives only a temporary improvement. Unless you remove the oxidised layer and apply fresh UV protection, the haze comes back.
Headlight Restoration Step by Step
1. Wash and mask the headlight
Start by washing the headlight and the surrounding area with car shampoo, then dry it fully. Grit left on the lens will cause deeper scratches during sanding. Apply masking tape around the edges of the headlight to protect the paintwork and trim. Use two overlapping layers for extra protection, and press the tape firmly into the gap between the lens and the body panel.
2. Sand away the oxidation
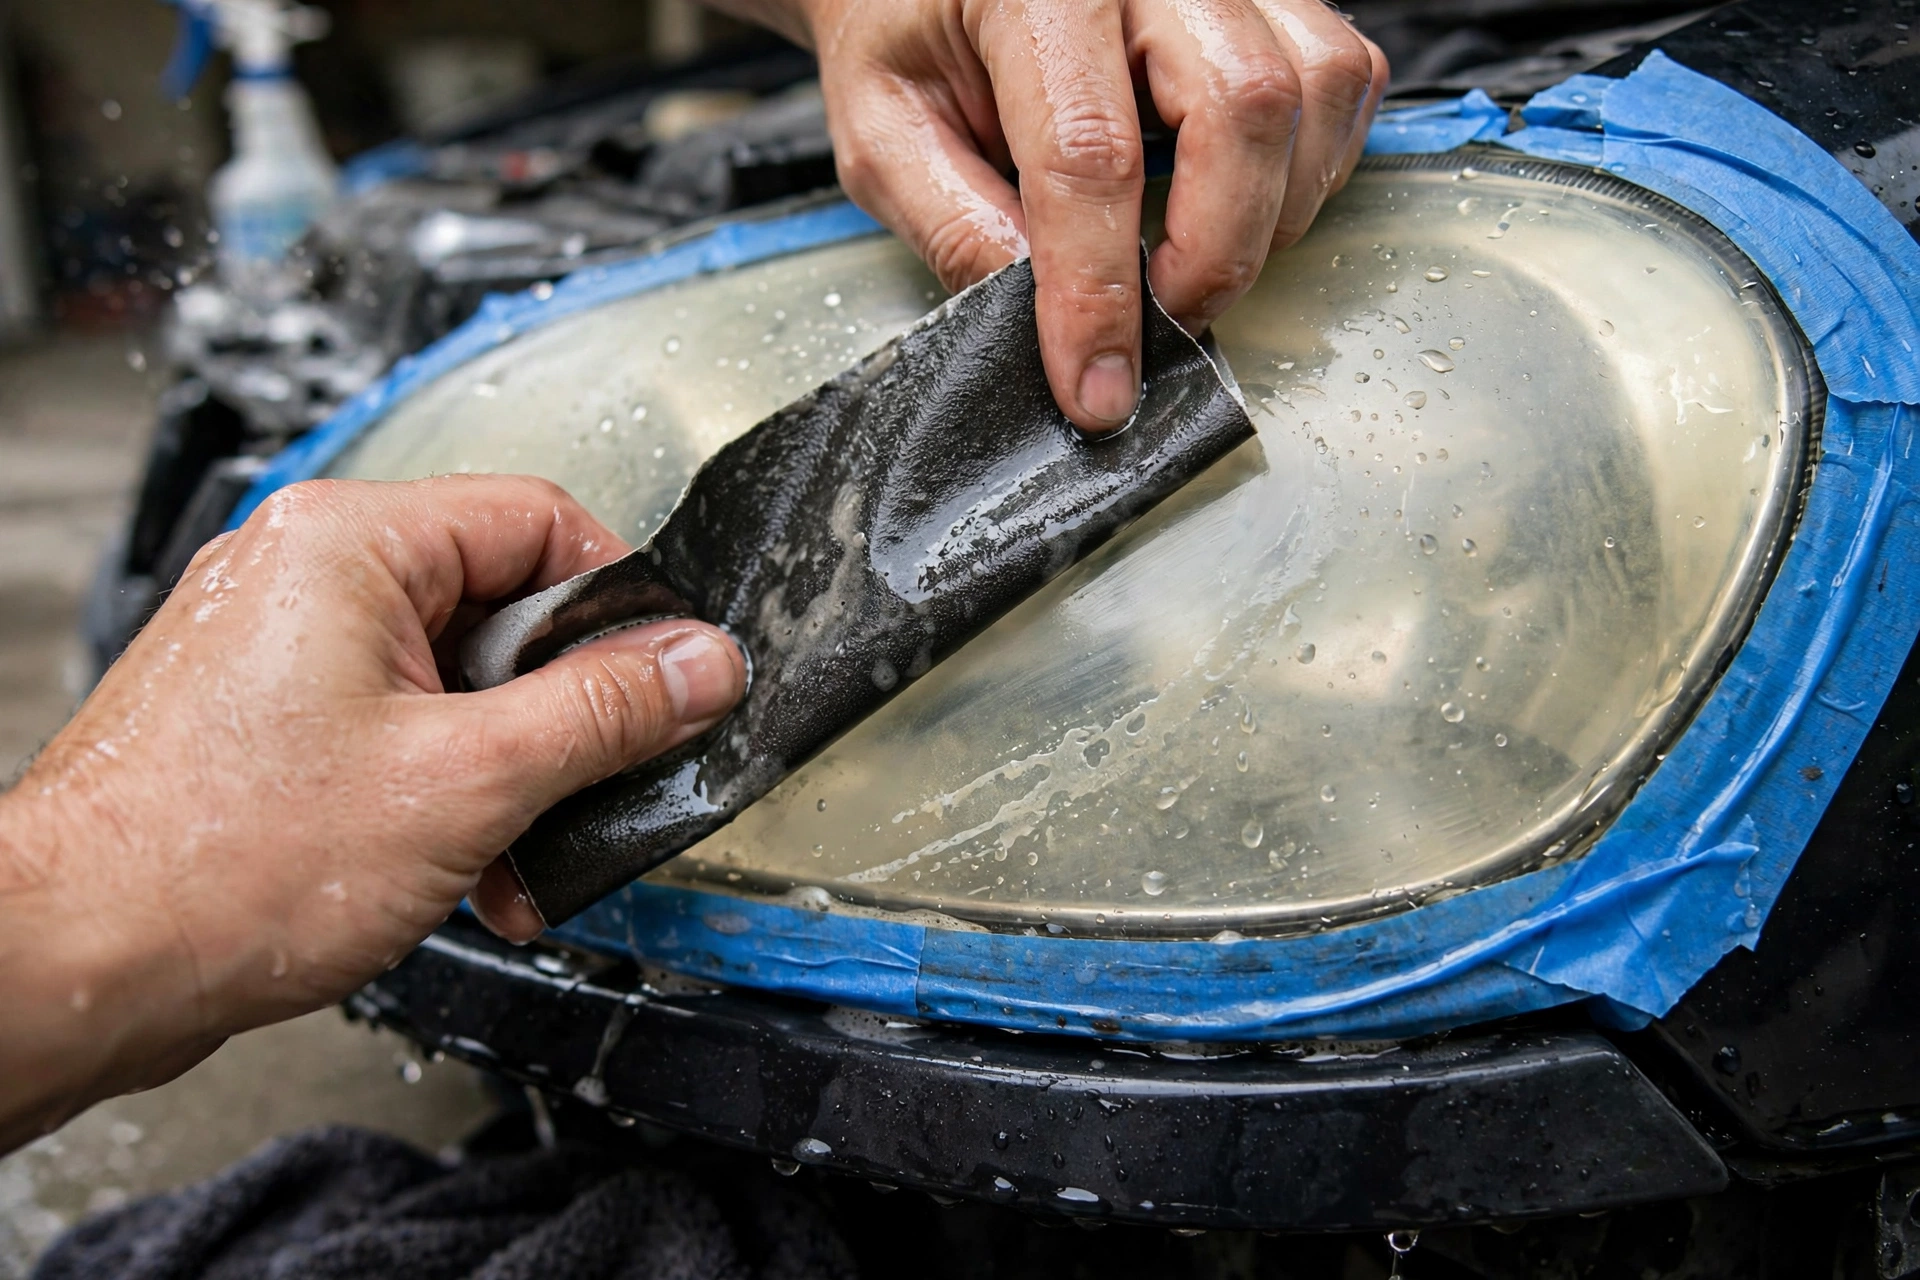
Wet sand the lens with the coarsest pad or paper in the kit, keeping the surface wet at all times. Sand in straight, even strokes, first horizontally and then vertically, until the yellow layer is gone and the lens looks uniformly frosted. Rinse and move to the next finer grit, repeating the pattern. Most kits include three or four stages, roughly 1000, 2000 and 3000 grit. Do not skip grits: each stage removes the scratches left by the previous one. The lens will look worse before it looks better. That milky, opaque finish after the first sanding stage is normal.
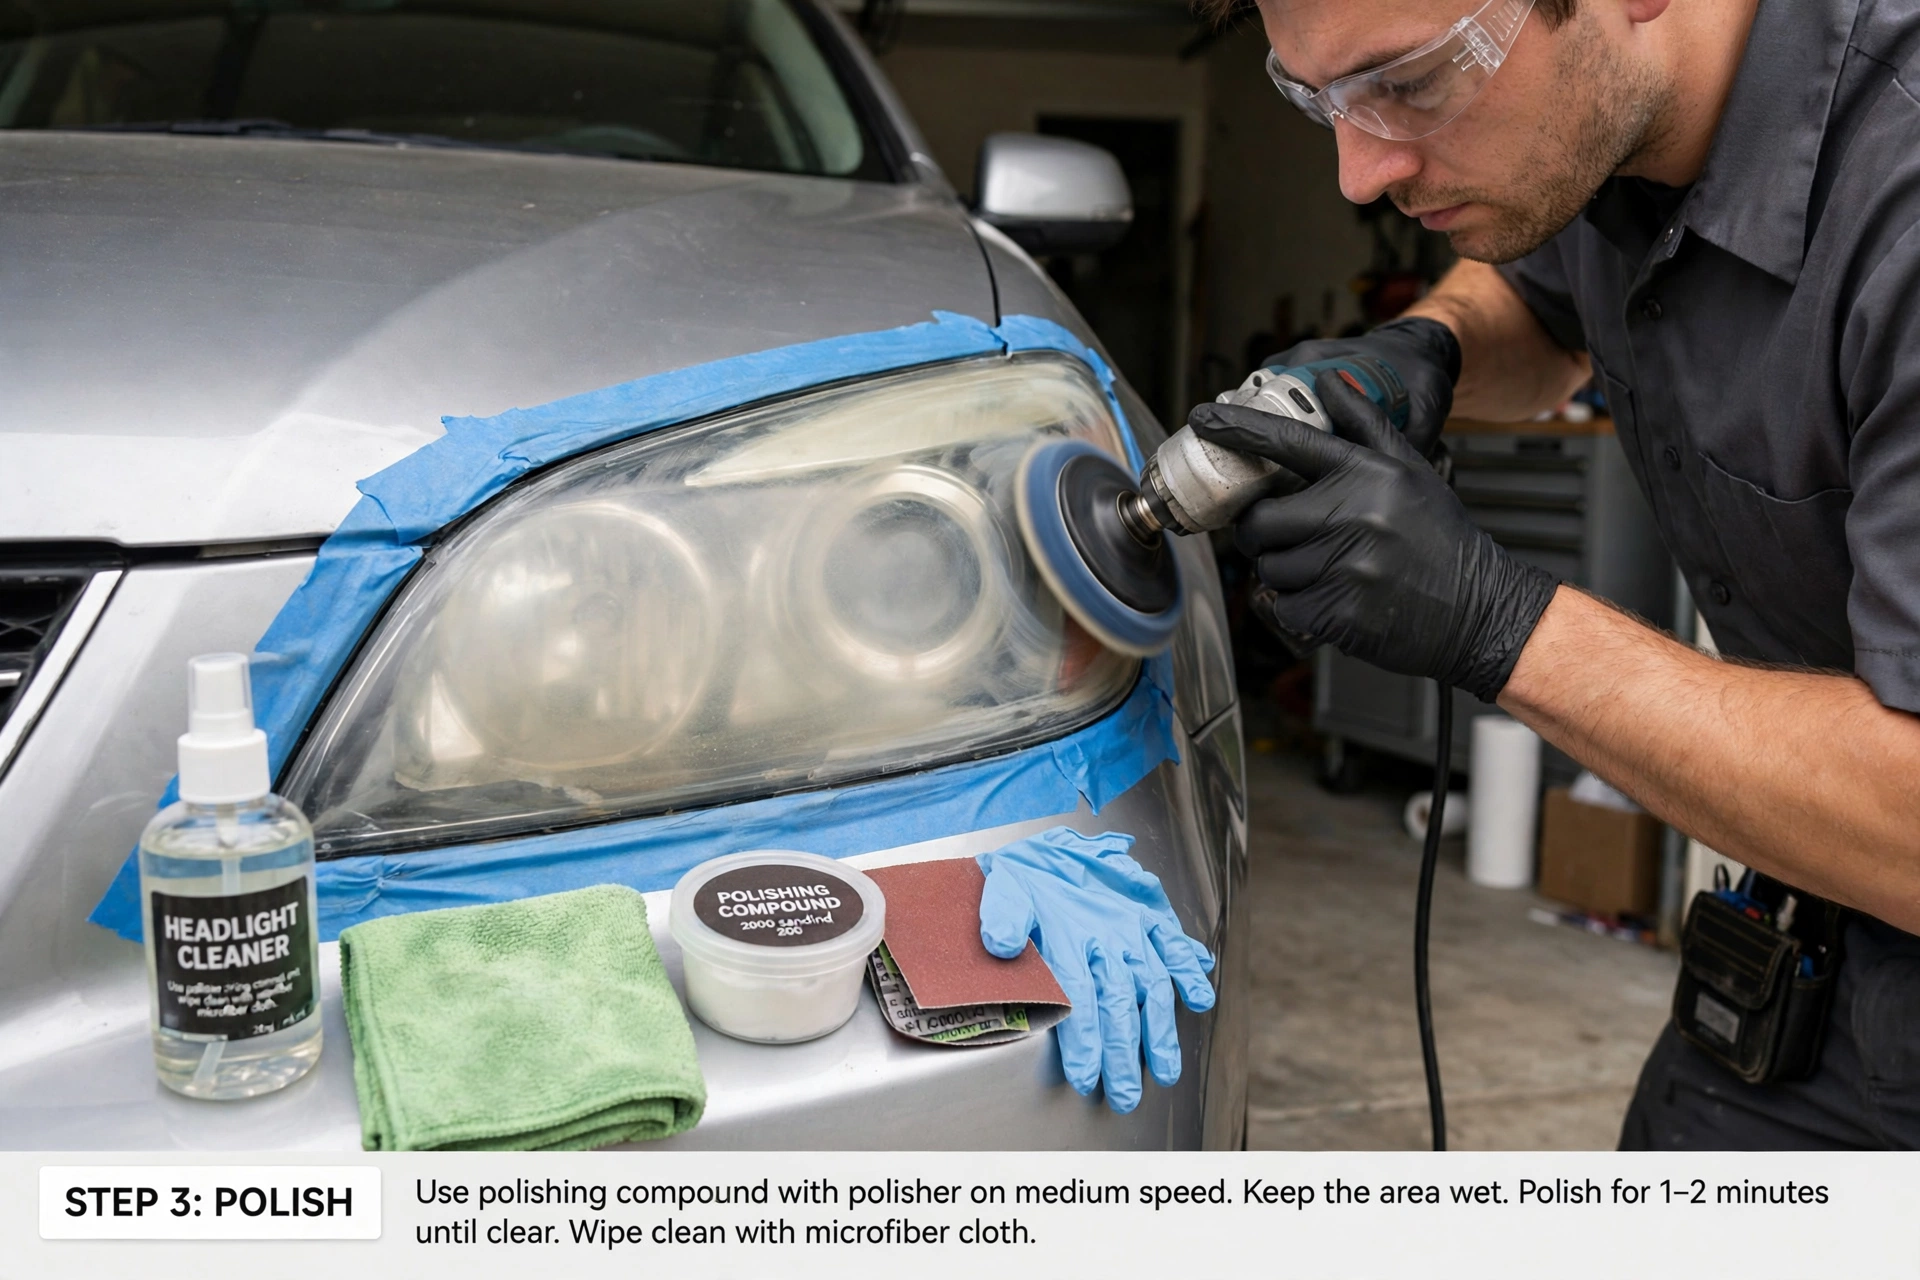
3. Polish the lens clear
Once the final sanding stage leaves a fine, even haze, switch to the polishing compound. Apply a small amount to the included applicator pad or a foam pad on a drill, and work it over the lens at moderate speed with light pressure. The lens should turn noticeably clearer within a few minutes. Wipe off the residue with a clean microfibre cloth and inspect the lens from several angles. If you see cloudy patches or sanding marks, repeat the last sanding stage on those areas and polish again.
4. Apply the UV protective coating
This is the step that determines how long the result lasts. Wipe the lens down with the supplied surface prep or isopropyl alcohol to remove polishing oils. Apply the UV coating exactly as the kit directs, usually in slow overlapping passes with the supplied wipe. Avoid touching the lens while the coating cures, and keep the car dry for the time stated on the box. A ceramic coating, like the one in the CERAKOTE kit, chemically bonds to the plastic and gives the longest protection.
5. Remove the tape and inspect
Peel the masking tape away carefully once the coating is dry to the touch. Check the lens in daylight and at night with the headlights on. Compare the beam pattern against a wall: you should see a brighter, sharper cut-off than before. If one headlight was worse than the other, confirm both now match. Keep the supplied maintenance wipe or sealant, if the kit includes one, for a top-up in six months.
Tips for a Better Result
- Work in the shade. Direct sun dries chemicals too fast and makes sanding marks harder to see.
- Do both headlights even if only one looks bad. The other is usually not far behind, and matching clarity looks better.
- Replace the masking tape if it gets soaked. Wet tape can let slurry seep onto the paint.
- Wear the glove supplied with the kit. Sanding residue and coating chemicals are not kind to skin.
- Know when to stop. If your lenses have cracks or moisture inside the housing, restoration kits cannot fix that. The lens needs replacing or professional resealing.
Frequently Asked Questions
How long does headlight restoration last?
A proper restoration with a UV-protective top coat typically lasts one to three years, depending on sun exposure and whether the car is garaged. Kits without a UV sealant tend to fade again within months, which is why the coating step matters more than the polishing step.
Can I restore headlights without sanding?
Light haze can sometimes be improved with a polishing compound alone, but moderate to heavy oxidation needs sanding to remove the damaged layer. Wipe-on kits work on mildly cloudy lenses; if the yellowing is deep, expect to sand.
Is it better to restore headlights or replace them?
Restoration costs a fraction of replacement and works well when the damage is surface oxidation. Replacement makes more sense when the lens is cracked, has moisture inside the housing, or the reflective coating behind the lens has failed.
Does toothpaste really work on cloudy headlights?
Toothpaste is a mild abrasive, so it can reduce light haze temporarily. It is not a substitute for a restoration kit. It removes no meaningful oxidation layer and provides zero UV protection, so the haze returns quickly.
How much does professional headlight restoration cost?
Most shops charge between 75 and 150 dollars per pair, depending on the vehicle and the severity of the oxidation. A DIY kit costs a fraction of that and takes about an hour.
Will restored headlights pass inspection?
In most cases, yes. Inspections typically fail headlights that are too dim or badly discoloured. Restoring the lens improves light output and appearance, which is exactly what inspectors want to see.