As an Amazon Associate I earn from qualifying purchases.
Frequently Asked Questions
Do headlight restoration kits really work?
A headlight restoration kit really works for oxidation and yellowing. AAA’s laboratory testing found that professional and DIY restoration returned light output to approximately 70 percent of new, versus 22 percent for deteriorated lenses. It is the most cost-effective fix AAA tested.
How long does the CERAKOTE restoration last?
The ceramic coating is the long-life part of the system. The manufacturer warrants the restoration for as long as you own the vehicle, and independent how-to guides report results holding up to around 24 months depending on sun exposure and climate. Uncoated wipe-only kits typically fade within months.
Will it repair cracked headlights?
No. The kit restores clarity to the lens surface and removes oxidation. It cannot fix cracks, deep pitting, internal moisture, or damaged reflectors. Those need assembly replacement.
Do I need any power tools?
No. The CERAKOTE kit is a manual three-step process: oxidation remover wipes, hand sanding materials, and ceramic coating wipes. No drill or buffer is required, which also removes the main way beginners damage a lens.
Can I wash my car right after using it?
Avoid washing the headlights for 24 hours after applying the ceramic coating so it can fully cure. Washing too soon can compromise the coating.
Is restoration better than replacing the headlights?
It depends on budget and condition. OEM replacement restores 100 percent of light output but is the most expensive option. Restoration returns about 70 percent at a fraction of the cost, which AAA identified as the most cost-effective choice for oxidized lenses.
CERAKOTE Ceramic Headlight Restoration Kit Review
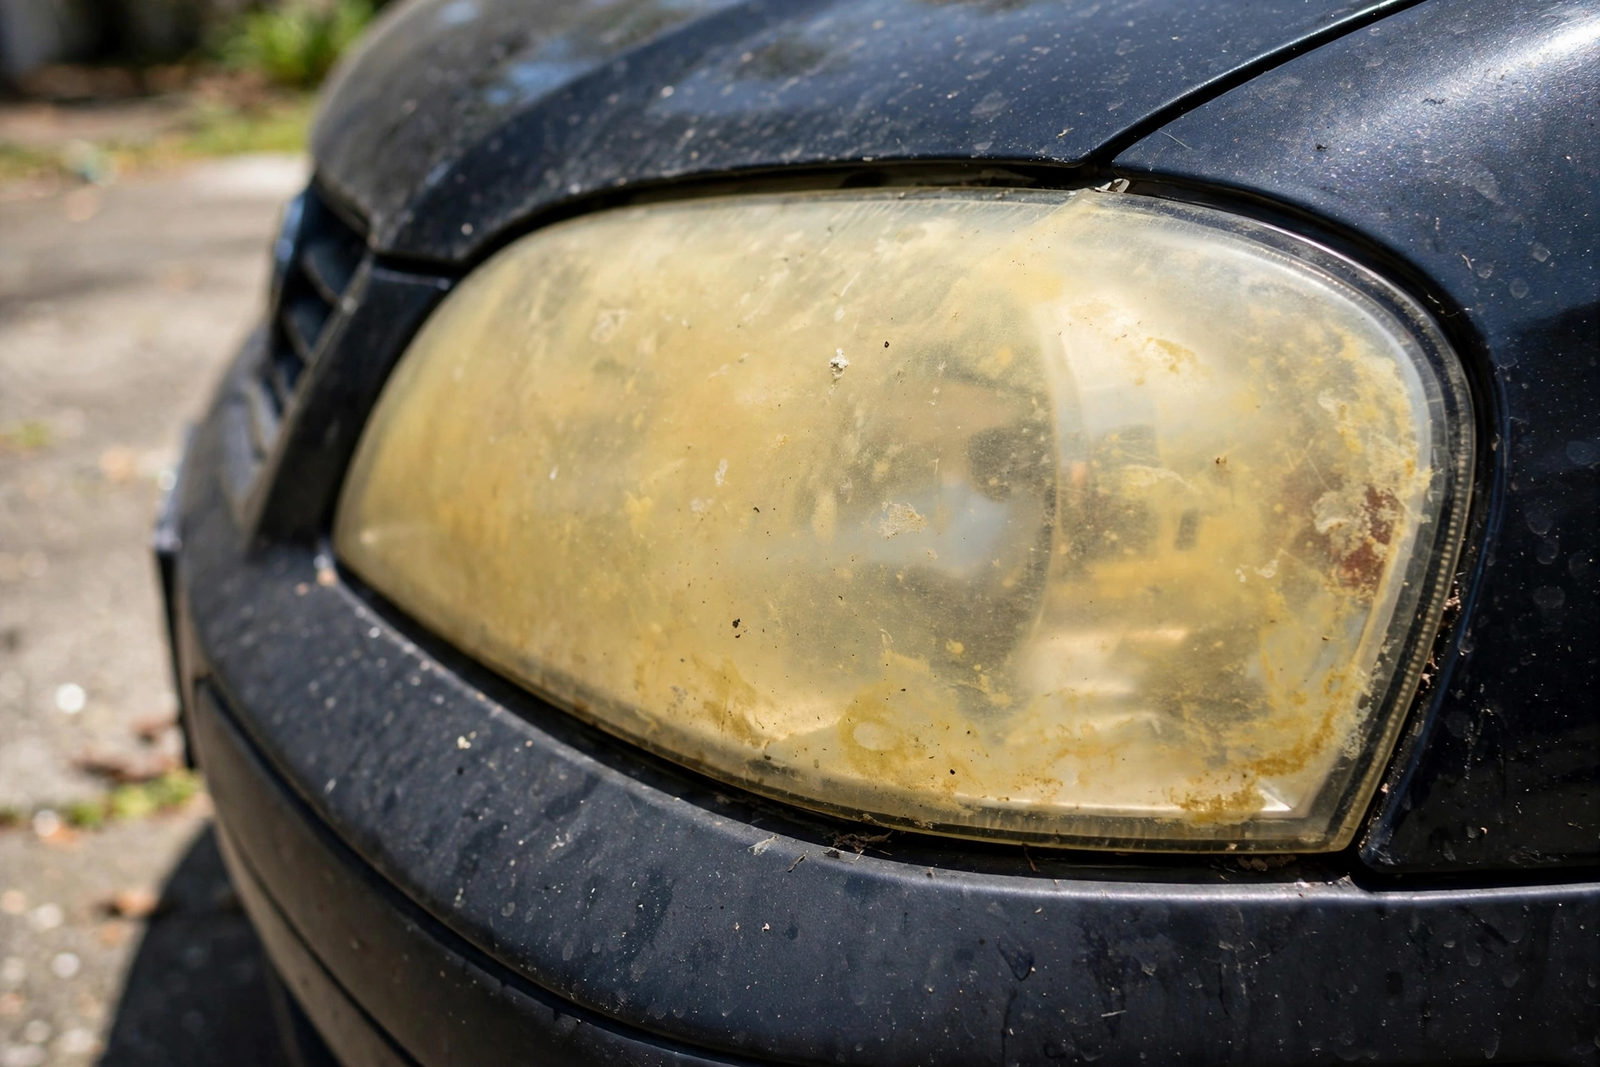
Yellowed headlights do more than make your car look tired. They steal your light at night, they can cost you a failed safety inspection, and replacing the whole assembly at a shop is one of those bills nobody wants. A headlight restoration kit promises to fix the problem in your driveway for a fraction of that cost. This is a straight look at the CERAKOTE Ceramic Headlight Restoration Kit: what is in the box, how the three-step process actually works, what it can and cannot fix, and whether it deserves your money.
The short answer: the CERAKOTE headlight restoration kit is a genuine fix for oxidized, yellowed headlight lenses. Its three-step process (oxidation remover wipes, light sanding, ceramic UV coating) addresses the actual cause of yellowing, and the ceramic coating is what separates it from wipe-only kits that fade again in months. It will not repair cracked or deeply pitted lenses, and it will not make a 12-year-old lens factory-new. But for the most common case, cloudy UV-damaged plastic, it is the most cost-effective option AAA’s own research identified.
Table of Contents
Quick Pick: CERAKOTE Headlight Restoration Kit
| Pick | Product | Best For | Check Price |
|---|---|---|---|
| Best Overall | CERAKOTE Ceramic Headlight Restoration Kit | Oxidized, yellowed lenses on daily drivers — the core use case | Check Price on Amazon |
| Best for First-Timers | CERAKOTE Ceramic Headlight Restoration Kit | No power tools needed; the wipe-based 3-step process is beginner-friendly | Check Price on Amazon |
| Best for Badly Oxidized Lights | CERAKOTE Ceramic Headlight Restoration Kit | Heavy haze where wipe-only kits fail — the included sanding step handles it | Check Price on Amazon |
Why Your Headlights Turn Yellow (and Why It Matters)
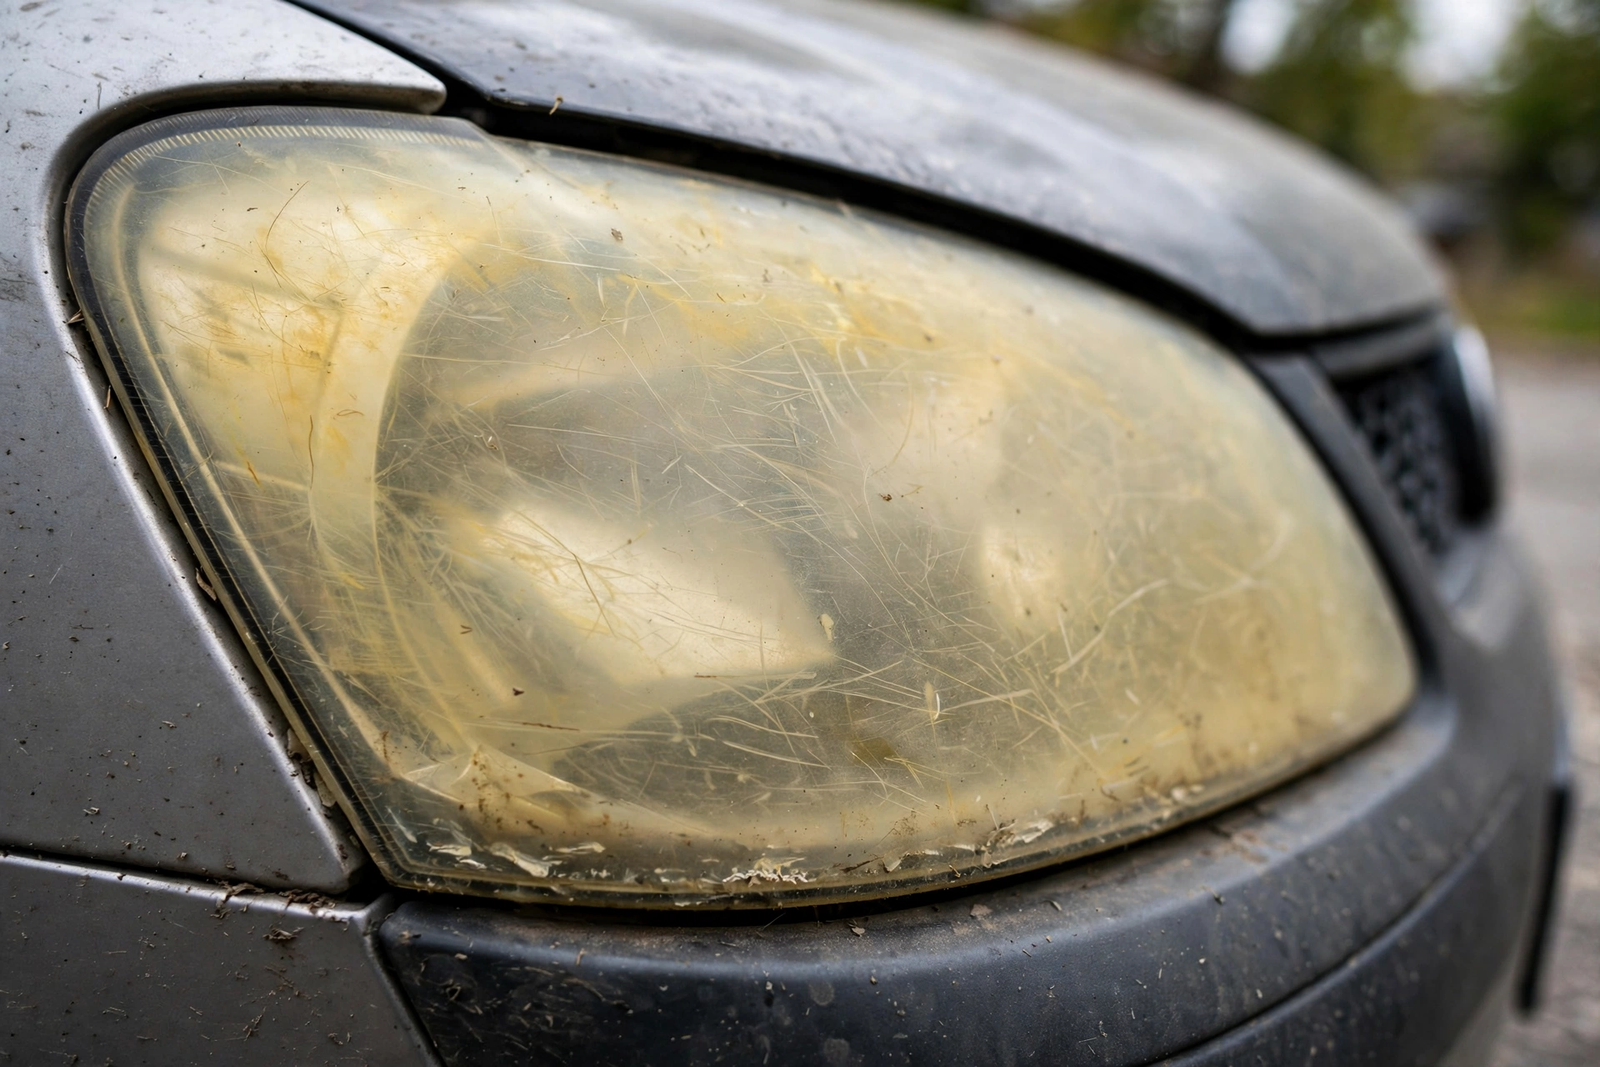
Modern headlight lenses are polycarbonate plastic with a factory UV-protective coating. Sunlight breaks that coating down over time, and road grit abrades it. AAA’s research puts the timeline plainly: lenses “begin to yellow and otherwise show signs of deterioration at five years age,” give or take two years, with ultraviolet radiation and road-grit abrasion as the primary causes.
The safety consequence is bigger than most drivers expect. In AAA’s accredited laboratory testing, deteriorated headlamps produced only 22 percent of the light output of new assemblies on low beam. The same research notes that a halogen reflector headlamp in new condition only supports nighttime driving on unlit roads at speeds up to 39 miles per hour. Cut that output by nearly four-fifths and night driving gets genuinely dangerous.
That is the problem a headlight restoration kit is trying to solve. AAA tested the options: OEM replacement restores 100 percent of light output but costs the most; aftermarket assemblies restore 83 to 90 percent; and professional or DIY restoration returns output to approximately 70 percent, making it, in AAA’s words, the most cost-effective option.
What’s Inside the CERAKOTE Kit
The kit is a 10-wipe, three-step system, and everything needed is in the box. No drill, no buffer, no power tools of any kind, which matters because rotary tools are exactly how beginners burn through a lens.
- Step 1: Oxidation removing wipes (8 wipes). These chemically remove the oxidized layer from the lens surface. This is the step that does the visible work on moderately yellowed lights.
- Step 2: Sanding kit. For oxidation too deep for the wipes alone. The kit includes sanding materials to level remaining haze before coating.
- Step 3: Ceramic coating wipes (2 wipes). This is the differentiator. The ceramic coating chemically bonds to the lens and provides UV protection going forward. Cheap wipe-only kits skip this and the haze returns within months because nothing is protecting the bare plastic.
The whole process takes about 30 minutes per the manufacturer’s instructions. One kit covers both headlights on a typical vehicle.
How the 3-Step Headlight Restoration Process Works
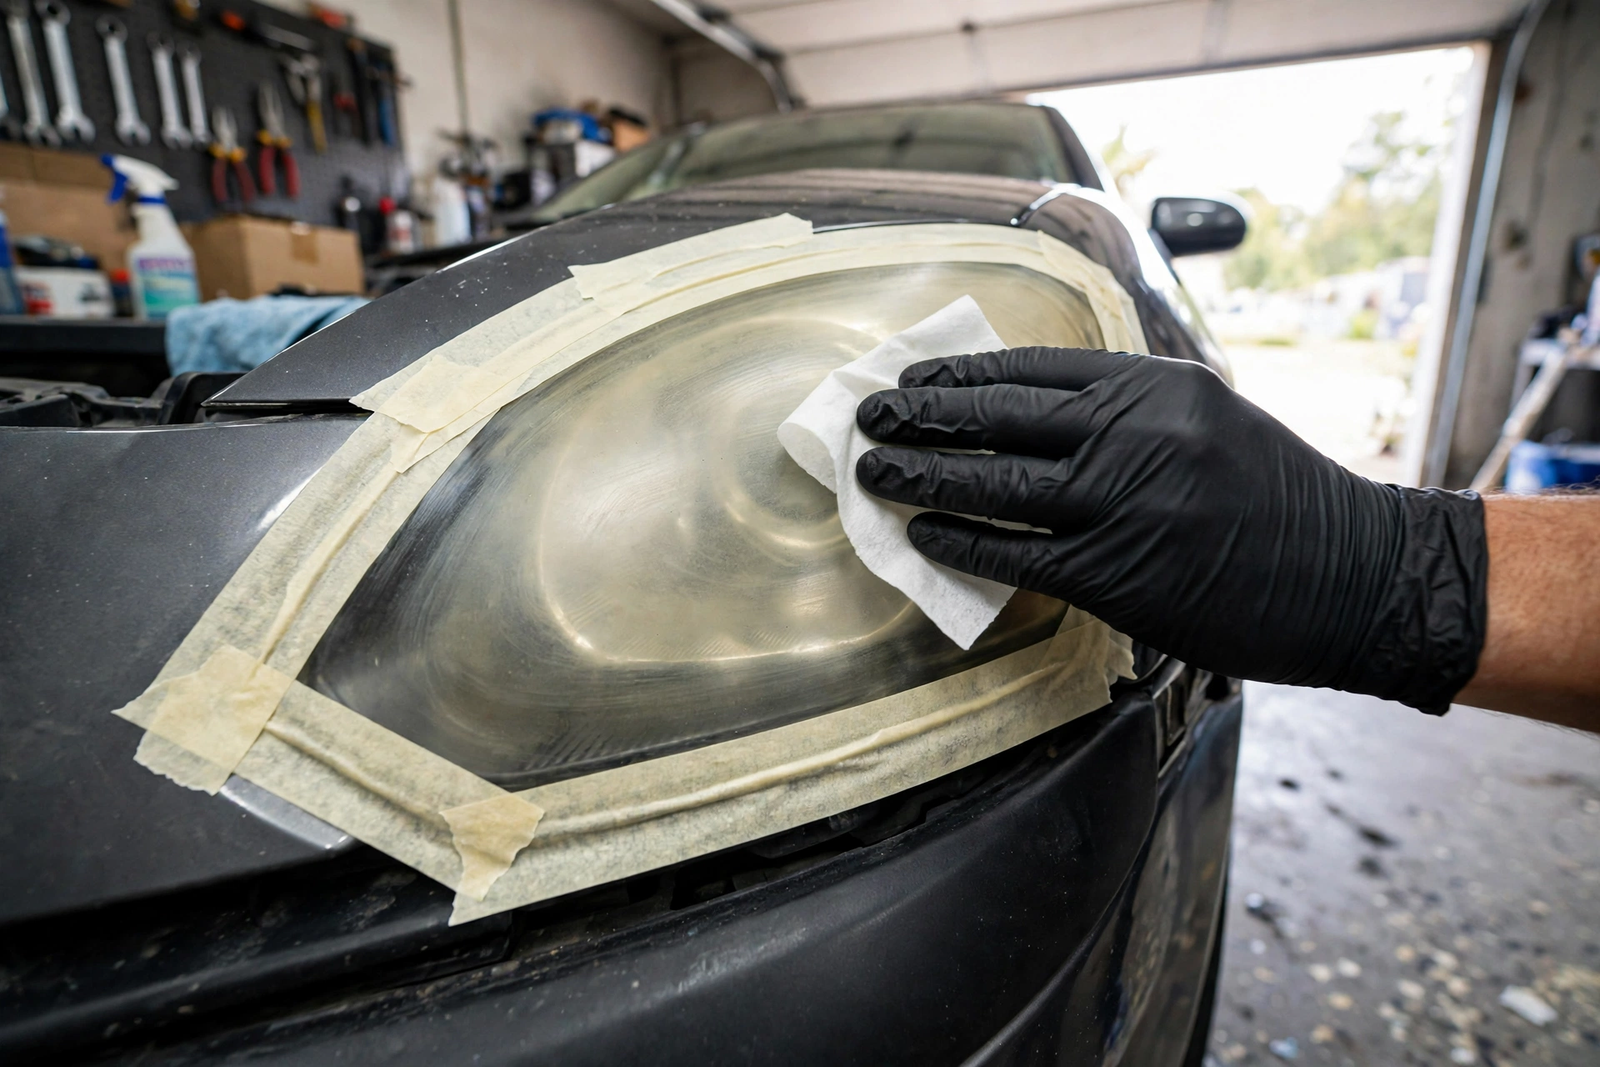
The process follows the chemistry of the problem. First, wash the headlights and tape off the surrounding paint and trim. Masking matters because the sanding step will scuff anything it touches.
Step 1 is the oxidation remover. Wipe the lens thoroughly with the Step 1 wipes; they dissolve the yellowed, dead plastic at the surface. On lightly hazed lenses this step alone produces most of the visible improvement.
Step 2 is sanding, and only as much as the lens needs. If the lens is still hazy after Step 1, wet-sand with the included materials to level the remaining oxidation. Keep the surface wet, use light pressure, and work evenly. This is the step beginners rush; patience here is the difference between a clear lens and visible sanding marks.
Step 3 is the ceramic coating. Apply the coating wipes to the clean, dry lens. The ceramic layer bonds to the plastic and replaces the factory UV protection that sunlight destroyed. Avoid washing the headlights for 24 hours after application so the coating can cure.
That curing rule is the single most skipped instruction. Wash the car too soon and you can compromise the coating before it sets.
What This Headlight Restoration Kit Can and Cannot Fix
Honest limits matter more than hype with this category, so here they are.
It fixes: yellowing, cloudiness, haze, and light surface oxidation on polycarbonate lenses. That covers the large majority of ugly headlights on cars five to fifteen years old.
It does not fix: cracked lenses, deep pitting from road debris, moisture or condensation inside the assembly, or damaged reflectors behind the lens. If water is getting inside the housing, no surface treatment helps; the assembly needs replacement. Heavy pitting that you can feel with a fingernail may improve but will not disappear.
Expected result: clearer lenses and meaningfully more usable light, not a time machine. AAA measured DIY and professional restoration at roughly 70 percent of new-lens light output. That is a large, real improvement over the 22 percent of a deteriorated lens, at a small fraction of replacement cost.
Who Should Buy It (and Who Shouldn’t)
Buy it if: your headlights are yellowed or cloudy, the car is otherwise worth keeping, and you want the cheapest real fix. It is also the right call before a safety inspection if dim, hazy lenses are the concern.
Skip it if: a lens is cracked, holds moisture, or the reflector inside is damaged. Skip it too if the car is nearly new; lenses under factory UV protection do not need restoration and the kit would be solving a problem you do not have.
For everyone in the middle, the math is simple. Professional headlight restoration at a shop and full assembly replacement both cost multiples of a DIY kit, and AAA’s testing says the DIY route restores about 70 percent of light output. That is the value proposition, stated without exaggeration.
Keeping the Rest of the Car in Shape
Headlights do not age in isolation. If your lenses are yellowing, the car is old enough that the rest of the maintenance schedule deserves a look. Our car maintenance checklist covers what to inspect and when. For the exterior, a proper wash routine matters more than people think; see our beginner’s car detailing kit guide and, if you are upgrading your wash setup, the best pressure washers for car detailing.