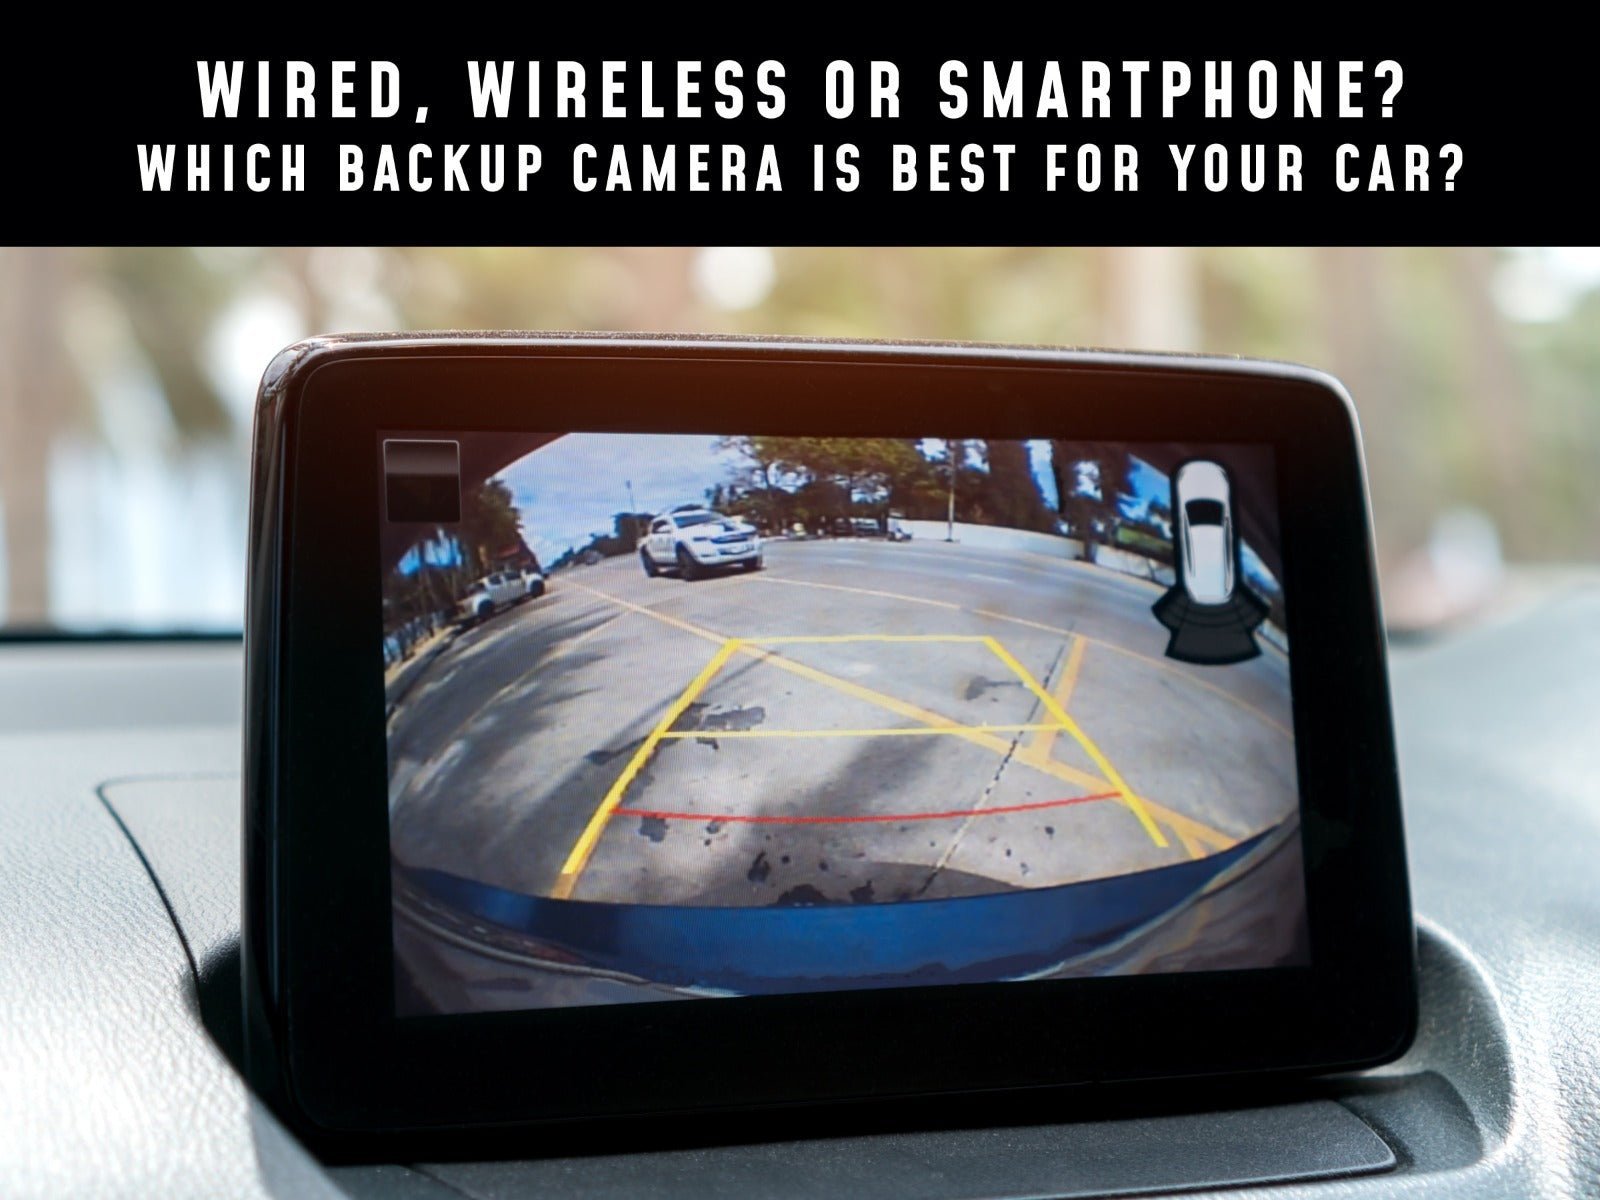
A reliable wireless backup camera for cars pairs a 2.4 GHz digital transmitter with a 5- or 7-inch monitor in about 30 minutes using basic hand tools. The best wireless backup camera suits drivers who can’t run wires through a trunk or tailgate.
What you need to install a wireless backup camera
The wrong parts waste an afternoon. Gather everything before you start drilling or tapping into wires.
- A digital wireless camera kit (analog kits pick up interference from phones and other electronics)
- A 5-inch or 7-inch monitor that matches the camera’s frequency
- Wire strippers and electrical tape or heat-shrink tubing
- A 10 mm wrench or socket set for license plate bolts
- A multimeter to find the reverse light wire
- Zip ties to secure loose cables
A standard analog video transmitter won’t work as a substitute here because it’s more susceptible to interference from other electronics than a digital system. If your car uses CAN bus wiring instead of simple 12-volt lines, stop and ask a certified auto electrician to tap the power safely.
Steps to mount and wire the camera
Follow these steps in order. This assumes a standard sedan or SUV with a 12-volt electrical system; if you drive a heavy-duty truck with a 24-volt system, use a step-down converter rated for the camera’s voltage.
- Mount the camera bracket to the top center of your license plate using the factory bolts.
- Route the camera’s power cable behind the bumper toward the nearest tail light assembly.
- Remove the tail light housing to expose the bulb sockets and wiring harness.
- Use your multimeter to identify the positive reverse light wire while a helper shifts the car into reverse.
- Strip half an inch of insulation from the reverse wire and the camera’s red power wire, then twist them together.
- Connect the camera’s black ground wire to a bare metal bolt on the car’s chassis.
- Seal both connections tightly with heat-shrink tubing or three overlapping wraps of electrical tape.
- Plug the monitor into the 12-volt cigarette lighter socket inside the cabin.
- Turn the ignition on, shift into reverse, and wait two seconds for the digital signal to pair automatically.
Tip: If the screen stays black, use your multimeter to re-check the tail light wires—you may have tapped a ground wire instead of the positive reverse wire.
Careful: Never splice into airbag sensors or ABS wiring under the dash. If you aren’t sure which harness controls safety systems, leave the interior wiring to a professional installer.
How different setups change the job
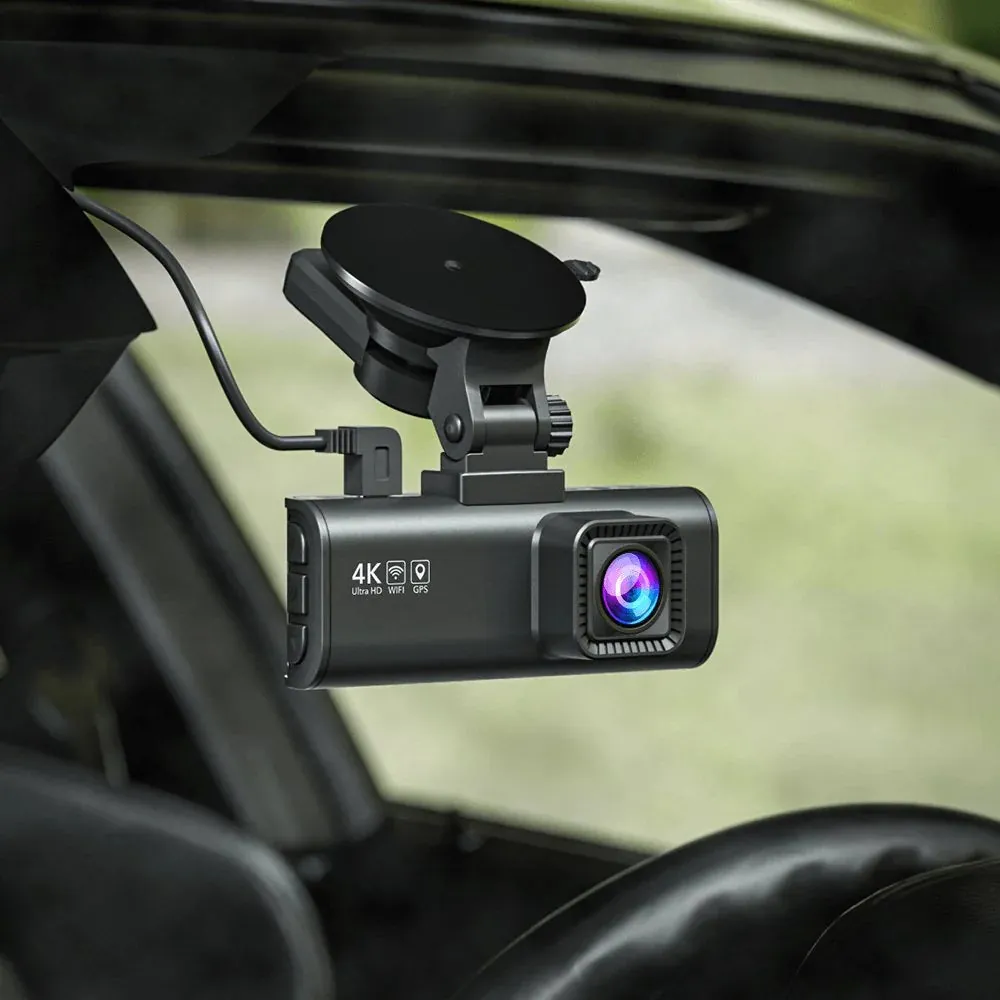
The time and effort shift depending on what you’re driving and where you put the screen.
| Vehicle type | Time needed | What changes | Watch for this |
|---|---|---|---|
| Sedan or hatchback | 30–45 minutes | Short wire run to tail lights | Trunk hinge pinching the cable |
| Pickup truck | 45–60 minutes | Longer route along the frame rail | Exhaust heat melting the wire casing |
| SUV or van | 40–55 minutes | Higher mounting point on the tailgate | Tailgate wiring loom getting cut |
| RV or trailer | 60–90 minutes | Needs a high-gain antenna upgrade | Signal dropping past 30 feet |
| License plate frame mount | 20–30 minutes | No drilling required | Frame blocking the bottom of the lens |
Start with the shortest wire route and the lowest power draw first.
Checking the picture and signal quality
A good setup gives you a clear, steady image the moment you shift into reverse.
Digital wireless signals drop frames when the transmitter sits behind thick steel. Route the antenna outside the metal body panel to prevent this. Keep the transmitter at least six inches away from heat-generating LED brake light resistors. If the picture rolls or tears, check both camera and monitor are set to NTSC or PAL.
Safety rules and keeping it running
The NHTSA rear visibility standard requires passenger vehicles sold in the US to show a 10-foot-wide by 20-foot-long zone extending rearward from the back of the vehicle. Your camera should cover at least this area. Zip-tie every loose wire away from moving suspension parts and hot exhaust pipes. Check the lens for mud and wipe contacts clean every spring.
Other ways to get a rear view
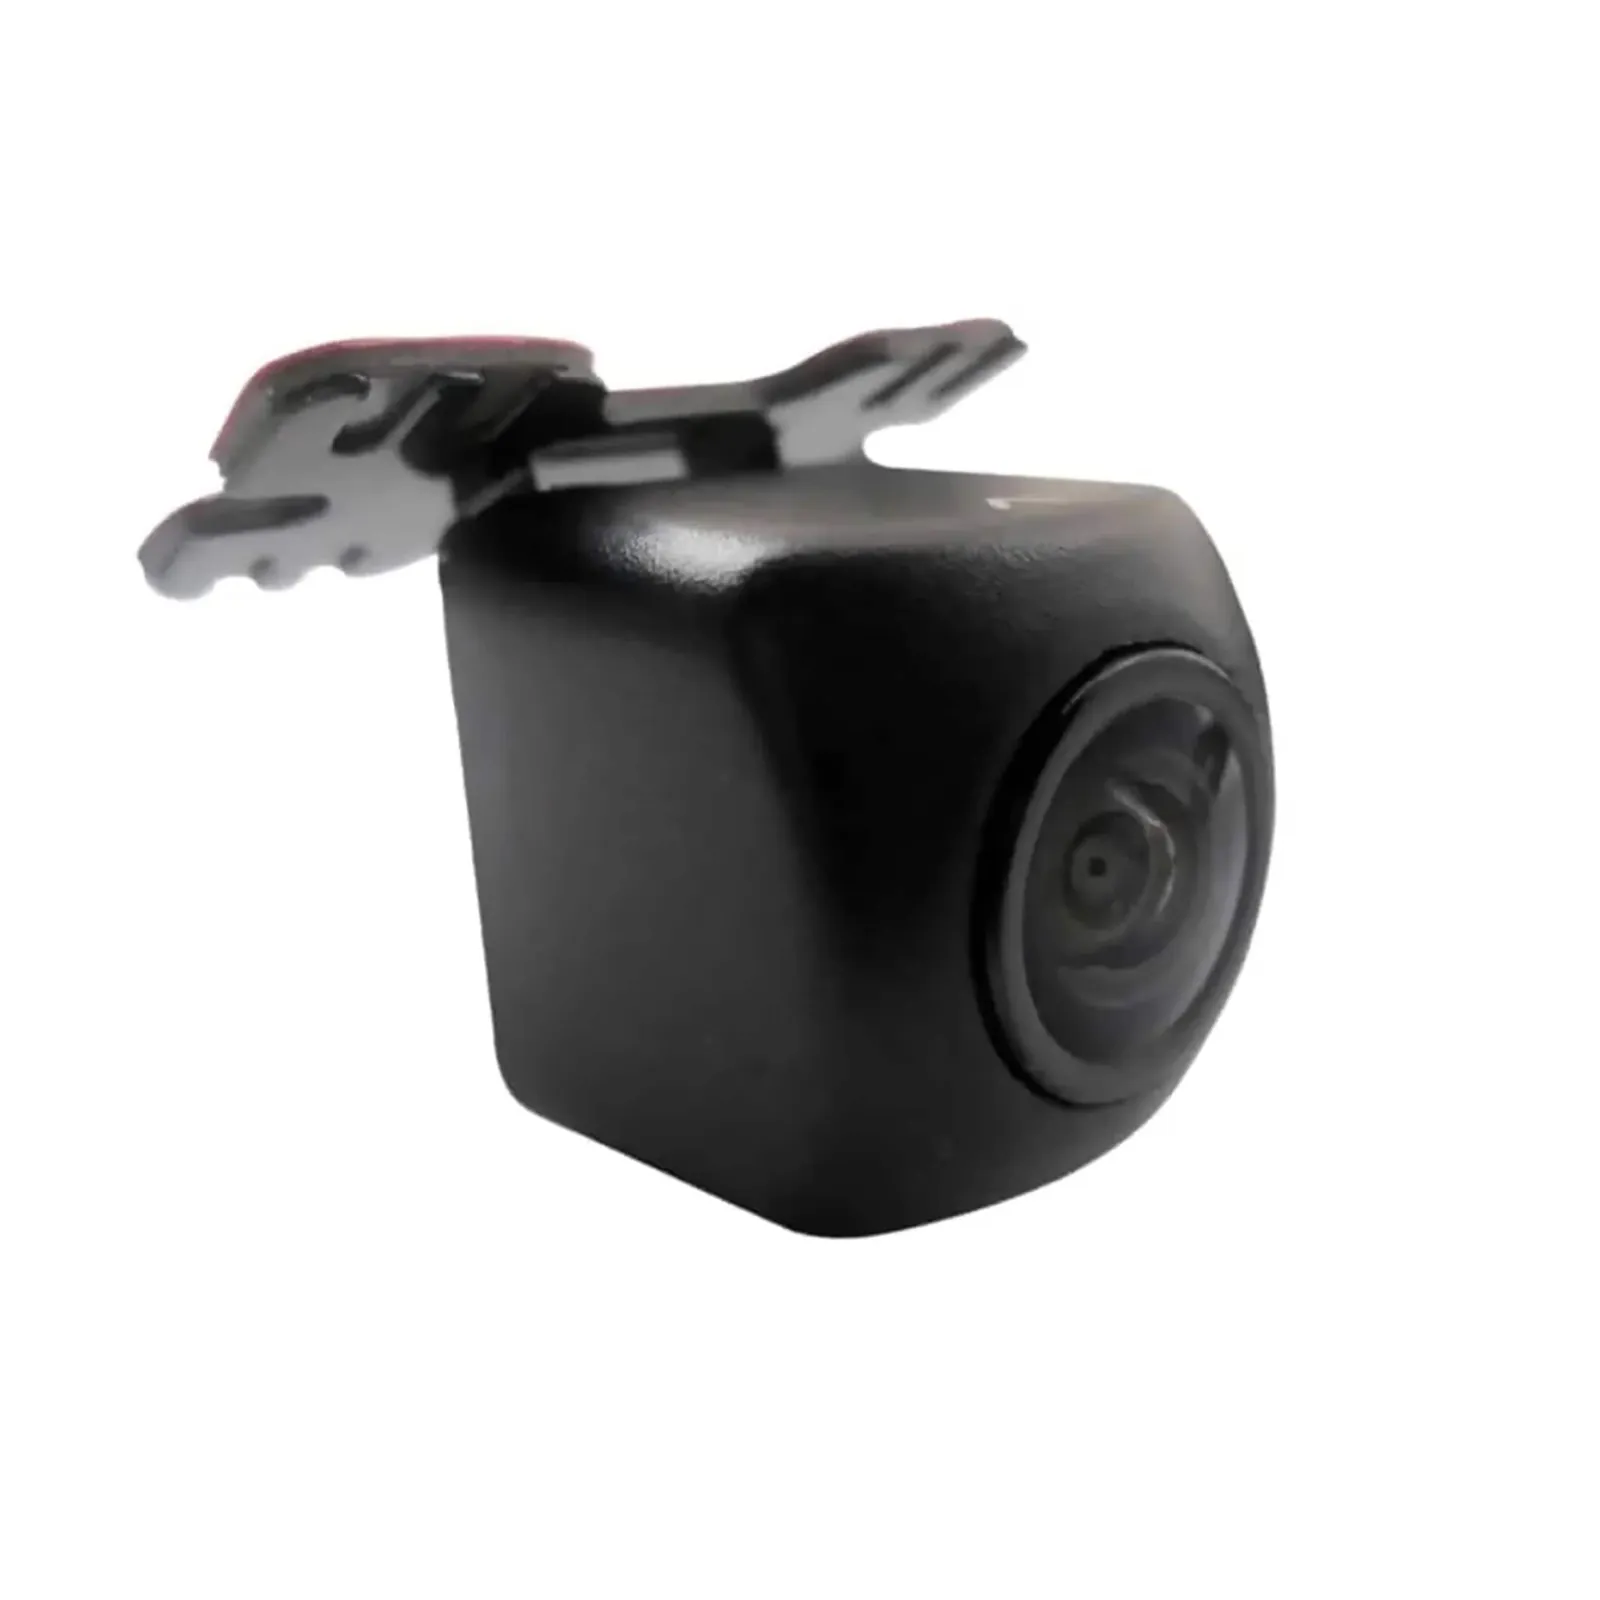
Wired backup camera
A physical RCA cable from the trunk to the dashboard guarantees zero signal loss. It adds two hours of labor pulling headliners and trim panels.
Smartphone Wi-Fi camera
These cameras stream video to a phone app via a local network.
Replacement mirror monitor
A clip-on mirror replaces your rearview mirror with a reverse-activated screen. It hides the display completely when parked.
Related guides
Frequently asked questions
Can I use a wireless backup camera in heavy rain?
Yes, if the camera carries an IP68 or IP69K waterproof rating.
Why does my wireless camera screen flicker?
Flickering usually means analog signal interference from nearby Bluetooth devices or cell towers. Switching to a 2.4 GHz digital transmitter stops this.
How long does installation take for a beginner?
Expect 45 to 60 minutes for a standard sedan if you’ve never used a multimeter before. Vehicles with hidden harnesses add another 30 minutes.
Is it safe to tap the reverse light wire?
Yes, splicing into the 12-volt reverse light circuit is standard practice for aftermarket accessories. If your car uses a complex CAN bus system, hire an auto electrician.
What happens if the camera loses power while driving?
Nothing dangerous happens because the monitor only wakes up when the transmission shifts into reverse. You simply lose your rear view until the electrical connection is fixed.
How far can the signal reach between camera and monitor?
Standard digital transmitters reach about 100 feet in open air. For trucks or RVs longer than 40 feet, buy a kit with an external high-gain antenna.
Conclusion
You’ll know the job is done right when the screen lights up instantly every time you shift into reverse, showing a wide, steady view of the road behind you. Take the ten minutes to seal your wire connections properly today, and you won’t have to pull the bumper apart again next winter.