How to Repair Chipped Paint: A Step-by-Step DIY Guide
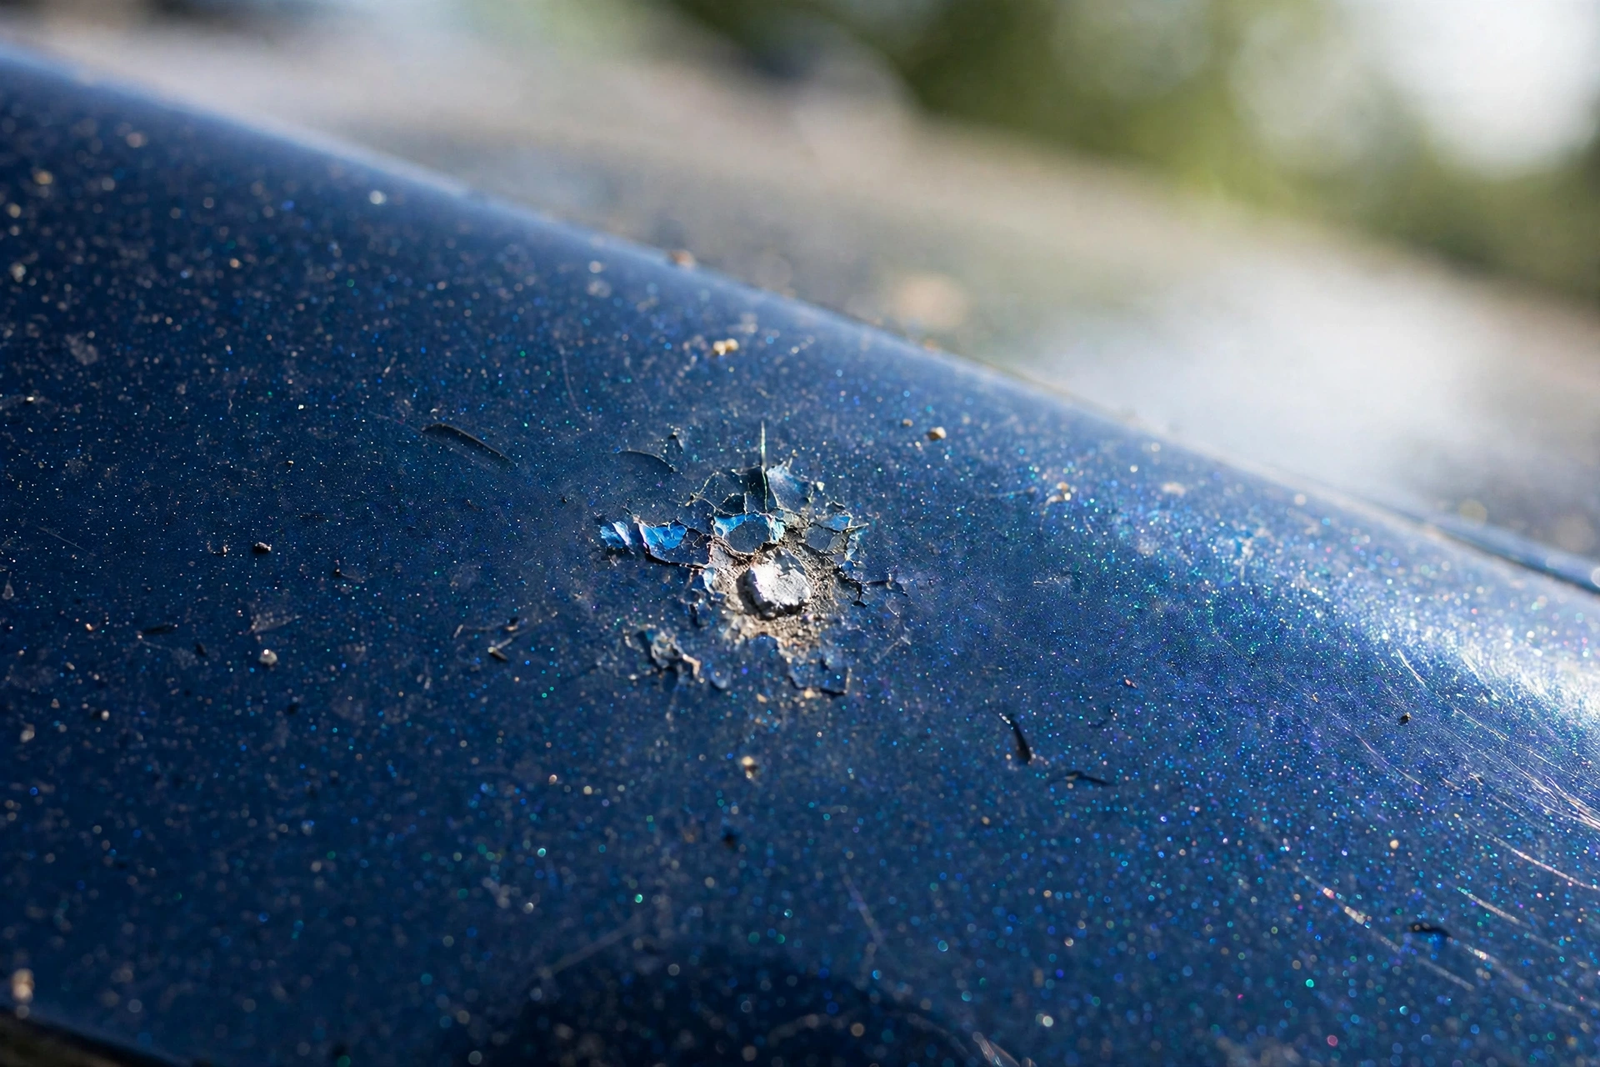
Learning how to repair chipped paint is one of the most useful skills a car owner can pick up. A stone chip the size of a grain of rice looks harmless, but left alone it grows: water gets under the paint edge, the chip spreads, and bare metal starts to rust. Most small chips are a straightforward driveway repair. With a touch-up pen, patience, and thin layers, you can seal the damage, stop rust, and make the repair hard to spot from a normal distance.
This guide walks through the job in order: diagnosing the depth, cleaning and preparing the chip, building up touch-up paint in thin layers, sealing it with clear coat, and blending the repair with wet sanding and polish. It also covers where DIY stops making sense and a professional respray is the right call. Expect an afternoon on your first chip, most of it waiting for paint to dry — the hands-on work is under an hour.
As an Amazon Associate I earn from qualifying purchases.
Table of Contents
How to Repair Chipped Paint: What You Need First
Before you touch the chip, gather everything the job needs — a repair that stalls halfway is how good repairs go wrong. The short list is: car wash soap and two clean microfiber towels, a wax and grease remover or isopropyl alcohol, masking tape, a touch-up pen matched to your paint code, clear coat, 1500-grit sandpaper, a rubbing compound, and a foam applicator pad. A toothpick and a bright light help.
The single most important purchase is the paint itself. Your car’s paint code is on the door jamb sticker or under the hood, and the exact-match pen for that code is what makes the repair blend. The Dupli-Color pen linked below is the Universal Black version — the right pick if your car is black; if it is not, search the same listing family for your colour. Buying a close-enough colour is the most common reason a repair stands out, so do not skip the code check.
| Pick | Product | Best For | Check Price |
|---|---|---|---|
| Overall Winner | Dupli-Color Scratch Fix All-in-1 Touch-Up Paint, Universal Black | Most chips: prep tip, colour-matched paint and clear coat in one pen | Check Price on Amazon |
| Best for Blending | Meguiar’s Ultimate Compound, 15.2 oz | Polishing the repair level and restoring gloss after wet sanding | Check Price on Amazon |
| Best for Protection | Dupli-Color Perfect Match Clear Top Coat, 8 oz Aerosol | Sealing larger repairs with a proper clear-coat layer | Check Price on Amazon |
How to Tell How Deep the Chip Is
Car paint is built in layers: clear coat, colour coat, primer, then bare metal. The repair you need depends on which layer the chip has reached, so diagnose before you buy anything. Wash the area first, then look at it in bright light and run a fingernail gently across it.
A clear-coat chip is the shallowest kind: the colour underneath still looks right, the mark shows as a dull or whitish scuff, and your nail glides over it without catching. It needs only cleaning, a careful polish, and protection — no colour paint at all. Adding colour where none is missing makes the repair more visible, not less.
A chip down to primer shows a flat, light-grey or off-white surface inside the mark, with no shine and no colour. It needs colour paint over it — otherwise the repair has nothing to match the surrounding paint. This is the classic touch-up pen job.
A chip down to bare metal shows a bright or dark metallic surface, and it is the one to act on fastest: exposed steel rusts, and rust spreads under the surrounding paint where you cannot see it. Orange or brown staining, or a rough, crusty edge, means rust has started. Clean it out gently and prime the bare metal before any colour goes on. If rust has pitted the metal or bubbled the paint around the chip, stop: that is body-shop work, because paint over active rust only hides it for a few months.
Size matters too. A chip smaller than a pencil eraser is a good DIY candidate. A whole hood of stone chips — road rash — is slow, fiddly work one chip at a time, and will never look like a fresh respray. A touch-up repair aims for sealed, protected, and hard to notice, not invisible.
Clean and Prep the Chip
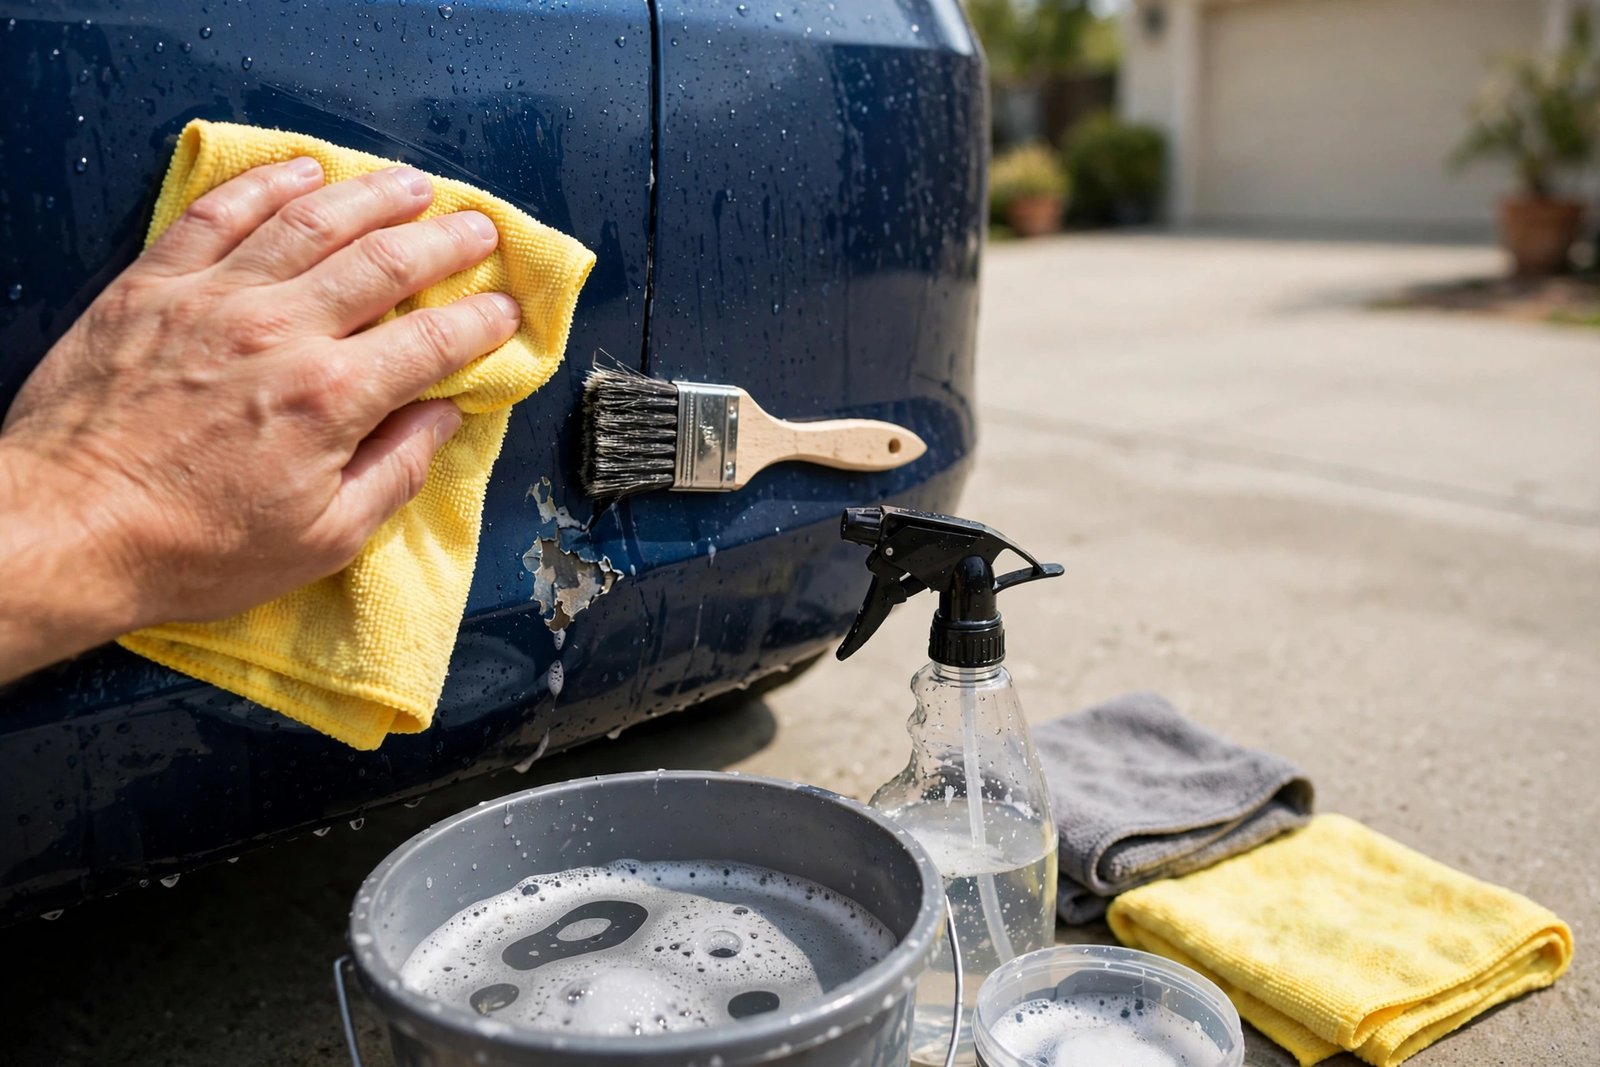
Paint sticks to clean paint, not to road grime, wax, or loose flakes. Wash, rinse, and dry the panel, then wipe the chip with isopropyl alcohol or a wax and grease remover on a clean microfiber towel — this removes the wax and oils that stop touch-up paint bonding. Let it dry completely; paint over a damp chip traps moisture underneath.
Now tidy the edges: use the prep tip on the touch-up pen, or a toothpick, to flick away loose, flaking paint around the edge — only what is already loose, never sound paint. If the chip shows surface rust, work it out now, gently, and wipe the dust away. Mask a small border with painter’s tape so a slip lands on tape, not good paint, and work in the shade on cool paint — hot panels make touch-up paint dry too fast and go on lumpy.
Apply the Touch-Up Paint in Thin Layers
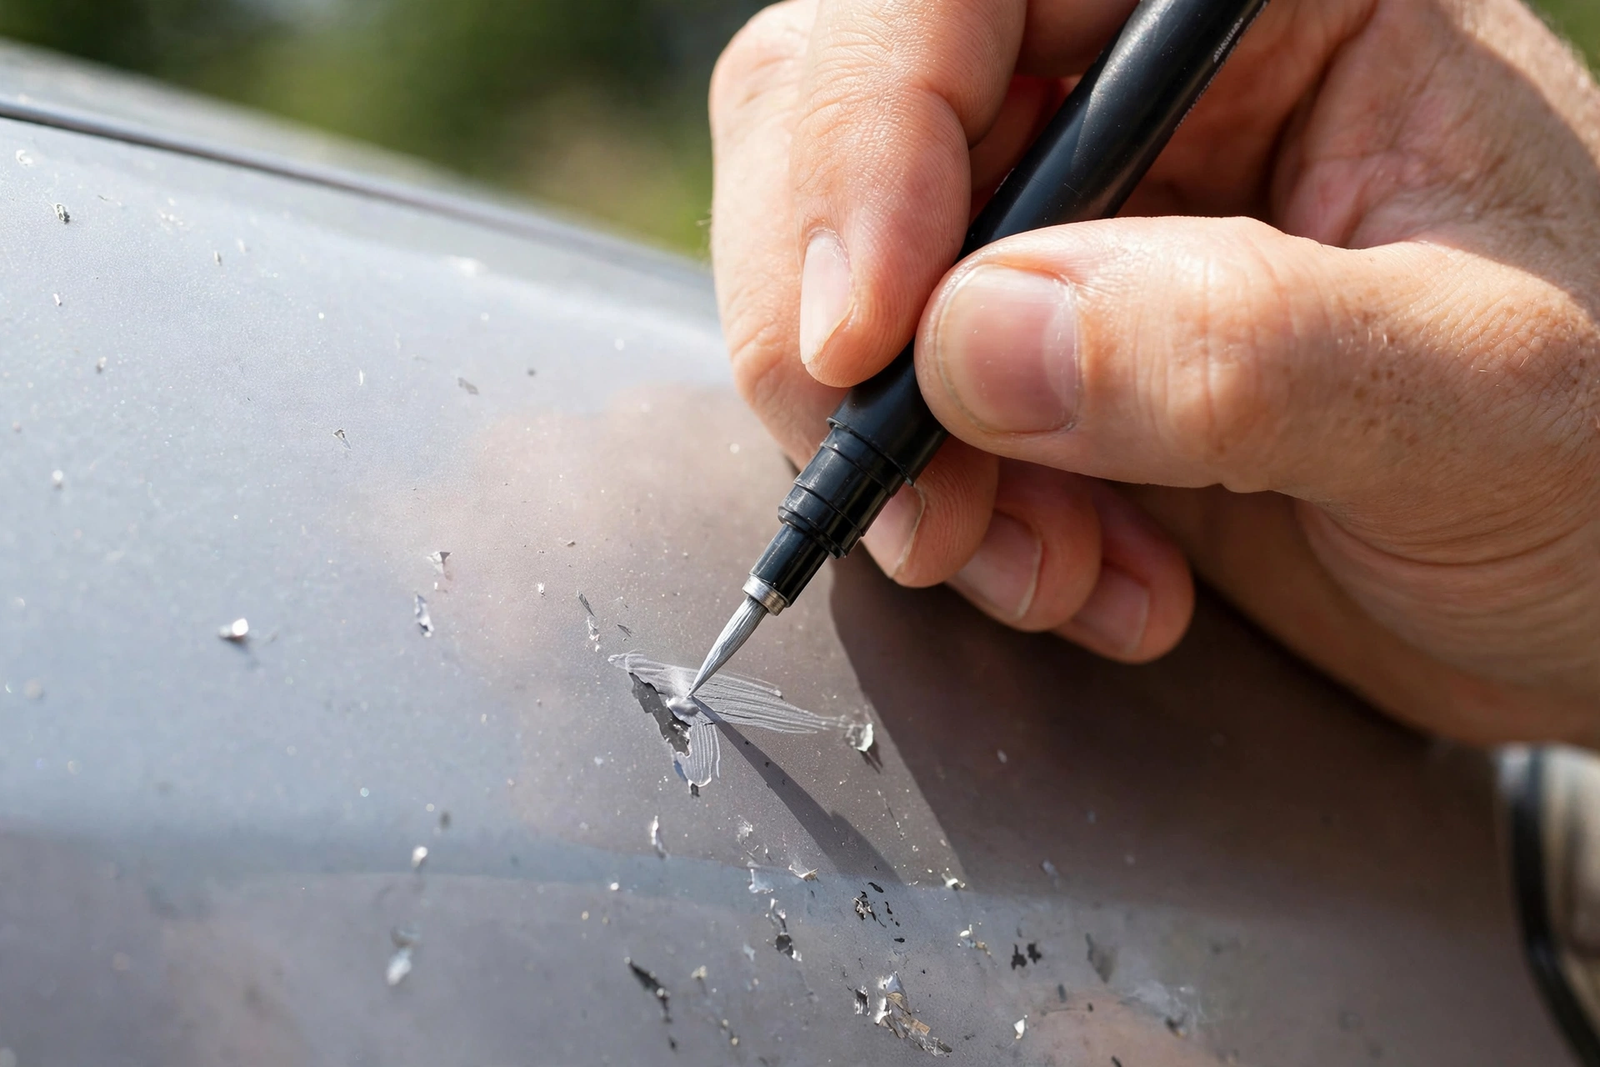
This is the step where patience pays. Shake the pen well, test it on card, then apply the paint in thin layers, letting each one dry before the next. The goal is to fill the chip up to the level of the surrounding paint — not above it. One thick blob dries raised, with a visible edge and a colour darker than the panel, because thick paint cures darker. Three or four thin coats give a far better match.
Use the fine brush or pen tip and place the paint inside the chip only. Wipe paint off the surrounding clear coat at once with a damp cloth — once cured on good paint, it has to be sanded off. For a chip down to bare metal, the first layer should be primer — buy a separate primer, because the All-in-1 pen combines a prep tip, paint, and clear coat, not primer; prime the bare metal first, then build the colour coats on top. Let the final colour coat dry fully — at least a full day before any sanding or polishing.
Dupli-Color Scratch Fix All-in-1 Touch-Up Paint on Amazon: prep tip, colour-matched paint and clear coat in one pen — check the listing for your paint code and colour.
Add Clear Coat and Let It Cure
Colour paint alone has no gloss and no weather protection — clear coat gives car paint its shine and seals it against water and sun. Once the colour coats are dry, add a thin layer of clear coat over the repair, slightly wider than the colour so it seals the edges. The All-in-1 pen includes a clear-coat step; for a larger repair, a dedicated aerosol clear coat like the Dupli-Color Perfect Match top coat gives a more even layer, sprayed in light passes.
Do not rush the cure. Clear coat feels dry long before it is hard enough to sand or polish, and sanding soft clear coat tears it instead of levelling it. Give the repair at least a full day — longer in cold or damp weather — before the next step. This waiting is the hardest part of the job — and the difference between a repair that blends and one that stays cloudy.
Dupli-Color Perfect Match Clear Top Coat on Amazon: 8 oz aerosol clear coat for sealing touch-up repairs.
Wet Sand and Polish to Blend the Repair
Even a careful touch-up leaves a slight raised edge, and wet sanding levels it so light stops catching it. Soak a small piece of 1500-grit wet-or-dry sandpaper in clean water, wrap it around a small block or firm sponge, and sand with light, even strokes, keeping the surface wet. Work only on the raised repair, checking often in bright light. Stop as soon as the repair sits level — sanding further cuts into the clear coat around it, the very damage you are trying to fix.
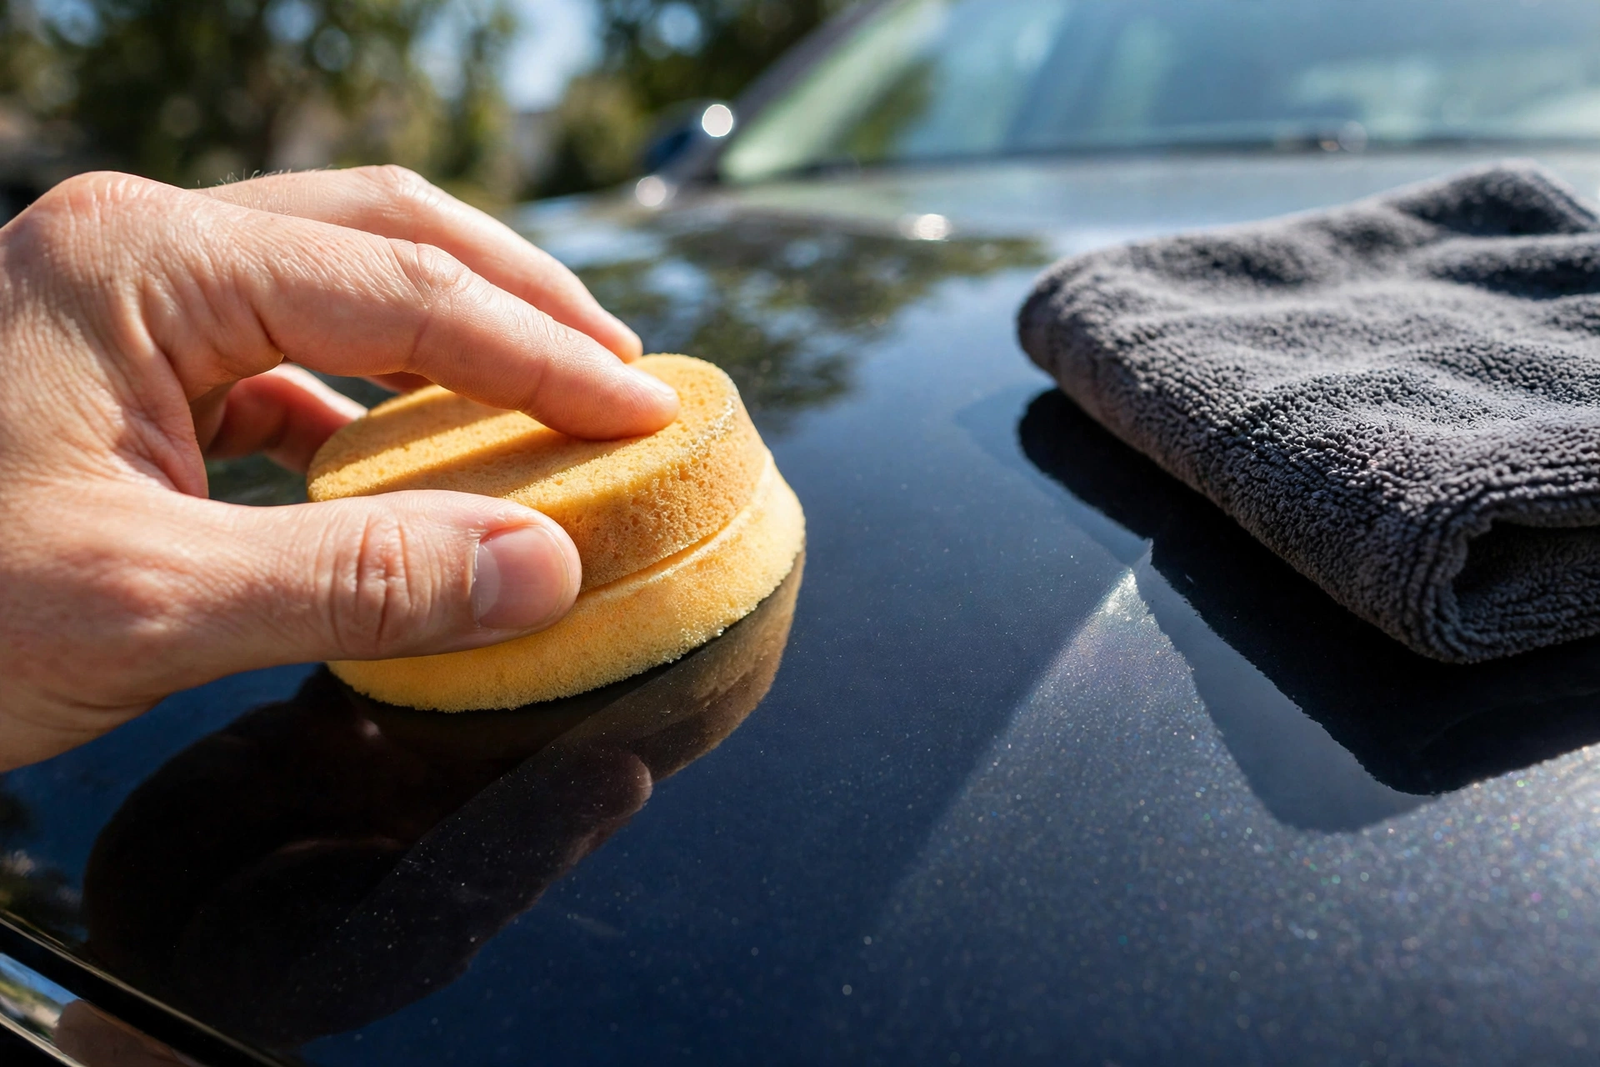
Sanding leaves the spot dull and hazy, which is normal. That is what the compound is for: put a small amount of Meguiar’s Ultimate Compound on a foam applicator pad and work the sanded area by hand with moderate, even pressure, wiping residue off with a clean microfiber towel as you go. It levels the fine sanding marks and brings the gloss back; follow with a sealant or wax. Our Meguiar’s Ultimate Compound review covers the compound in full — it is a polisher for the blend, not a substitute for touch-up paint. If your paint also has hard-water etching, our Meguiars vs Chemical Guys head-to-head explains which fix matches which problem.
A faint outline after polishing is usually the honest limit of a pen repair, not a mistake. Step back a metre or two and judge it from there: a chip repair succeeds when it is sealed against rust and hard to notice at that distance, not when it vanishes under a work light at arm’s length.
Meguiar’s Ultimate Compound on Amazon: 15.2 oz, model G17216 — for polishing the repair after wet sanding.
3M Wetordry Sandpaper 1500 Grit on Amazon: 9 x 11 in sheets, 5 per pack — for levelling the repair before polishing.
When to Skip DIY and Get a Pro Respray
A touch-up pen is the right tool for small, isolated chips — and the wrong tool for several common situations. Knowing the line saves money: a bad DIY repair on a big area costs more to fix than the original damage.
Book a body shop instead if the chip is larger than a coin, the paint is peeling or bubbling, rust has pitted the metal, or a plastic bumper has cracked — paint does not fix cracked plastic. Chips on panel and door edges are pro jobs too: edges flex and take knocks, so touch-up paint flakes off them quickly. So are a full hood of road rash, a dent with chipped paint, or a lease return. For a single small chip, DIY wins easily; for a panel, get a quote — the shop usually does.
On a tri-coat or pearl finish, a pen can still seal the chip and stop rust, but expect an approximate match — the colour comes from layered coats, not one. If the finish matters, let a shop do it.
Common Mistakes That Make a Chip Repair Look Worse
Most bad chip repairs fail the same few ways. First, painting over dirt or wax: the paint never bonds and flakes off within weeks. Second, one thick coat instead of several thin ones — it dries raised, dark, and obvious. Third, skipping the clear coat, which leaves the colour flat and unprotected. Fourth, sanding too hard, which cuts through the surrounding clear coat and leaves a dull patch bigger than the chip was.
Fifth, the wrong colour: a pen that is close but not exact always looks wrong in sunlight, so match the paint code, not the colour name — two cars can both be called silver and wear completely different paints. Sixth, impatience: polishing before the paint has cured smears the repair and has to be redone. Remember one rule: thin coats, full drying time, no polishing until cured.
The Verdict
Knowing how to repair chipped paint turns a small problem into a small job. Diagnose the depth first — clear-coat scuff, primer, or bare metal — because the depth decides the repair. Prep properly, build colour in thin layers, seal it, let it cure, then level and polish it into the panel. The result will not be a factory finish — just a sealed, protected chip that is hard to notice from a normal distance.
Start with the pen matched to your paint code and the compound for the final blend; leave big, rusted, or peeling damage to a body shop. Fix chips when they are small — the cheapest chip repair is the one you do the week the stone hits, not the year after rust has moved in.
Frequently Asked Questions
Can I repair chipped car paint myself?
Yes, for small chips. Learning how to repair chipped paint at home works well for chips smaller than a pencil eraser that have not rusted. Clean and prep the chip, apply touch-up paint in thin layers, add clear coat, let it cure, then wet sand and polish to blend it. Larger damage, peeling paint, or pitted rust belongs at a body shop.
How do I know if a chip has reached bare metal?
Wash the area and look at the chip in bright light. A chip down to primer looks flat and light grey or off-white. A chip down to bare metal shows a metallic surface, and it may already show orange or brown rust staining. Bare metal needs primer before colour paint, and any rust should be cleaned out first.
Will touch-up paint stop rust?
Touch-up paint seals bare metal against water and air, which is what stops new rust from starting — but only if the metal is clean first. Paint over active rust does not stop it; the rust keeps spreading underneath. Clean the rust out, prime the bare metal, then apply the colour coats and clear coat.
How many coats of touch-up paint should I apply?
Three or four thin coats is a good guide, letting each one dry before the next. Thin layers fill the chip up to the level of the surrounding paint without going above it. One thick coat dries raised and darker than the panel around it, and it is the most common reason a repair stands out.
Do I need clear coat over touch-up paint?
Yes. Colour paint on its own has no gloss and no weather protection. A thin layer of clear coat over the repair restores the shine and seals the colour against water and sun. The Dupli-Color All-in-1 pen includes a clear-coat step, and a dedicated aerosol clear coat gives a more even layer on larger repairs.
When should I get a professional respray instead?
Get a pro respray when the chip is larger than a coin, the paint is peeling or bubbling, rust has pitted the metal, the bumper plastic has cracked, or the damage covers a whole panel such as a hood full of stone chips. Tri-coat and pearl finishes are also harder to match with a pen, so a shop is the better call if the finish matters to you.