R134a Refrigerant for Car AC: How to Recharge Your Car AC Safely
When the air from your vents turns lukewarm on a hot day, low refrigerant is one of the most common causes — and r134a refrigerant for car ac is the recharge most older cars need. R-134a is the refrigerant used in the great majority of cars built from 1994 through about 2020, and a DIY recharge kit can top it up in about 15 minutes if the system is only a little low. This guide shows you how to check whether your car uses R-134a, find the low-side port, read the gauge, and recharge it — and when to stop and hand the job to a professional.
The short answer: first confirm your car actually uses R-134a (check the under-hood label — never guess from the model year alone). Then, with the engine running and the AC on max cold, connect a recharge hose to the low-side port only, read the pressure with the compressor engaged, and add refrigerant in short bursts until the gauge reaches the range for the outside temperature. Never use the high-side port, never overcharge, and never vent refrigerant into the air.
As an Amazon Associate I earn from qualifying purchases.
Table of Contents
R134a Refrigerant for Car AC: What It Is and Which Cars Use It
R-134a is the refrigerant that replaced the older R-12 in cars starting in 1994. It does not deplete the ozone layer the way R-12 did, but it is a potent greenhouse gas, with a global warming potential of 1,430 — which is why new cars now use R-1234yf instead, with a global warming potential of just 4.
The changeover was gradual. Most US cars built from 1994 through about 2020 run on R-134a, and R-1234yf became the standard for most new light-duty vehicles by model year 2021. But some brands switched as early as 2017, while some 2019–2021 vehicles still use R-134a — so never guess from the year alone. The two refrigerants are not interchangeable, and their service fittings are deliberately different sizes. Check the label under the hood before you buy anything: it is usually a sticker on or near the AC compressor, and it names the refrigerant and the charge amount. If it says R-1234yf, stop — do not put R-134a in that system.
Quick Picks: R134a Recharge Kits
All three kits below are hose-and-gauge tools for R-134a systems with self-sealing valve cans — pair the hose with a separate can.
| Pick | Product | Best For | Check Price |
|---|---|---|---|
| Overall Winner | Interdynamics Certified A/C Pro Recharge Kit, 8-inch hose + can tap dispenser | First-time rechargers who already have a can: simple, reusable, 90-degree coupler for tight ports | Check Price on Amazon |
| Best Value | Interdynamics Certified A/C Pro Recharge Kit, 10-inch hose, CERTMB134-1 | Longer reach and a thumb-lever dispenser; works with sealed and self-sealing cans | Check Price on Amazon |
| Premium Pick | Interdynamics Arctic Freeze R-134a Gauge + Hose Kit | Anyone who wants a proper diagnostic gauge and a reusable trigger dispenser for repeat top-ups | Check Price on Amazon |
Safety First: Read This Before You Touch the Can
Refrigerant is a gas under pressure. Wear safety glasses and gloves every time you handle a can — A/C Pro’s own instructions start with exactly that — because escaping liquid refrigerant can cause frostbite, and a spray to the eyes is an emergency-room visit. Work outside or in a ventilated garage, keep the can upright, and never heat a can: cans must not be heated above 125°F (52°C).
Two rules are non-negotiable. First, only ever charge through the low-side port. A/C Pro warns that charging through the high-side port is dangerous. The hose coupler fits only the low-side port — do not defeat that with adapters. Second, never overcharge. More refrigerant does not mean colder air: an overcharged system cools worse and can damage the compressor. Charge to the gauge range for the outside temperature, then stop. The law matters too: under Section 608 of the US Clean Air Act, intentionally venting refrigerant is prohibited, and the EPA confirms the ban covers R-134a. Servicing a vehicle AC for payment requires EPA Section 609 certification; DIY owners may buy small self-sealing cans (under 2 pounds) for their own vehicles, but may not deliberately release refrigerant.
What You Need to Recharge Your Car AC
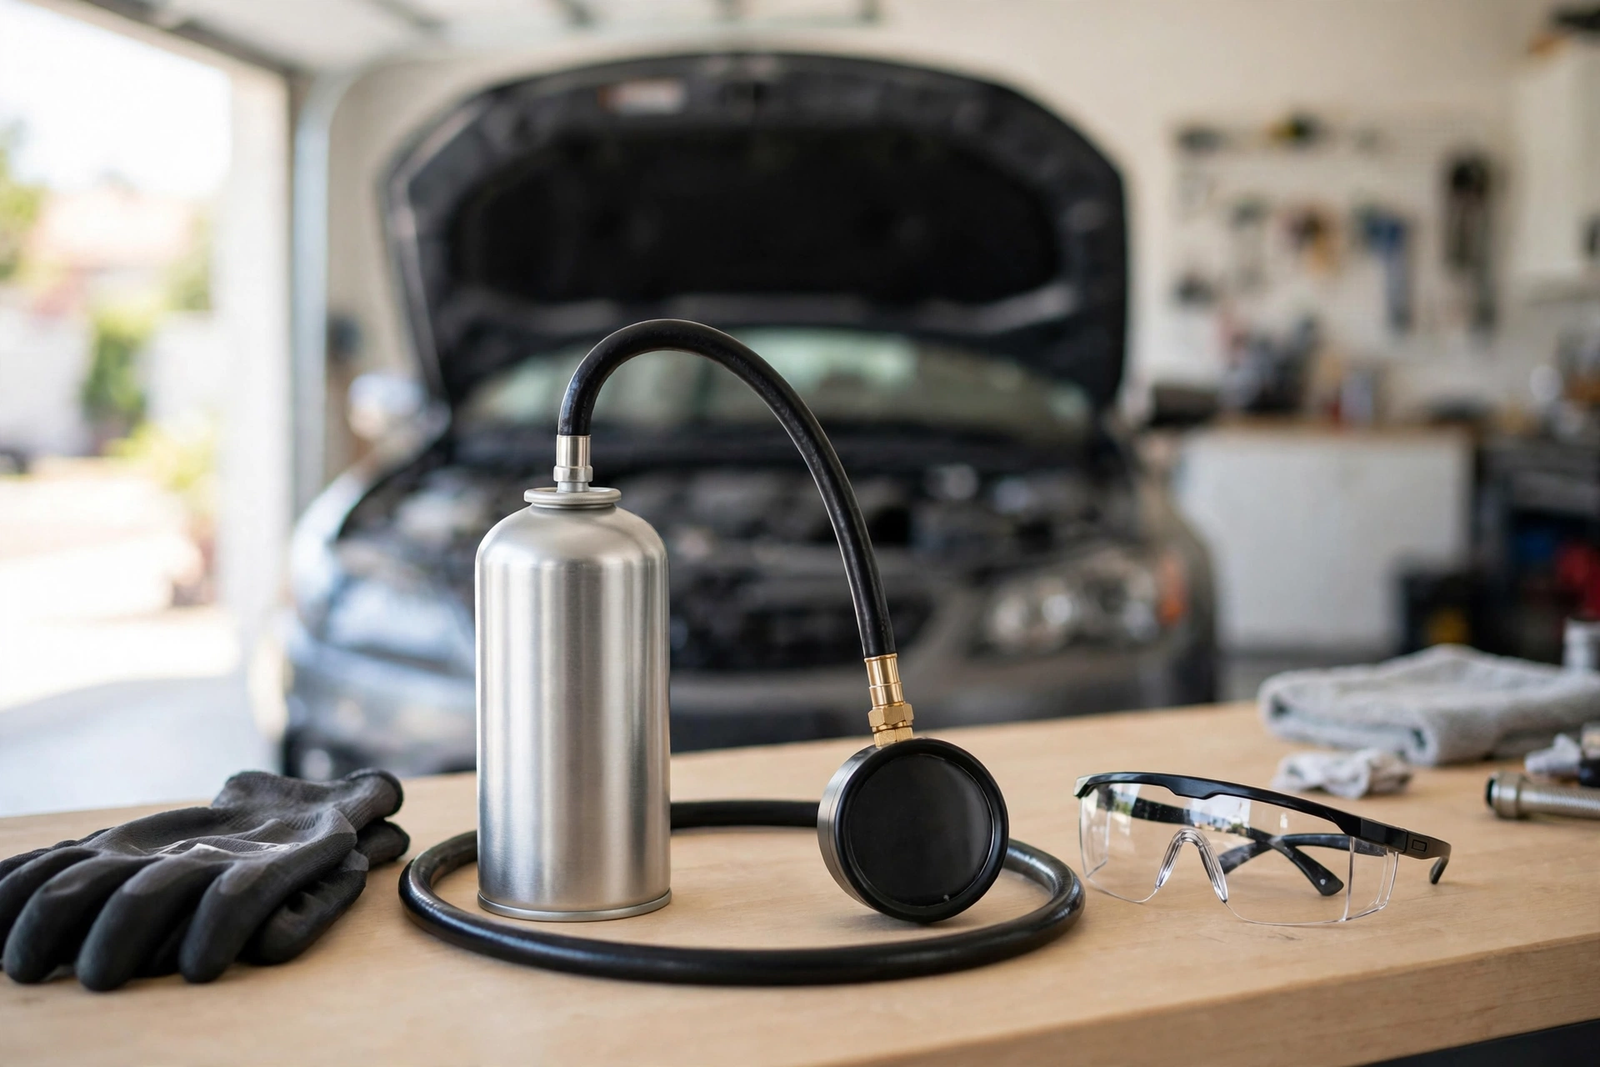
You need a can of R-134a refrigerant with a self-sealing valve (sold separately), a recharge hose with a gauge, safety glasses, gloves, a clean rag, and a vent thermometer.
Interdynamics Certified A/C Pro Recharge Kit on Amazon: 8-inch reusable hose, can tap dispenser, 90-degree coupler, for self-sealing R-134a cans.
Interdynamics Certified A/C Pro 10-inch Recharge Kit on Amazon: 10-inch reusable hose, thumb-lever dispenser, 90-degree coupler, part number CERTMB134-1.
For repeat use, the Arctic Freeze gauge and hose kit is the better tool: a reusable R-134a gauge and hose with a trigger dispenser for self-sealing valve cans. The gauge lets you check the system before adding anything.
Interdynamics Arctic Freeze R-134a Gauge and Hose Kit on Amazon: reusable gauge and hose, trigger dispenser, 90-degree coupler, for self-sealing R-134a cans.
Pros of a DIY recharge: cheap, about 15 minutes, and for a system that has simply lost a little charge over years, it can restore cold air. Cons: it cannot fix a leak, and a low-side gauge reads pressure, not weight.
How to Find the Low-Side Port
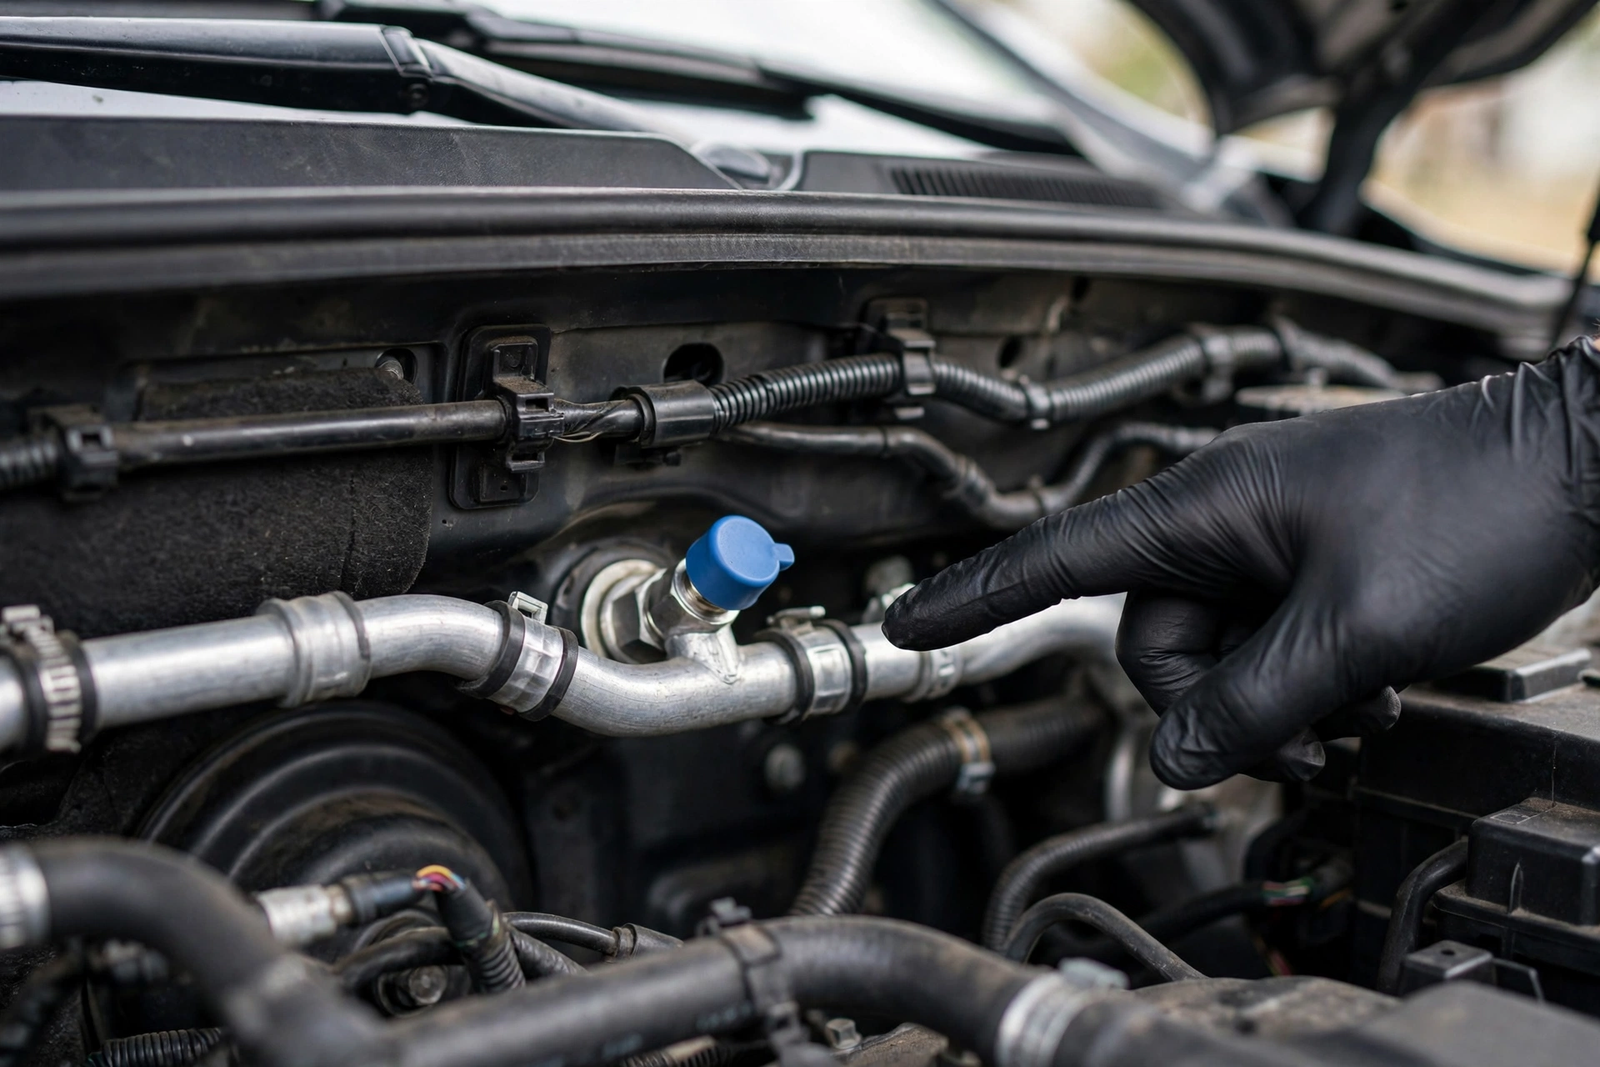
Open the hood and look for the two aluminum AC lines between the compressor and the firewall. The low-side line is the larger-diameter tube; the high-side line is thinner. The low-side service port sits on that larger line, between the evaporator (at the firewall) and the compressor, often under a cap marked “L” for low. Some cars put the port on the compressor or the accumulator instead.
The recharge hose coupler will only click onto the low-side fitting — A/C Pro states its R-134a hoses fit only the low-side service port. If the coupler will not fit, you are on the wrong port; do not force it and do not use an adapter. Remove the cap, wipe the port clean. Do not pull the trigger before the hose is connected: A/C Pro warns that pulling the trigger early releases refrigerant from the vehicle.
How to Read the Gauge
Start the engine, turn the AC to its coldest setting, and set the fan to high — every pressure reading assumes this. Push the hose coupler onto the low-side port until it clicks, tug gently to confirm it, and read the gauge.
Read the pressure when the compressor clutch is engaged. The compressor cycles on and off, and A/C Pro’s FAQ explains you will see two different readings: use the one taken while the clutch is engaged, at maximum cold with the fan on high. If the compressor is not cycling on at all, add a small amount — but if it stays dead, stop and see a professional.
Most kit gauges have a dial you set to the outside temperature: rotate the bezel to the ambient temperature and the gauge shows the correct pressure range for that day. With no temperature bezel, use the chart below — typical low-side ranges from a manifold-gauge instruction sheet (Mastercool). If the needle sits in the red zone with the compressor running, do not recharge — A/C Pro says to seek professional help.
| Outside temperature | Typical low-side pressure |
|---|---|
| 65°F | 25–35 psi |
| 70°F | 35–40 psi |
| 75°F | 35–45 psi |
| 80°F | 40–50 psi |
| 85°F | 45–55 psi |
| 90°F | 45–55 psi |
| 95°F | 50–55 psi |
| 100°F | 50–55 psi |

How to Recharge Your Car AC with R134a, Step by Step
Work on a warm day (above 55°F), parked outside or in a ventilated space, parking brake on, engine running. Wear glasses and gloves throughout.
Step 1 — Confirm the refrigerant. Check the under-hood label or owner’s manual. R-134a only. If the label says R-1234yf, stop here.
Step 2 — Set the AC to max. Turn the AC to the coldest setting and the fan to high. Let it run for a minute so the compressor is cycling.
Step 3 — Connect the hose to the low-side port. Remove the cap, wipe the port clean, and push the coupler on until it clicks. Do not pull the trigger yet.
Step 4 — Read the pressure. Note the outside temperature, set the gauge bezel to it, and read the pressure with the compressor clutch engaged. If the needle is already in the correct range, the system is not low.
Step 5 — Attach the can. Screw the can onto the recharge hose. On can-tap kits, turn the handle to pierce the can. Keep the can upright from here on.
Step 6 — Charge in short bursts. Shake the can well, hold it upright, and squeeze the trigger. Release the trigger every 10 to 15 seconds to re-check the pressure. Stop as soon as the needle reaches the correct range.
Step 7 — Disconnect and recap. Release the trigger, disconnect the hose, and replace the cap. Do not remove the trigger from the can until the can is empty. Store any remaining can upright, out of heat, and out of reach of children.
Step 8 — Check the air. Let the AC run for a few minutes and feel the air from the center vent. It should be clearly cold, not just “less warm.”
How to Tell If the Recharge Worked
The honest test is the vent temperature and whether it stays cold. A/C Pro notes vent temperature varies by vehicle: some newer cars blow air below 50°F, while older cars may sit in the mid-50s to low 60s even when the system works correctly. Compare before and after on the same car. If the vent air dropped by 15°F or more, the recharge worked.
Then watch it for two weeks. A system that was simply low from years of slow seepage will stay cold all summer; a system with a real leak will go warm again, sometimes in days, sometimes in a month. If the cold fades, do not just buy another can. A shop needs to find the leak, recover the remaining refrigerant, repair it, and recharge by weight.
When a Recharge Is Not Enough: See a Pro
A recharge kit handles one problem: a system that is a little low. Everything else belongs to a certified technician with recovery equipment. Book a shop visit if the compressor will not engage at all, even after a small top-up; if the gauge reads in the red zone with the compressor running; if the air goes warm again within weeks, which means a leak; or if you can see or smell the problem — oily residue around AC fittings usually marks where refrigerant and oil are escaping together, and grinding, rattling, or a burning smell means stop using the AC and get it checked.
Also see a shop if the system has been open or empty — after a hose replacement, for example. The system must be evacuated (pulled into a vacuum) before recharging, and only a shop has the equipment for that. If you are not sure which of these you are looking at, that uncertainty is itself the answer: a diagnostic check costs far less than a compressor. Keep the rest of the car in shape meanwhile — our car maintenance checklist covers the eight checks any owner can do in half an hour.
The Verdict
Recharging a car AC with R134a is a reasonable DIY job when the conditions are right: your car definitely uses R-134a, the system is only a little low, the compressor still engages, and the gauge reads below the correct range for the day. In that case a hose kit and a can can bring the cold air back.
Buy the kit that matches your situation. The 8-inch Certified A/C Pro kit is the simplest choice for a first recharge; the 10-inch CERTMB134-1 kit is the better pick if your port is hard to reach; and the Arctic Freeze gauge and hose kit is the one to own if you expect to top up more than once. Remember the limit: a recharge is a top-up, not a repair. If the cold fades fast, the compressor stays silent, or the gauge lands in the red, see a certified technician. Pair this fix with our road trip accessories roundup for the rest of the drive.
Interdynamics Certified A/C Pro Recharge Kit on Amazon: 8-inch reusable hose, can tap dispenser, 90-degree coupler, for self-sealing R-134a cans.
Interdynamics Arctic Freeze R-134a Gauge and Hose Kit on Amazon: reusable gauge and hose, trigger dispenser, 90-degree coupler, for self-sealing R-134a cans.
Frequently Asked Questions
Can I recharge my car AC with R134a myself?
Yes, if your car uses R-134a and the system is only a little low. Check the under-hood label first, then use a recharge hose and gauge on the low-side port only, with the engine running and the AC on max cold. Add refrigerant in short bursts until the gauge reaches the range for the outside temperature, and stop there. If the compressor will not engage, the gauge reads in the red, or the air goes warm again within weeks, see a certified technician instead.
How do I know if my car uses R134a or R1234yf?
Check the sticker under the hood, usually on or near the AC compressor, the hood latch area, or the radiator support — it names the refrigerant and the charge amount. As a rough guide, most cars built from 1994 through about 2020 use R-134a, and R-1234yf became the standard for most new light-duty vehicles by model year 2021, but some models switched as early as 2017 and some 2019–2021 cars still use R-134a. Never guess from the model year alone, and never put R-134a into an R-1234yf system — the fittings are deliberately different sizes.
How much R134a does a car AC need?
The exact amount is printed on the under-hood label and in your owner’s manual, and it varies by vehicle. A DIY recharge does not measure by weight — the low-side gauge reads pressure, which is a guide, not a measurement of charge. The correct approach is to charge to the pressure range for the outside temperature and stop: typical low-side readings run about 25–35 psi at 65°F and 45–55 psi at 85°F and above, per a manifold-gauge instruction sheet. A shop recharges by weight to the label amount, which is the only exact method.
Can you overcharge a car AC with R134a?
Yes, and it makes things worse, not better. An overcharged system cools poorly, strains the compressor, and can damage it. That is why you add refrigerant in short bursts, release the trigger every 10 to 15 seconds to re-check the pressure, and stop as soon as the needle reaches the correct range for the outside temperature. If the gauge needle is already in the red zone with the compressor running, do not add anything — seek professional help.
Why is my car AC still blowing warm air after a recharge?
The most common reason is a leak: the refrigerant you added escaped again, sometimes within days. Other causes are a compressor that is not engaging, a failed clutch or pressure switch, a blocked expansion valve or orifice tube, or a system that was never low in the first place — a blend-door or electrical fault can mimic low refrigerant. If the air goes warm again after a recharge, or the compressor stays silent, a shop needs to diagnose it with proper gauges and a leak detector.
Is it illegal to vent R134a refrigerant?
Yes. Under Section 608 of the US Clean Air Act, intentionally venting refrigerant into the atmosphere is prohibited, and the EPA’s motor-vehicle AC rules confirm the ban covers R-134a and other HFC substitutes, not just the old ozone-depleting refrigerants. Servicing a vehicle AC for payment requires EPA Section 609 certification and certified recovery equipment. DIY owners may buy small self-sealing cans under 2 pounds for their own vehicles, but they may not deliberately release refrigerant, and repeatedly topping up a known leak is refrigerant escaping by another name.