Headlight Replacement: How to Replace a Headlight Bulb
A burned-out headlight is a safety problem and a ticket risk, and a headlight replacement is one of the simplest jobs you can do on your own car. No lift, no scan tool, and in most cars no tools at all — just the right bulb, clean hands, and ten minutes of patience. This headlight replacement guide walks through the whole job in four steps: find the bulb, remove the old one, fit the new one, and test it.
The short answer: check the bulb size in your owner’s manual or on the old bulb itself, buy that exact size, and swap it with the lights off and the bulb cool. Never touch the glass of a new halogen bulb with bare fingers, seat the new bulb until its tabs lock, and test both beams before you drive. The headlight replacement below uses LED bulb combos as the supplies, and the procedure is the same whether you fit a halogen bulb or an LED one.
As an Amazon Associate I earn from qualifying purchases.
Quick Pick: Headlight Bulbs for a Headlight Replacement
| Pick | Product | Best For | Check Price |
|---|---|---|---|
| 120° Beam-Pattern Claim | SEALIGHT X6S 9005/H11 Bulbs Combo, 80000LM, 6000K, Pack of 4 | H11 and 9005 in one box, with a 120-degree beam-pattern claim | Check Price on Amazon |
| Brightest Listing Claim | FAHREN 9005/H11 LED Bulbs Combo, 180000LM, 6500K, Pack of 4 | The biggest brightness claim of the three, in a 1:1 mini size that mimics a halogen bulb | Check Price on Amazon |
| Everyday Alternative | AUXITO 9005/H11 LED Bulbs Combo, 80000LM, 6500K, Pack of 4 | A fanless H11 and 9005 combo for drivers who want a simpler install with no moving fan | Check Price on Amazon |
Table of Contents
Find Your Bulb Size Before You Buy
Every headlight replacement starts with the same question: which bulb does your car take? The answer is in your owner’s manual, on the base of the old bulb, or in your car’s fitment guide — and it is a size code, not a brand. H11 is the most common low-beam size, 9005 is the usual high-beam size, and many cars use one of each. Buying the wrong size is the most common reason a headlight replacement stalls halfway through, because the new bulb simply will not seat.
Read the code off the old bulb before you order. It is printed on the metal base or on the plastic connector — H11, 9005, 9006, H7, or a similar code — and the code is the whole specification that matters for fit. Our H11 headlight bulbs guide covers the H11 size in full, including which cars use it and what to check before ordering. If your car takes a different size, buy that size instead of forcing an H11 into the housing: a bulb that does not match the housing cannot aim correctly, however well it is made.
Two more checks before you buy. First, decide whether you are replacing one bulb or both. Headlight bulbs age together, so when one burns out the other is usually close behind — replacing both at once keeps the beams matched and saves a second headlight replacement a few weeks later. Second, check whether your car needs a CANbus-compatible bulb: some cars throw a bulb-out warning or flicker with LED bulbs that lack a built-in decoder, and the FAHREN and AUXITO manuals state CANbus compatibility for their combos — check the listing for your car before you buy.
Step 1: Find the Bulb and Open the Housing
Park on flat ground, turn the car off, switch the lights off, and let the bulbs cool. A headlight bulb that has just been on is hot enough to burn, and a hot halogen bulb is also more likely to crack if it is knocked. Open the hood and find the back of the headlight housing — the round or rectangular cover at the rear of the headlight assembly, on the side where the bulb has failed.
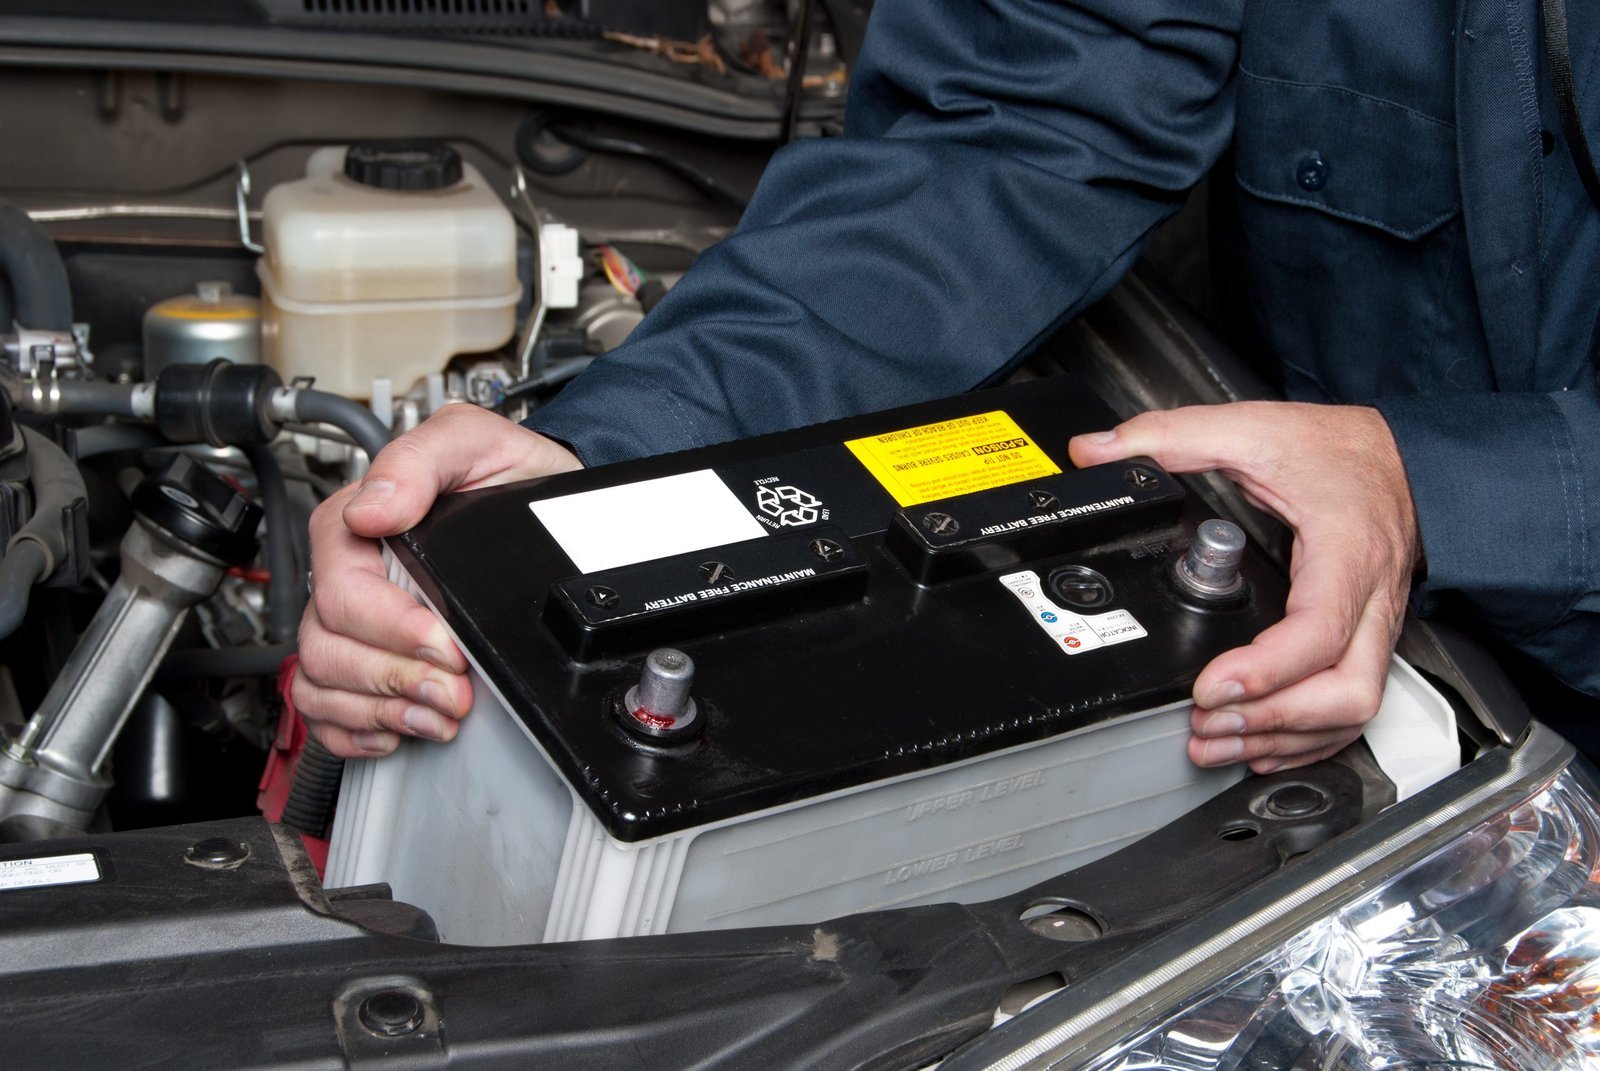
On most cars the bulb is reachable from under the hood without removing anything. On some, the battery, the air filter box, or the washer fluid reservoir sits in the way, and moving one of those aside is part of the job — check your owner’s manual for the access route on your car before you start pulling at wires. Twist the dust cover counter-clockwise and lift it off, or unclip it if it is held by clips. Put the cover somewhere safe: a headlight replacement that ends with a missing dust cover lets moisture into the housing, and moisture fogs the lens from the inside.
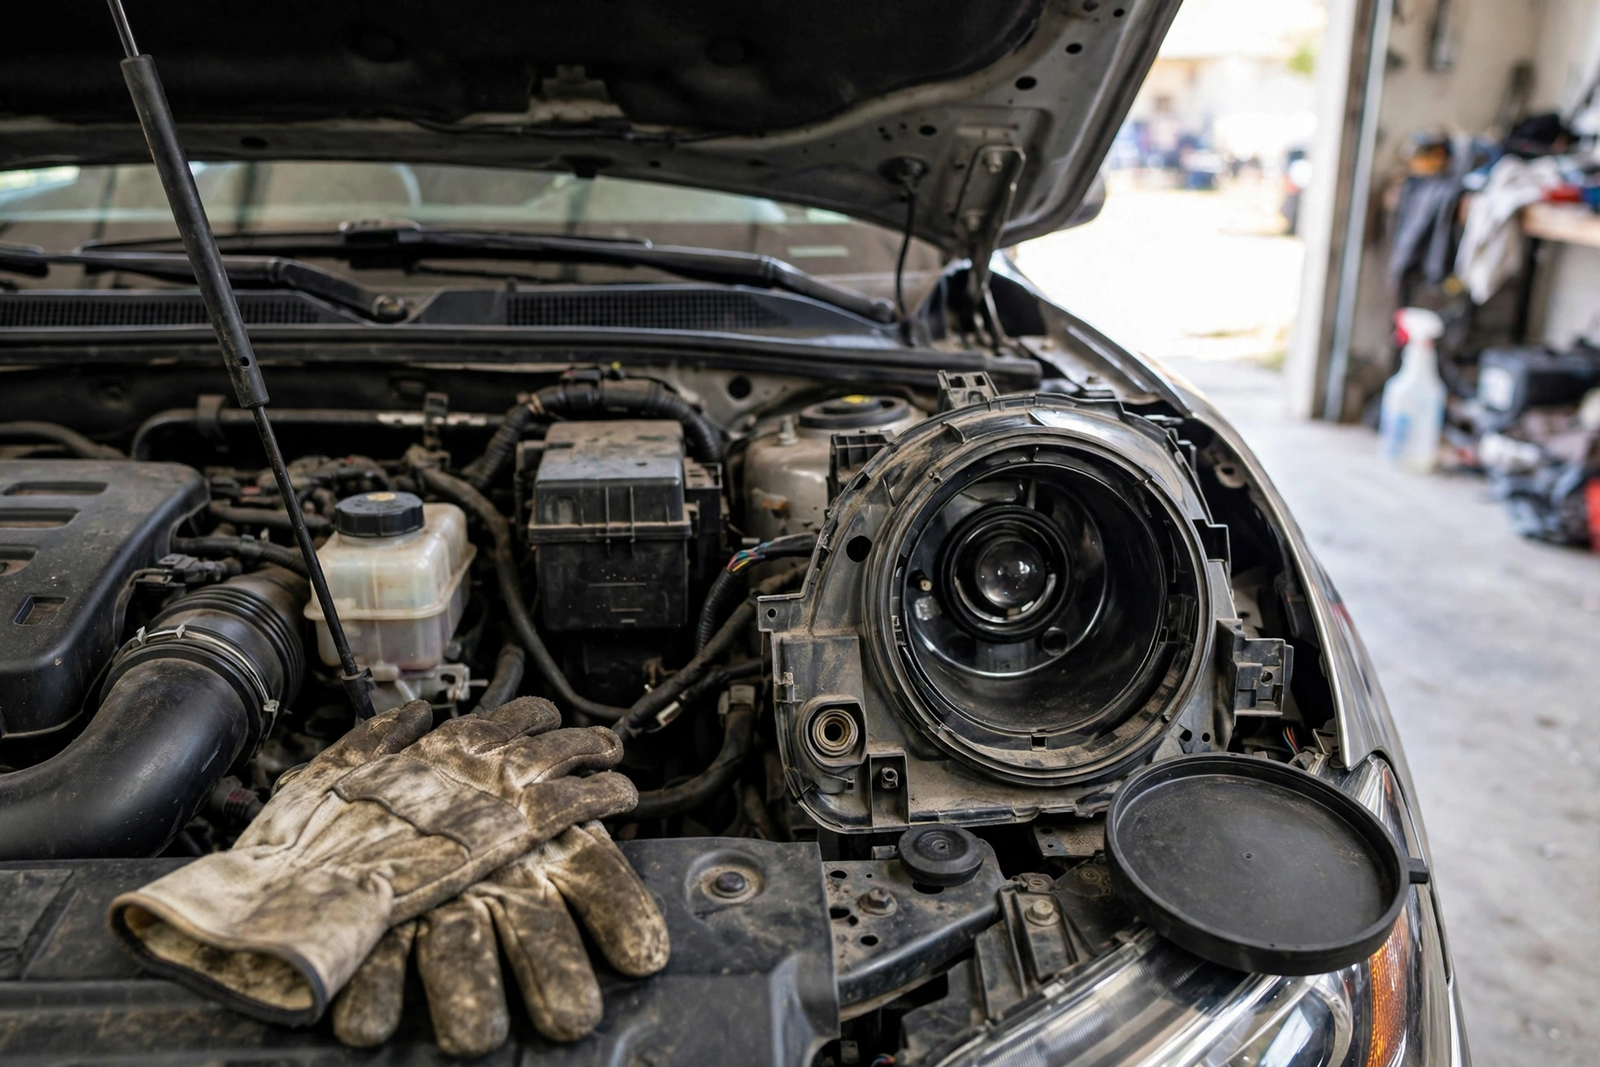
Once the cover is off you can see the bulb’s connector and its retaining clip or ring. Take a photo with your phone before you touch anything — the photo shows how the connector sits, which way the clip opens, and how the bulb is oriented, and it is the fastest way to put everything back the way it was. Do not force the cover: if it will not turn, check for a locking tab or a second clip rather than pulling harder.
Step 2: Remove the Old Bulb
Unplug the electrical connector from the back of the old bulb first. Squeeze the release tab on the connector and pull it straight back — never yank it by the wires, because a pulled wire is a much bigger repair than a headlight replacement. If the connector is stiff, wiggle it gently side to side while you squeeze the tab; age and heat make the plastic grip harder than it did when the car was new.
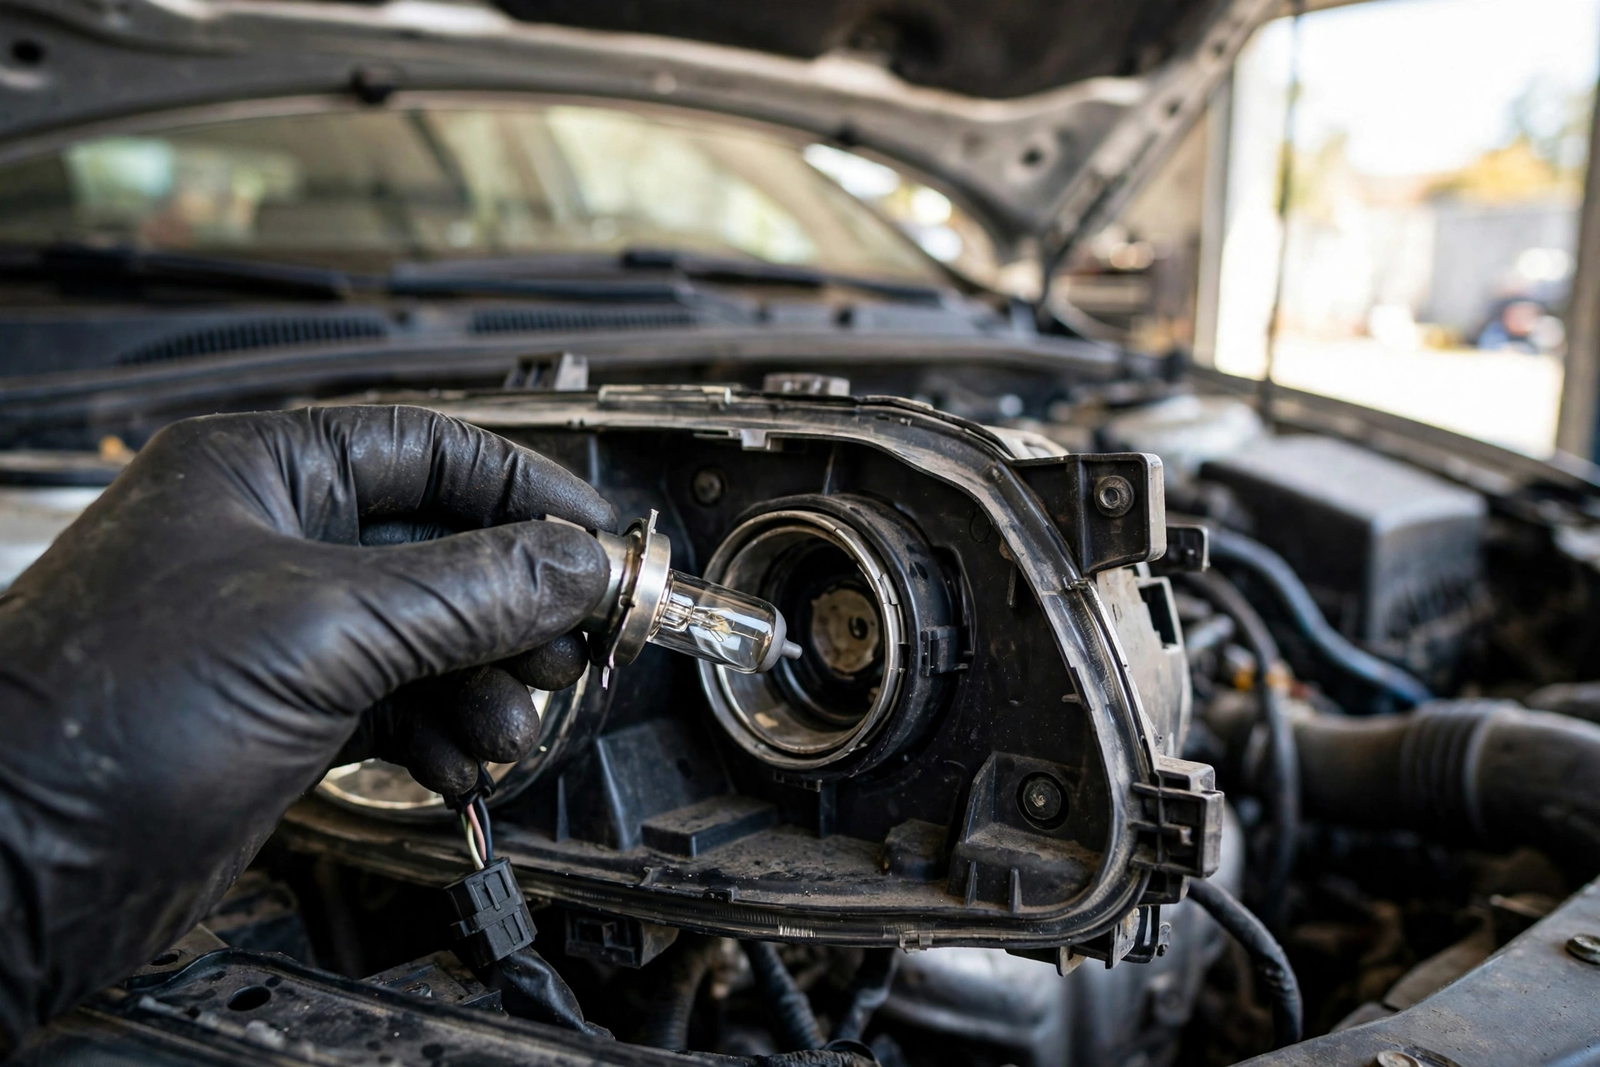
Next, release the bulb itself. Most H11 and 9005 bulbs are held by a wire spring clip or by a twist-lock ring. A spring clip unhooks from a small catch and swings open; a twist-lock ring turns counter-clockwise about a quarter turn and lifts out with the bulb. Either way, note the bulb’s orientation as it comes out — the tabs on the bulb base line up with notches in the housing, and the new bulb goes back in exactly the same way round.
Pull the old bulb straight out of the housing and set it aside. Do not drop it inside the housing: a broken bulb inside a headlight assembly means fishing glass out through a small opening, and a fragment left behind can rattle and scratch the reflector. If the old bulb’s glass is blackened or the filament is visibly broken, that is the failure — the bulb did its job and burned out, and the rest of the circuit is almost certainly fine. If the old bulb looks intact and the new one does not light either, the problem is upstream: a fuse, a relay, or the connector itself, and that is a job for the pro section below.
Step 3: Fit the New Bulb
Handle the new bulb by its base only. The glass of a halogen bulb must never be touched with bare fingers: skin oil leaves a hot spot on the glass that shortens the bulb’s life, and the same habit is good practice with an LED bulb’s chips and driver. Wear clean gloves, hold the base, and keep the new bulb in its box until the moment it goes in. If you do touch the glass by accident, wipe it with a clean cloth and a little rubbing alcohol before fitting it.
Line up the tabs on the new bulb’s base with the notches in the housing and push the bulb straight in — no twisting, no force. When the tabs are seated, lock it in place the same way the old one came out: swing the spring clip back and hook it, or turn the twist-lock ring clockwise until it stops. The bulb should sit firm with no wobble; a bulb that rocks in the housing is not seated, and it will aim wrong and wear its connector loose. Then push the electrical connector back on until it clicks. A connector that is only half on will flicker or fail, and it is the most common cause of a headlight replacement that “did not work” on the first try.
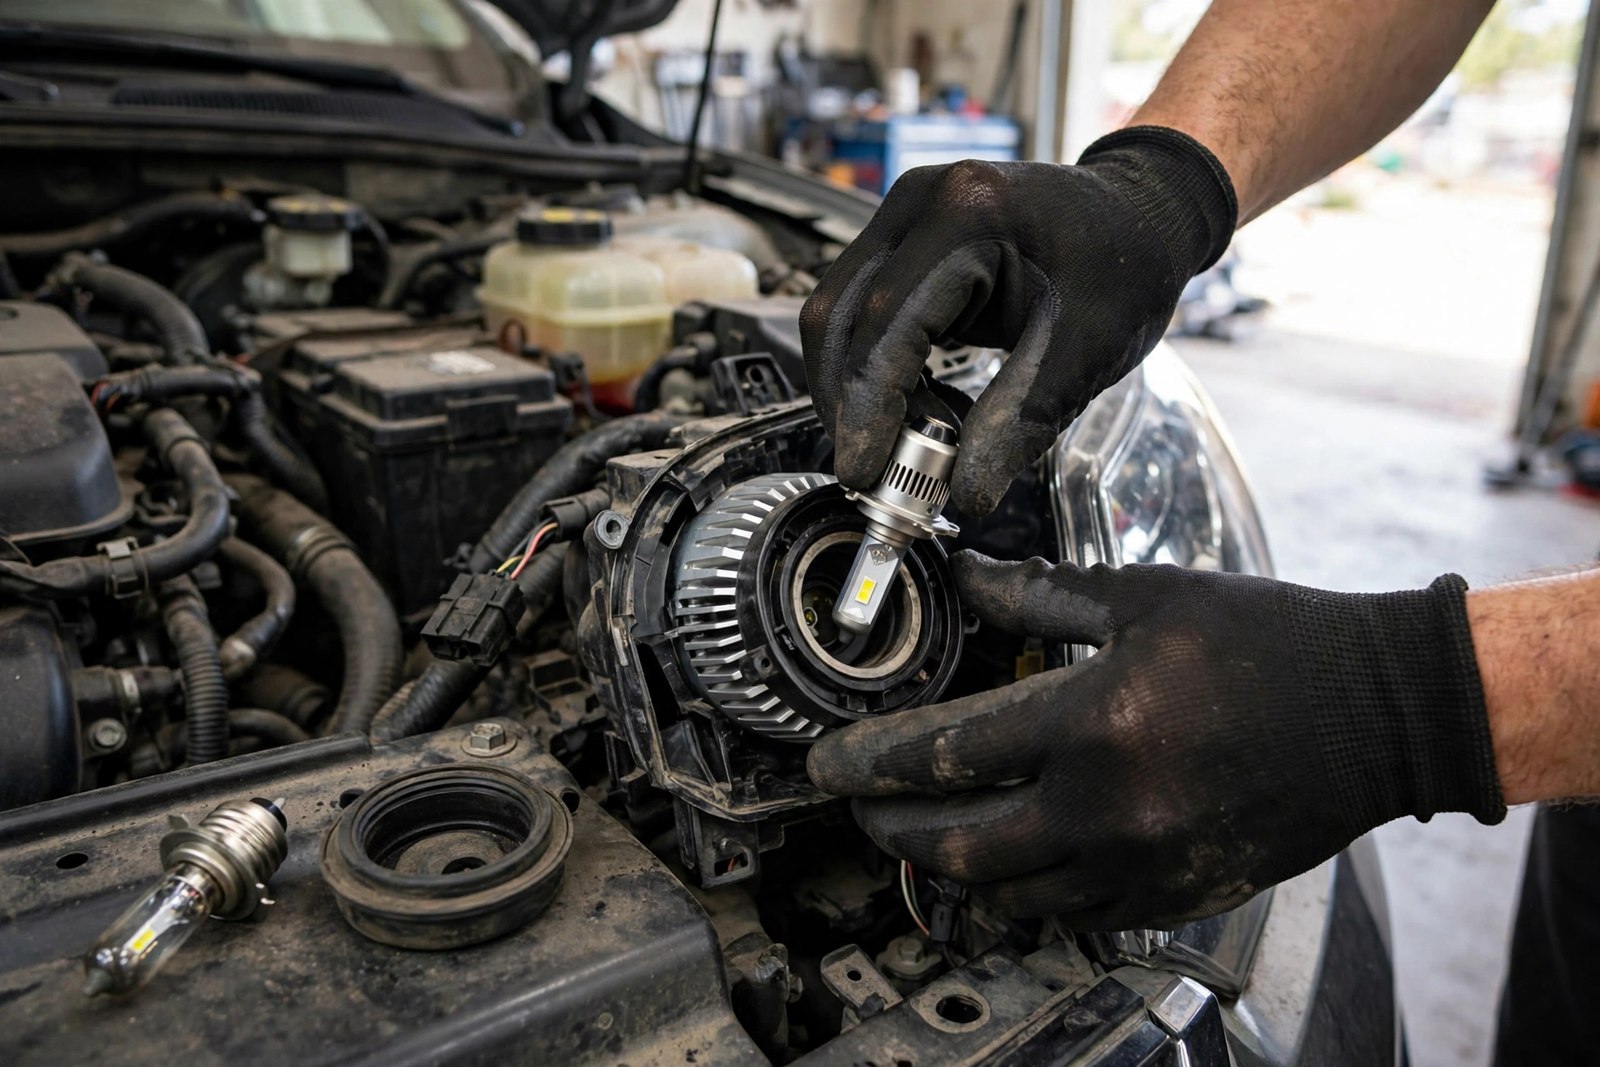
Refit the dust cover and turn it clockwise until it locks, or re-clip it. The cover is part of the seal, not an optional extra. The SEALIGHT X6S combo in the Quick Pick above is the H11 and 9005 pair with a 120-degree beam-pattern claim, and it fits the same way as the halogen bulb it replaces: tabs to notches, clip or ring to lock, connector until it clicks.
SEALIGHT X6S 9005/H11 Bulbs Combo on Amazon: 80,000-lumen claim, 6000K cool white, pack of four covering H11 and 9005.
Step 4: Test the Beam and Aim
Before you close the hood, test the new bulb. Switch the lights on and check the new bulb lights, then switch between low and high beam to confirm both sides behave the same way. If the new bulb does not light, switch off, re-seat the connector, and check the bulb is locked in — a loose connector is the usual cause, not a faulty bulb. If it still does not light, try the bulb on the other side: a bulb that works on one side and not the other points at the car’s wiring or fuse, not the bulb.
Next, check the aim. Park facing a flat wall or garage door, about 25 feet back on level ground, and look at where the beams fall. Both low beams should sit at the same height, with a clean cutoff line — the sharp top edge of the beam — and neither beam should point higher than the other. A headlight replacement does not normally change the aim, because the aim is set by the housing, not the bulb, but a bulb that is not fully seated will throw its beam high or to one side. If the new beam sits higher than the old one, the bulb is not seated: take it out and refit it. If both beams are level and matched, the headlight replacement is done — close the hood and take a short drive after dark to confirm the road ahead is lit evenly.
Headlight Replacement Mistakes to Avoid
The most common headlight replacement mistake is touching the new bulb’s glass with bare hands. Skin oil creates a hot spot that can crack the glass or shorten the bulb’s life, and it is the one mistake that damages a bulb you have just paid for. Gloves cost nothing and prevent it. The second mistake is buying the wrong size: H11 and 9005 look similar at a glance, and a bulb that is almost right is still wrong — it will not seat, and forcing it can break the housing’s notches.
The third mistake is leaving the dust cover off or loose. The cover keeps moisture and dust out of the housing, and a housing that fogs from the inside is a much harder fix than a bulb swap. The fourth is skipping the test: drivers who close the hood without switching the lights on discover a dead bulb on the road, at night, instead of in the driveway. The fifth is replacing only the failed bulb and leaving its twin in place — the old bulb will usually fail soon after, and the two beams will be different brightnesses until it does. And the sixth is ignoring a bulb that keeps failing on the same side: repeated failures on one side point at a wiring, connector, or voltage problem, not at bad luck with bulbs.
LED vs Halogen: What Changes in the Procedure
The procedure in this headlight replacement guide is the same for a halogen bulb and an LED bulb: same housing, same tabs, same connector, same test. What changes is what you are fitting. A halogen bulb is a simple glass capsule with a filament — cheap, proven, and the bulb your car was designed around. An LED bulb is a chip array on a heat sink, often with a small driver and sometimes a cooling fan, and it draws less power while claiming far more light. The LED combos in this guide are all H11 and 9005 pairs, so they fit the same housings a halogen H11 or 9005 fits.
Three things to know before choosing LED. First, the brightness figures on LED listings are claims, not measured output: the FAHREN combo claims 180,000 lumens and the SEALIGHT and AUXITO combos claim 80,000 lumens, and those numbers come from the listings themselves. The AUXITO manual itself lists 40,000 lumens total for the combo, so even the brand’s own figures disagree — treat every lumen figure here as a claim, not a measurement. Our LED headlight bulbs guide compares the LED options in full, and our FAHREN LED headlight bulbs review covers the FAHREN combo on its own. Second, both the SEALIGHT and FAHREN listings position their combos for off-road or fog-light use, not as road headlights — check your local rules before fitting LED bulbs as road headlights, because legality varies by state and by vehicle. Third, LED bulbs with fans need clearance behind the housing for the fan and the driver, and some housings with tight dust covers do not have room: check the space behind your housing before you buy a fanned bulb, and consider a fanless combo like the AUXITO if space is tight.
The FAHREN combo is the brightest listing claim of the three in this guide, in a 1:1 mini size that mimics the shape of the halogen bulb it replaces, which is what makes it a straightforward swap in most housings.
FAHREN 9005/H11 LED Bulbs Combo on Amazon: 180,000-lumen claim, 6500K cool white, 1:1 mini size, pack of four covering H11 and 9005.
When a Headlight Replacement Needs a Pro
Most headlight replacements are driveway jobs, but some cars make the bulb hard to reach. If the bulb sits behind the front bumper, the wheel arch liner, or the washer fluid reservoir, and the owner’s manual says to remove the bumper or the wheel to reach it, that is the line where a pro earns their fee. The same applies if the housing itself is damaged, the lens is cracked, or moisture has already got inside: a new bulb will not fix a housing that leaks, and resealing or replacing a housing is a bigger job than a bulb swap.

Electrical symptoms are the other pro line. A bulb that burns out within days, a fuse that blows every time you switch the lights on, a connector that is melted or corroded, or a bulb that works on one side and not the other after swapping sides — all of these point at the car’s wiring, and chasing a wiring fault without a meter risks more damage than the bulb was worth. A shop can test the circuit in minutes. The same goes for cars with automatic headlight levelling or adaptive headlights: if your car adjusts its own beam height, let a shop handle the bulb, because a levelling system needs the bulb seated exactly right to aim correctly.
Who Should DIY — and Who Should Not
Replace a headlight bulb yourself if: the bulb is reachable from under the hood, you can see the dust cover and the connector, and you have clean gloves and the right bulb size. That covers most cars, and the whole job is four steps with no special tools.
Do it yourself with care if: access is tight and you need to move the battery or the air filter box aside first. Take the photo from Step 1, keep every clip and screw in one place, and put everything back before you test. If a part will not move without force, stop — a broken clip costs more than the bulb.
Do not do it yourself if: the owner’s manual says to remove the bumper or the wheel, the housing is cracked or full of moisture, the connector is melted, or your car has adaptive or self-levelling headlights. In those cases a shop’s fee buys a correct result and a warranty on the work, and a headlight replacement that goes wrong on the road at night costs far more than the shop visit.
The Verdict
A headlight replacement is a four-step job — find the bulb, remove the old one, fit the new one, test it — and on most cars it takes less time than driving to a shop. The keys are the right bulb size, clean gloves, a fully seated bulb, a clicked-in connector, and a dust cover put back properly. Get those five right and the new bulb will light first time and aim where the old one did.
Of the three combos in this guide, the SEALIGHT X6S is the pick for its 120-degree beam-pattern claim and the fan-cooled design, the FAHREN is the pick for the biggest brightness claim in a halogen-shaped body, and the AUXITO is the pick for a fanless install where space behind the housing is tight. Whichever you choose, check the live listing still shows the bulb size and the offer before you order — and if you want the bulb-by-bulb comparison rather than the procedure, our SEALIGHT vs Fahren LED headlight bulbs comparison puts the two combos head to head.
SEALIGHT X6S 9005/H11 Bulbs Combo on Amazon: 80,000-lumen claim, 6000K cool white, pack of four covering H11 and 9005.
Frequently Asked Questions
How long does a headlight replacement take?
Most cars take ten to twenty minutes per side once you know the access route, and the first side is always the slower one because you are learning where the clip and the connector are. Cars that need the battery or the air filter box moved aside take longer, and cars that need the bumper or the wheel removed are not driveway jobs at all — that is the pro line in this guide. Budget half an hour for your first headlight replacement and you will not be rushed.
Do I need tools to replace a headlight bulb?
Usually not. Most headlight bulbs are held by a twist-lock ring or a wire spring clip that opens by hand, and the dust cover twists off by hand too. You need clean gloves more than you need tools. Some cars hide the bulb behind the battery or the air filter box, and moving those aside can need a socket or a screwdriver — check your owner’s manual for the access route on your car before you start, so you are not stuck halfway with the wrong tools.
Can I touch a new headlight bulb with bare hands?
No — handle a new bulb by its base only, and wear clean gloves. The oil on your skin leaves a hot spot on the glass of a halogen bulb that can shorten its life or crack the glass, and the same habit protects the chips and driver of an LED bulb. If you do touch the glass by accident, wipe it with a clean cloth and a little rubbing alcohol before you fit the bulb.
Why does my new headlight bulb not work?
The usual cause is a connector that is not fully clicked in, or a bulb that is not fully seated in its notches — switch off, re-seat both, and test again. If it still does not light, swap the new bulb to the other side: if it works there, the problem is on the first side, usually a blown fuse, a corroded connector, or a wiring fault, and that is a job for a shop. If it does not work on either side, the bulb itself is faulty.
Are LED headlight bulbs road-legal?
It depends on where you drive and which bulb you fit, so check your local rules before you buy. The SEALIGHT and FAHREN listings for the combos in this guide position them for off-road or fog-light use, not as road headlights, and a bulb that is legal in one state can fail inspection in another. A halogen bulb in the size your car was built for is the safe default for road use; an LED bulb is the choice to make only after you have checked the rules for your car and your state.
How do I know which bulb size my car takes?
Check your owner’s manual first — it lists the bulb size for low beam, high beam, and fog lights separately. The size code is also printed on the base of the old bulb, so reading it off before you order is the surest check. H11 is the most common low-beam size and 9005 is the usual high-beam size, but never guess from what is common: buy the exact code your manual or your old bulb gives you, because a bulb that is almost the right size will not seat.