Backup Camera Installation Guide: How to Install a Backup Camera
Reversing into a tight space without a rear view is guesswork, and guesswork is how bumpers get scraped and bikes get missed. A backup camera installation fixes that by putting a live picture of what is behind your car on a screen you can see from the driver seat. Most kits are built for a home install by a careful owner with basic tools: a camera at the back, a cable or a wireless link to the front, and a display on the dashboard or the mirror.
The short answer: a backup camera installation is a realistic afternoon job if you pick the right kit. A wireless solar camera screws to the license plate and needs no wiring at all, a wired camera needs one cable run to the front and a power connection at the reverse light, and a mirror camera replaces your rearview mirror and wires into the fuse box. This guide walks through all three, step by step, using three real kits.
As an Amazon Associate I earn from qualifying purchases.
Quick Pick: Backup Camera Installation Compared
| Pick | Product | Best For | Check Price |
|---|---|---|---|
| Wired Install with License-Plate Camera | eRapta A43 4.3-Inch HD 1080P Backup Camera System | A wired backup camera installation with a license-plate camera and a 4.3-inch monitor, for drivers who want a permanent rear view that switches on with reverse | Check Price on Amazon |
| Wireless Solar Install with Two Cameras | AUTO-VOX Solar Wireless Backup 2 Cameras, Solar3A Plus 7.2-Inch | A wireless backup camera installation with two solar cameras and a 7.2-inch monitor, for drivers who want no wiring and no drilling | Check Price on Amazon |
| Mirror Display Install with Front and Rear Recording | AUTO-VOX V5PRO 1080P 9.35-Inch Rear View Mirror Camera | A mirror backup camera installation that replaces the rearview mirror and records front and rear, for drivers who want the cleanest cabin look | Check Price on Amazon |
Table of Contents
eRapta A43: The Wired Install
The eRapta A43 is the wired kit in this guide, and it is the classic backup camera installation: a license-plate camera at the back, a cable run the length of the car, and a 4.3-inch HD 1080P monitor on the dashboard. The camera is IP69K waterproof with night vision from 8 LED lights and a 6-layer glass lens, and the monitor measures 4.3 by 3.25 by 0.75 inches. The kit includes a 26-foot extension cable, and the manual lists cars, trucks, RVs, tractors, buses, semi-trailers and pickups among the vehicles it suits. It carries a two-year warranty with lifetime technical support, according to the manual.
What makes the A43 useful as the wired example is its two power methods. The manual gives two ways to power the system: plug the monitor into the car charger for a plug-and-play setup, or wire the camera into the reverse-light circuit so the picture appears automatically when reverse is selected. The wired route takes longer — the cable has to run from the rear plate, through the trunk and along the cabin to the dashboard — but the result is a permanent install with no battery to charge and no wireless signal to drop. The cable length and the two power methods are the manual’s figures, not measured results.
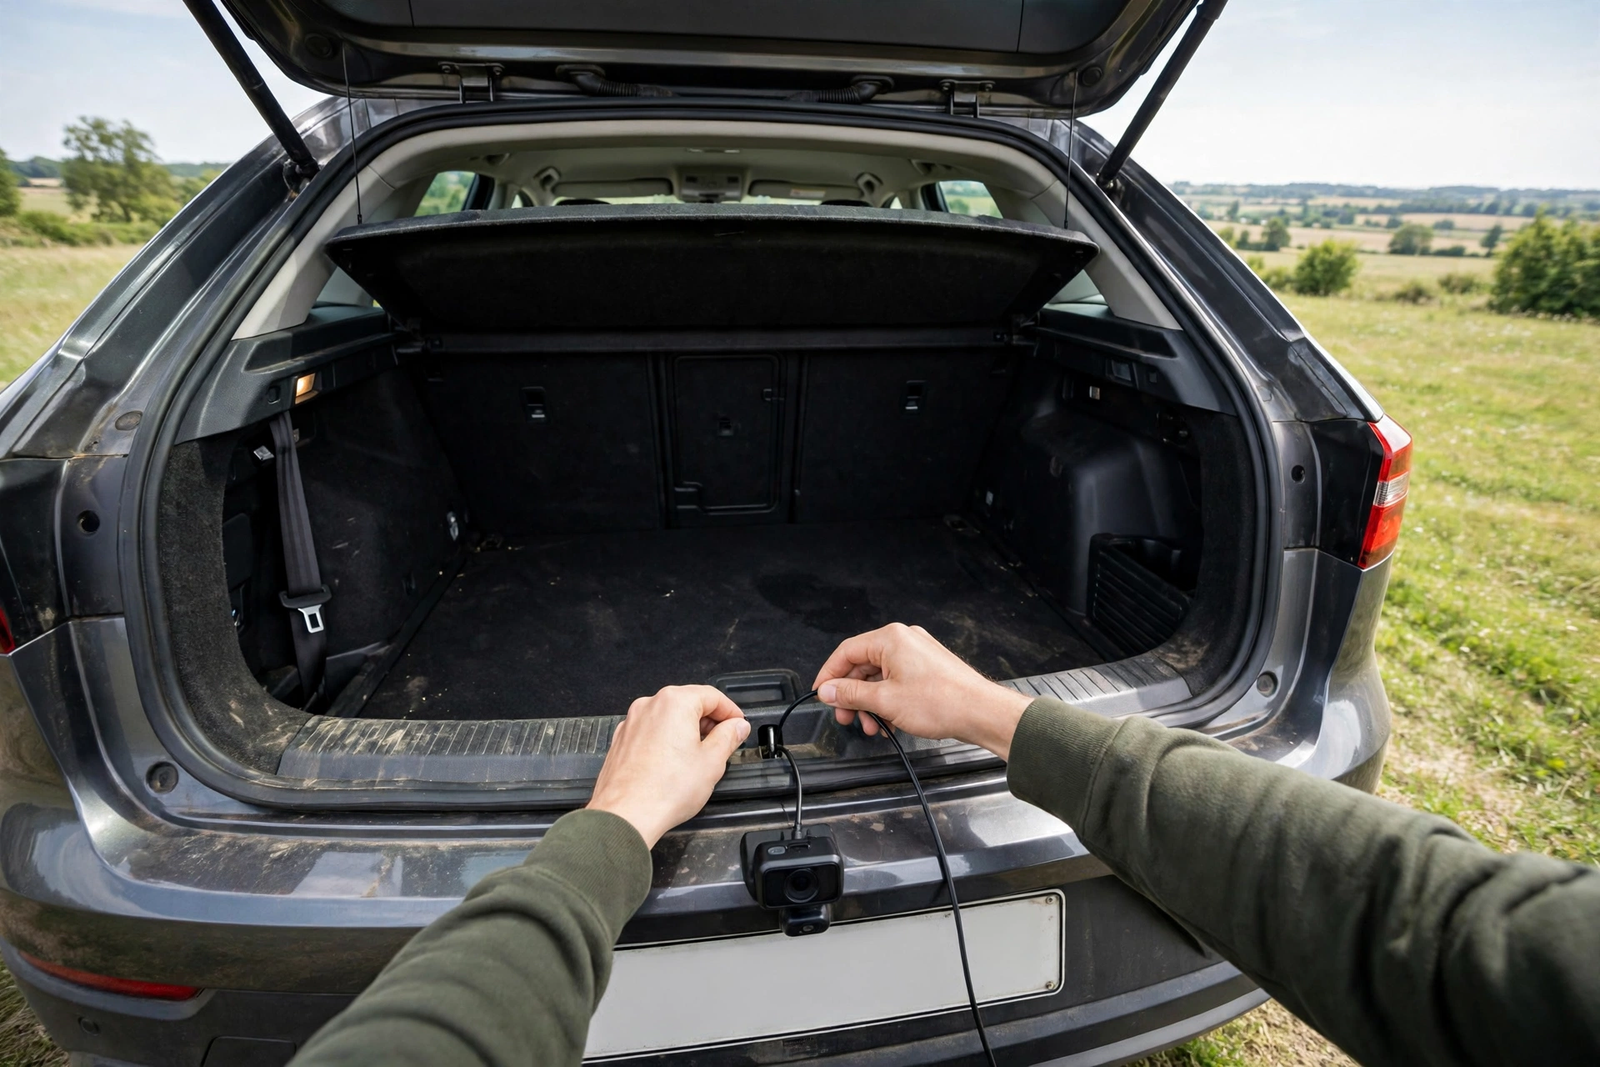
The A43 is the pick in this guide for the driver who wants a wired backup camera installation done once and forgotten about: mount the camera on the plate, run the cable, power it from the reverse light, and the screen comes on every time reverse is selected. It suits a driver who is comfortable removing a few trim panels and working with basic wiring. The 1080P picture, the IP69K rating and the night-vision lights are the listing’s and the manual’s claims, not measured results.
eRapta A43 4.3-Inch HD 1080P Backup Camera System on Amazon: wired backup camera installation kit, license-plate camera, IP69K waterproof with night vision, 4.3-inch HD 1080P monitor, 26-foot extension cable, two power methods, two-year warranty per the manual. Confirm the listing shows a live offer before ordering.
Buy the eRapta A43 if: you want a wired backup camera installation with a permanent reverse-light power connection and a dedicated monitor. Confirm the listing shows a live offer first.
AUTO-VOX Solar3A Plus: The Wireless Install
The AUTO-VOX Solar3A Plus is the wireless kit in this guide, and it is the fastest backup camera installation of the three: the listing describes a 2-minute DIY install with no wiring, no drilling and no connection to the car lights. It is a two-camera system with a 7.2-inch 1080P DVR monitor, dual-channel stable signal, super night vision and an IP69K waterproof rating, for cars, trucks, trailers, SUVs and vans. The solar panel is built into the backup camera, the box holds the battery camera, an installation tool, the monitor and a power cable, and the model was first listed on Amazon on May 21, 2025.
The install is simple because there is almost nothing to install. The camera mounts to the license plate with a screwdriver, the monitor sits on the dashboard and plugs into the car charger, and the two talk to each other wirelessly. The trade-off is the one every wireless kit shares: the camera runs on its own battery with solar assistance, so it needs sunlight and an occasional recharge, and the wireless picture can be affected by interference in a way a cable never is. The 2-minute install, the dual-channel signal and the IP69K rating are the listing’s claims, not measured results. Our best wireless backup camera for cars roundup compares more wireless kits in this style.
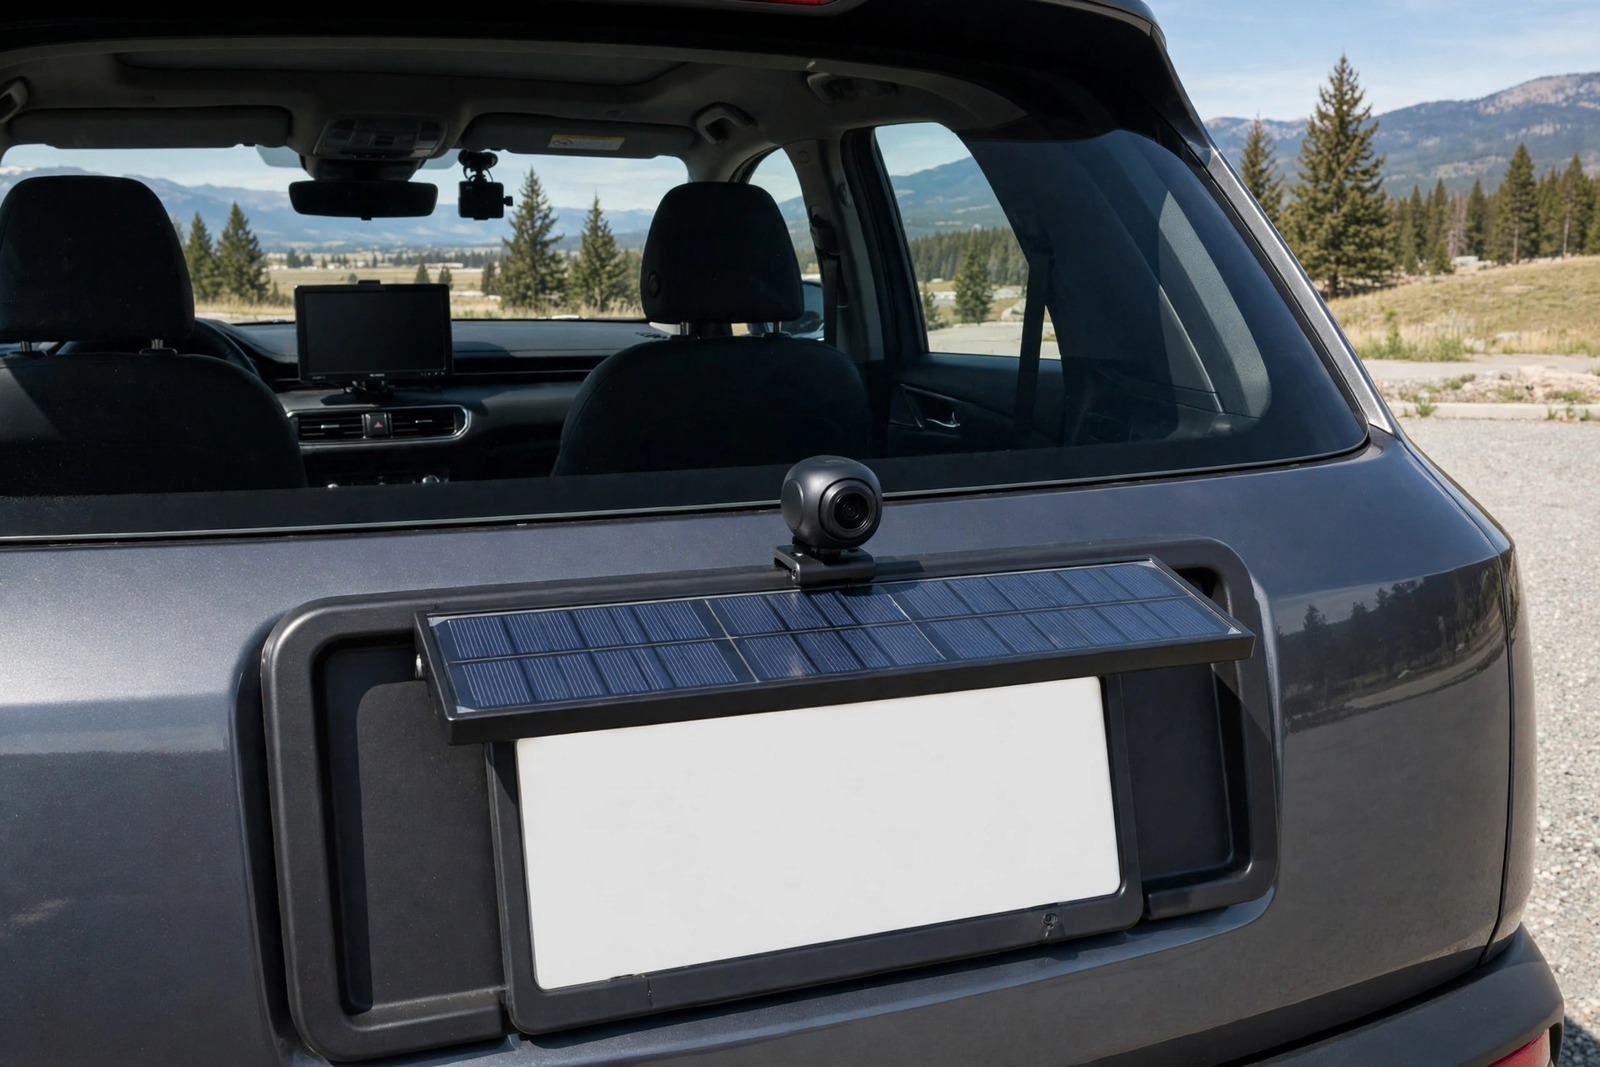
The Solar3A Plus is the pick in this guide for the driver who wants a backup camera installation without touching the car’s wiring at all: screw the camera to the plate, set the monitor on the dash, pair them, and reverse. The second camera is the bonus — it can watch a trailer hitch or a blind spot while the first watches the rear. It suits a driver who rents, who switches cars, or who simply does not want to pull trim panels off.
AUTO-VOX Solar Wireless Backup 2 Cameras, Solar3A Plus 7.2-Inch on Amazon: wireless backup camera installation kit, two solar cameras, 7.2-inch 1080P DVR monitor, dual-channel stable signal, IP69K waterproof, 2-minute DIY install per the listing, first available May 21, 2025. Confirm the listing shows a live offer before ordering.
Buy the AUTO-VOX Solar3A Plus if: you want a wireless backup camera installation with no wiring, no drilling and a second camera for a hitch or blind spot. Confirm the listing shows a live offer first.
AUTO-VOX V5PRO: The Mirror Display Install
The AUTO-VOX V5PRO is the mirror kit in this guide, and it is the most involved backup camera installation of the three — and the one that looks the most factory-fitted when it is done. It is a 9.35-inch full-laminated ultrathin touchscreen mirror dash camera with dual 1080P front and rear recording, a Sony IMX307 sensor, GPS, loop recording, parking monitoring and anti-glare, and it replaces the original rearview mirror rather than strapping over it. The manual says it connects to the car’s fuse box with the included hardwire kit, and that its four adapters fit 90 percent of cars — check yours before ordering.
The mirror install trades dashboard clutter for fuse-box work. The mirror itself mounts in place of the original, the rear camera cable runs to the back of the car like a wired kit, and power comes from the fuse box through the hardwire kit, which also enables the parking monitoring. That is more work than a solar camera and more wiring knowledge than a plug-in monitor, but the result is a display that is always in the driver’s eyeline and a dash cam that records both directions. The dual 1080P recording, the Sony sensor and the parking monitoring are the listing’s and the manual’s claims, not measured results. Our AUTO-VOX backup camera review covers this mirror camera in full.
The V5PRO is the pick in this guide for the driver who wants the display built into the mirror and a dash cam at the same time: one device that shows the reversing picture, records the road ahead and behind, and leaves the dashboard clear. It suits a driver who is comfortable with fuse-box wiring, or who is willing to pay a shop for that one step. It carries an 18-month warranty, according to the manual.
AUTO-VOX V5PRO 1080P 9.35-Inch Rear View Mirror Camera on Amazon: mirror backup camera installation kit, 9.35-inch touchscreen mirror, dual 1080P front and rear recording, Sony IMX307 sensor, GPS, parking monitoring, hardwire kit to the fuse box, 18-month warranty per the manual. Confirm the listing shows a live offer before ordering.
Buy the AUTO-VOX V5PRO if: you want a mirror backup camera installation that also records front and rear, and you are comfortable with fuse-box wiring. Confirm the listing shows a live offer first.
Wired vs Wireless: Which Backup Camera Installation Fits Your Car
Wired and wireless are the two shapes a backup camera installation takes, and the choice decides how long the job takes and how permanent the result is. A wired kit like the eRapta A43 runs a cable from the camera to the monitor, draws power from the reverse light or the fuse box, and gives a picture that does not depend on a battery or a radio link. A wireless kit like the AUTO-VOX Solar3A Plus sends the picture over a radio link and powers the camera from its own battery with solar help, so there is no cable to run — but the camera needs charging and the signal can be interrupted. A mirror kit like the V5PRO is wired too, but its display is the mirror itself, so there is no separate screen on the dashboard.
Choose wired if the car is yours to keep, you want the picture on every single reverse without thinking about a battery, and you are willing to spend an afternoon running a cable. Choose wireless if you want the camera fitted in minutes, you do not want to touch the car’s wiring, or the car is a rental or a lease. Choose a mirror display if you hate dashboard clutter and want a dash cam as well. Our best backup cameras roundup compares more wired and wireless kits side by side, and the longer wireless kits with big monitors suit trucks and trailers — our Furrion backup camera review covers a wireless system built for an RV.
Before You Start: Tools and Safety
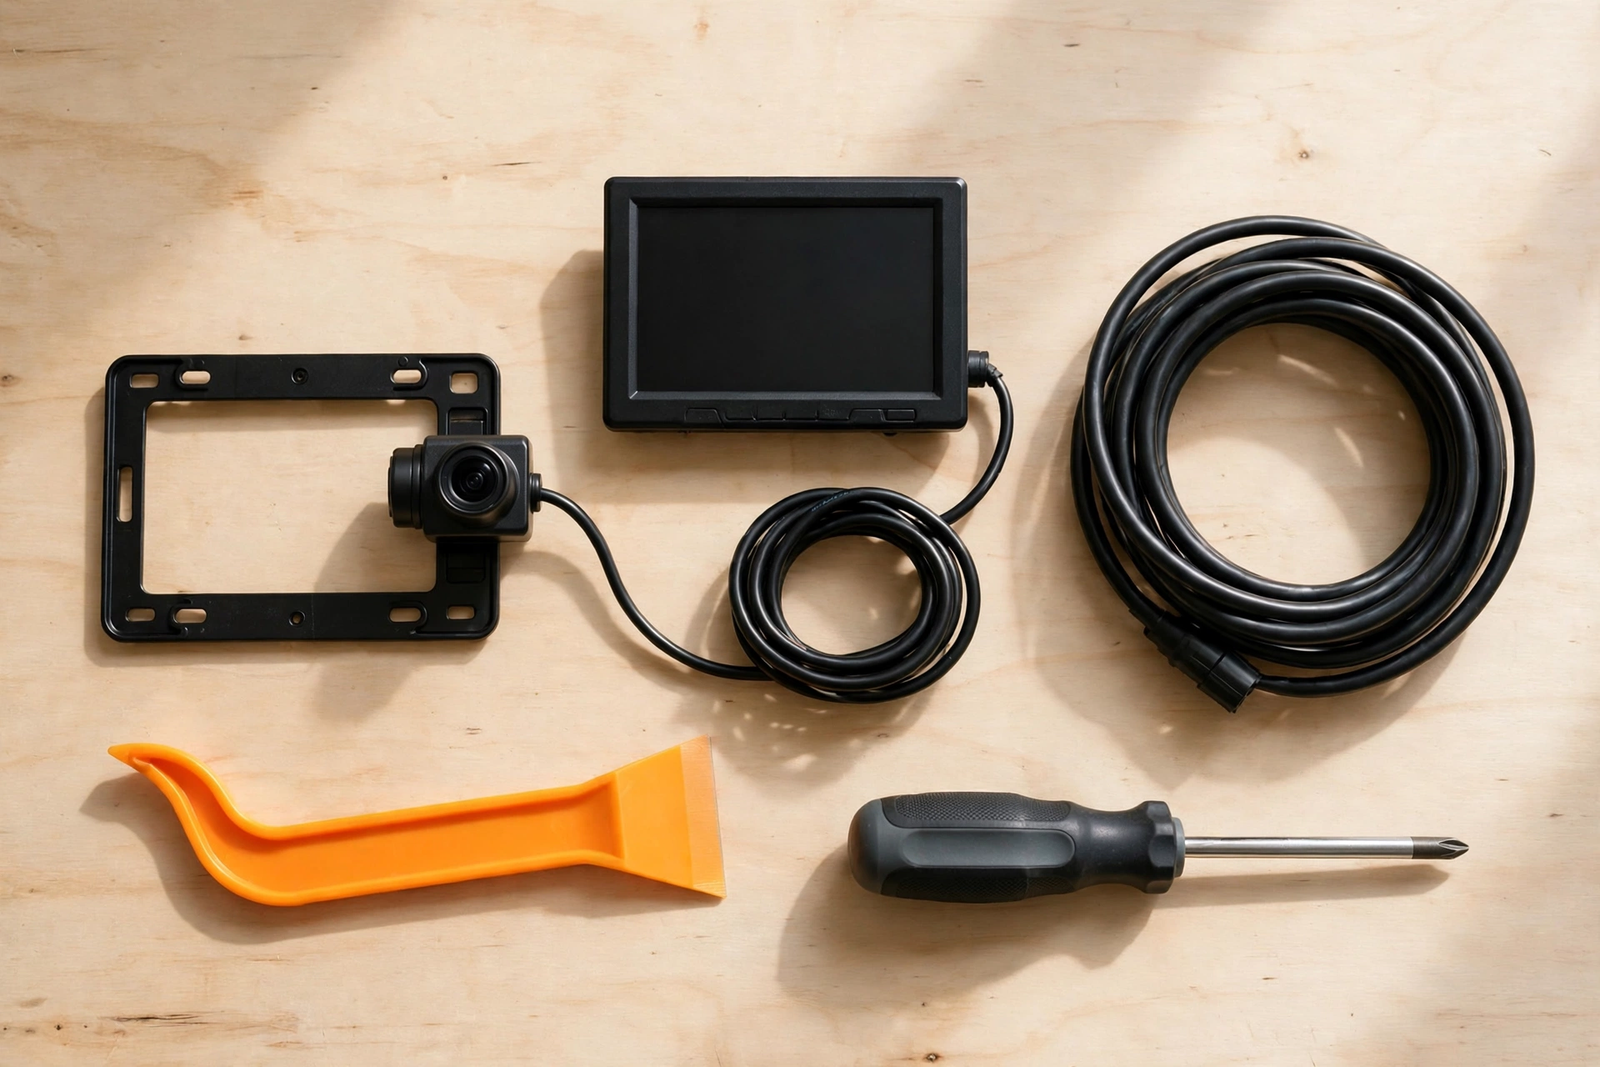
Most backup camera installation kits need only basic tools: a screwdriver, a trim removal tool or a plastic pry tool, electrical tape or heat-shrink, wire connectors or solder, and a multimeter or test light to identify the reverse-light wire. A drill is needed only if the camera mounts with screws into the body rather than the license plate, and a fuse tap is needed only if the kit powers from the fuse box, like the V5PRO. Read the kit’s manual first — the wire colors and the connector shapes in it are the ones that match the kit in the box, and no guide can list them for every kit.
Safety comes before any wiring. Disconnect the negative battery terminal before cutting or tapping any wire, and reconnect it only when the connections are insulated and tucked away. Work with the ignition off, and never cut or tap wiring near the airbags — the airbag wiring runs through the pillars and the steering column, so keep cables clear of those areas and never splice into a yellow-wrapped harness, which is the usual marker for airbag circuits. If the car has a factory reversing camera, parking sensors or a powered tailgate, check the manual for how the new kit interacts with them before starting. If any step feels beyond your tools or your confidence, stop and book a professional — a wrong connection can blow a fuse or damage a control module, and that costs more than the install would have.
Backup Camera Installation Step by Step: Mount, Route and Power
Step 1 is mounting the camera. The most common spot is above or around the license plate, centered on the car and high enough to see the ground behind the bumper. Screw the camera to the plate frame or the bracket the kit provides, and tighten it so it cannot vibrate loose. Some cars have a factory camera position in the tailgate handle or the trim — if yours does, use the kit’s bracket there instead of drilling a new hole.
Step 2 is routing the cable. On a wired kit, feed the camera cable through the existing rubber grommet where the license-plate light or tailgate wiring already passes into the car, rather than drilling a new hole. Run it along the trunk or tailgate trim, under the door sills and up to the dashboard, tucking it behind panels with the trim tool and keeping it away from seat rails, hinges and anything that moves. Leave a little slack at the camera end so the tailgate can open without pulling the cable tight. On a wireless kit this step is skipped entirely — there is no cable to run.
Step 3 is power. For a camera that switches on with reverse, find the reverse-light wire at the rear light cluster with a multimeter or test light: it is the wire that shows voltage only when reverse is selected. Connect the camera’s positive wire to it and the negative wire to a clean ground point on the body, insulate both joins, and fit the inline fuse the kit provides if it has one. Wire colors vary by make, model and year, so check your car’s wiring diagram or manual rather than trusting a color from a video about a different car. On cars with LED reverse lights, the circuit may pulse the power and make the picture flicker — if that happens, check the kit manual for a filter or relay before assuming the camera is faulty. For a mirror kit like the V5PRO, power comes from the fuse box through the hardwire kit instead: follow the manual’s fuse choice — a constant-power fuse if you want the parking monitoring to work while parked, or an ignition-live fuse if you do not — fit the fuse tap on that fuse, and ground to a body bolt. For a wireless solar camera, power is the battery and the solar panel — charge the camera fully before the first use, then let the panel top it up.
Step 4 is the monitor. A dashboard monitor mounts with its suction cup or adhesive base where it does not block the road view or the airbags, and its power cable runs to the car charger socket or the fuse box. A mirror display replaces the original mirror on its bracket. A head-unit display needs the kit’s video cable plugged into the head unit’s camera input, which only works if the head unit has one — check before buying. Connect the video cable, or pair the wireless camera with the monitor following the kit’s pairing steps, then move on to testing.
Display Options: Mirror, Screen or Head Unit
The display is where the picture lands, and there are three places it can go. A separate screen, like the eRapta’s 4.3-inch monitor or the Solar3A’s 7.2-inch monitor, sits on the dashboard and shows the reversing picture when reverse is selected. It is the simplest option and the easiest to move between cars, but it adds a device to the dashboard. A mirror display, like the V5PRO’s 9.35-inch touchscreen, replaces the rearview mirror and shows the camera picture in the mirror itself, so there is nothing extra on the dash — but the mirror is also a dash cam, and it needs the fuse-box connection. A head-unit display sends the picture to the car’s own screen, which looks the most integrated, but it only works if the head unit has a camera input, and fitting it often means removing the head unit.

Pick the display by how much of the car you want to touch. A separate screen needs no changes to the car at all. A mirror display needs the mirror bracket and the fuse-box power. A head-unit display needs the head unit removed and a compatible input, so it is the one most often left to a professional. Whichever you pick, the screen should be readable in daylight without the driver leaning forward, and it should not sit where an airbag deploys.
Aiming and Testing: Getting the Picture Right
Once everything is connected, test before putting the trim back. Reconnect the battery, turn the ignition on, select reverse, and check the picture appears. If the screen stays dark, check the power connection and the video connection first — a loose ground is the most common cause — then check the fuse. If the picture is upside down, most kits have a mirror-image or flip setting in the monitor menu or on the camera itself; check the manual rather than remounting the camera.
Aiming is done on flat ground with the car in reverse and the parking brake on. The camera should show the ground just behind the bumper at the bottom of the screen and the horizon or the top of the car behind at the top, with the guide lines — if the kit has them — lining up with the car’s actual width. Park a box or a cone a few feet behind the bumper and check it appears where the screen says it is. A camera aimed too high shows the sky and misses a low obstacle; a camera aimed too low shows only the bumper. Tighten the camera once the aim is right, then refit the trim panels, checking no cable is pinched as each panel goes back.
Who Should Install a Backup Camera Themselves — and Who Should Not
Install it yourself if: you are fitting a wireless camera or a wired license-plate kit, you own a screwdriver and a trim tool, and you are comfortable finding one wire with a test light. The Solar3A Plus is the easiest start — no wiring at all — and the eRapta A43 is the next step up, with one cable and one power connection.
Install it yourself with care if: the kit powers from the fuse box, like the V5PRO, or the display goes into the head unit. Both jobs are doable, but a wrong fuse choice or a scratched head-unit trim is easy to get wrong, so read the manual twice and set aside a full afternoon.
Do not install it yourself if: the car has a factory camera or parking system you need to keep working, the wiring near the camera is damaged, or you are not comfortable disconnecting the battery and making insulated connections. A professional install costs less than repairing a damaged control module.
The Verdict
A backup camera installation is one of the most useful DIY jobs on a car, because the result is used every single day. The wireless AUTO-VOX Solar3A Plus is the pick for the fastest job — screw it to the plate and drive. The wired eRapta A43 is the pick for a permanent install that never needs charging. And the AUTO-VOX V5PRO mirror camera is the pick for the driver who wants the reversing picture in the mirror and a dash cam recording both directions.
Whichever kit you choose, the steps are the same: mount the camera centered and high, route the cable through the existing grommet, power it from the reverse light or the fuse box with the battery disconnected, and test the picture before refitting the trim. Aim the camera on flat ground, check the guide lines against a real object, and keep the cables clear of airbags and moving parts. Confirm the listing shows a live offer before ordering, and check the kit’s manual for the wire colors and connectors that match your car.
Frequently Asked Questions
Can I install a backup camera myself?
Yes, in most cases. A wireless camera like the AUTO-VOX Solar3A Plus mounts to the license plate with a screwdriver and needs no wiring at all, and a wired license-plate kit like the eRapta A43 needs one cable run to the front and one power connection at the reverse light. A mirror camera like the V5PRO is harder because it wires into the fuse box. If you are not comfortable disconnecting the battery and making insulated wire connections, book a professional for the wired steps.
Do I need to connect the camera to the reverse light?
It depends on the kit. A wired camera is usually powered from the reverse-light circuit, so the picture appears automatically whenever reverse is selected — that is how the eRapta A43 is normally wired. A wireless solar camera powers itself from its battery and solar panel, so it needs no connection to the reverse light. A mirror camera like the V5PRO powers from the fuse box through its hardwire kit instead, which also enables its parking monitoring.
Where is the best place to mount a backup camera?
Centered above or around the license plate, high enough to see the ground behind the bumper. That spot is centered on the car, so the guide lines match the car’s actual width, and it is the position the license-plate kits in this guide are built for. A camera mounted off to one side makes the picture misleading, and a camera mounted too low shows only the bumper. Do not mount it where the tailgate or trunk lid will hit it when it opens.
How do I aim a backup camera?
Park on flat ground, put the car in reverse with the parking brake on, and look at the picture. The ground just behind the bumper should sit at the bottom of the screen and the horizon at the top. Put a box or a cone a few feet behind the bumper and check it appears where the screen says it is. If the picture is upside down, use the mirror-image or flip setting in the monitor menu or on the camera itself. Tighten the camera once the aim is right.
Will a backup camera work with my car’s screen?
Only if your car’s head unit has a camera input. Many factory head units do, and many aftermarket ones do, but a head unit without a camera input cannot show the picture no matter how the camera is wired. Check the head unit’s manual or specifications before buying a kit for it. If there is no camera input, use the separate monitor or the mirror display that comes with the kit instead.
Do wireless backup cameras need charging?
Yes. A wireless camera runs on its own battery, and the solar panel on a camera like the AUTO-VOX Solar3A Plus tops the battery up in sunlight — it does not replace charging entirely. Charge the camera fully before the first use, and expect to recharge it from time to time, more often in winter or if the car is parked in shade. A wired camera has no battery to charge, because it draws power from the car.