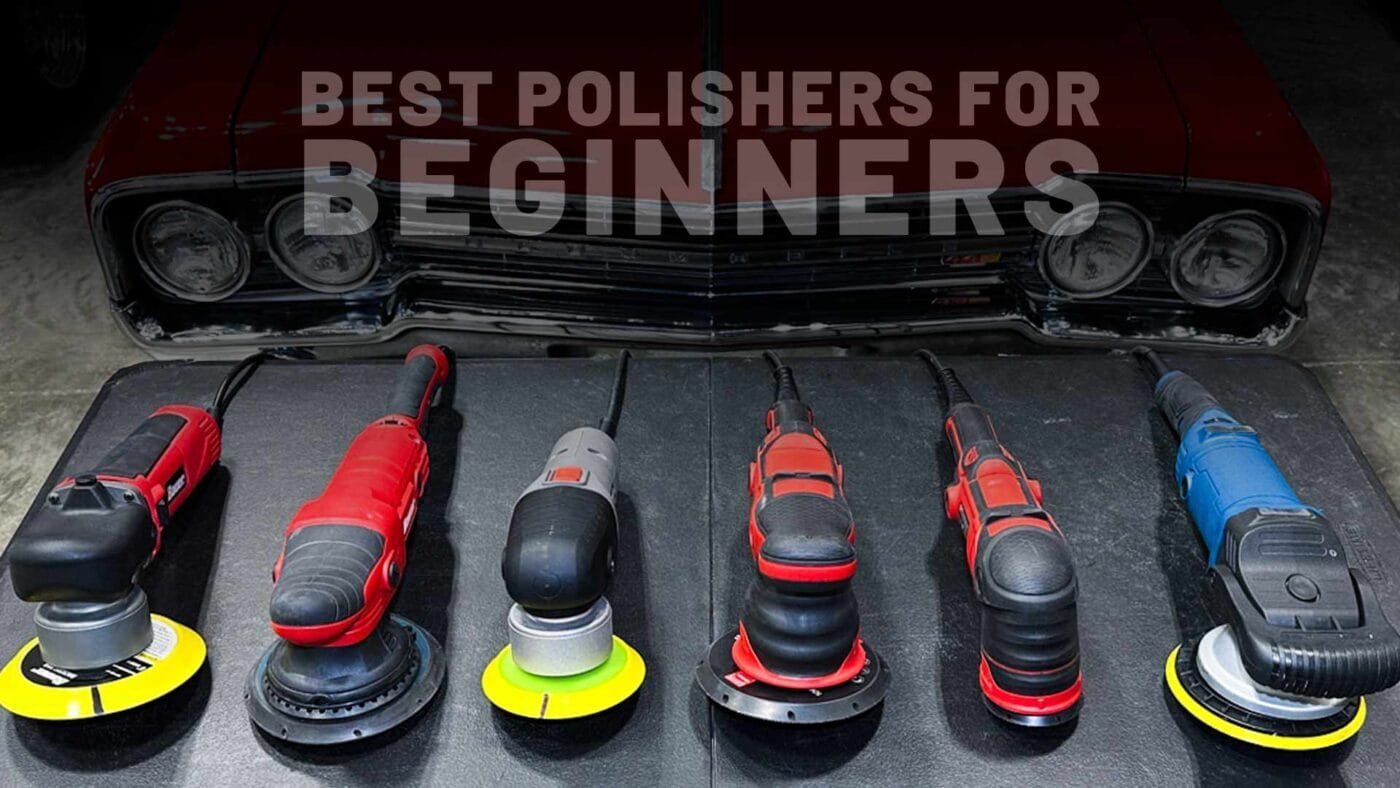
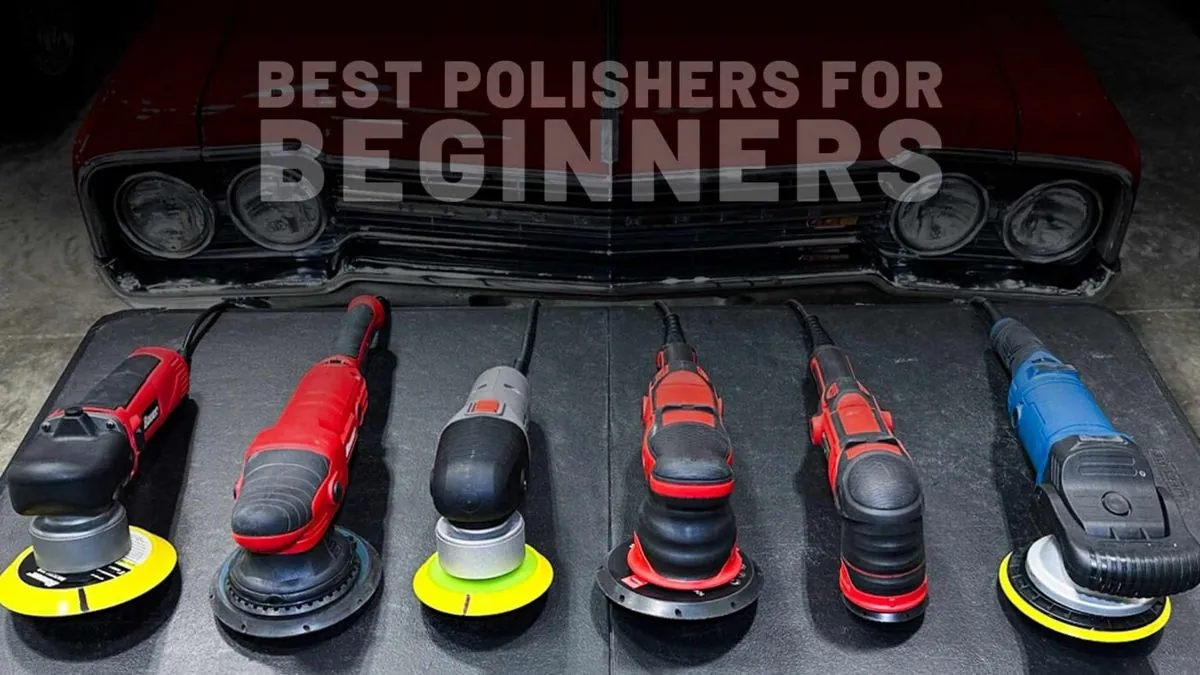
The best cordless car polisher for beginners is a 15mm dual-action model with brushless motor technology and variable speed control between 2,000 and 5,000 OPM. This guide covers the specific features that prevent paint damage, correct operating speeds for different pad sizes, and maintenance steps that extend tool life beyond manufacturer estimates.
Why beginners need a cordless polisher
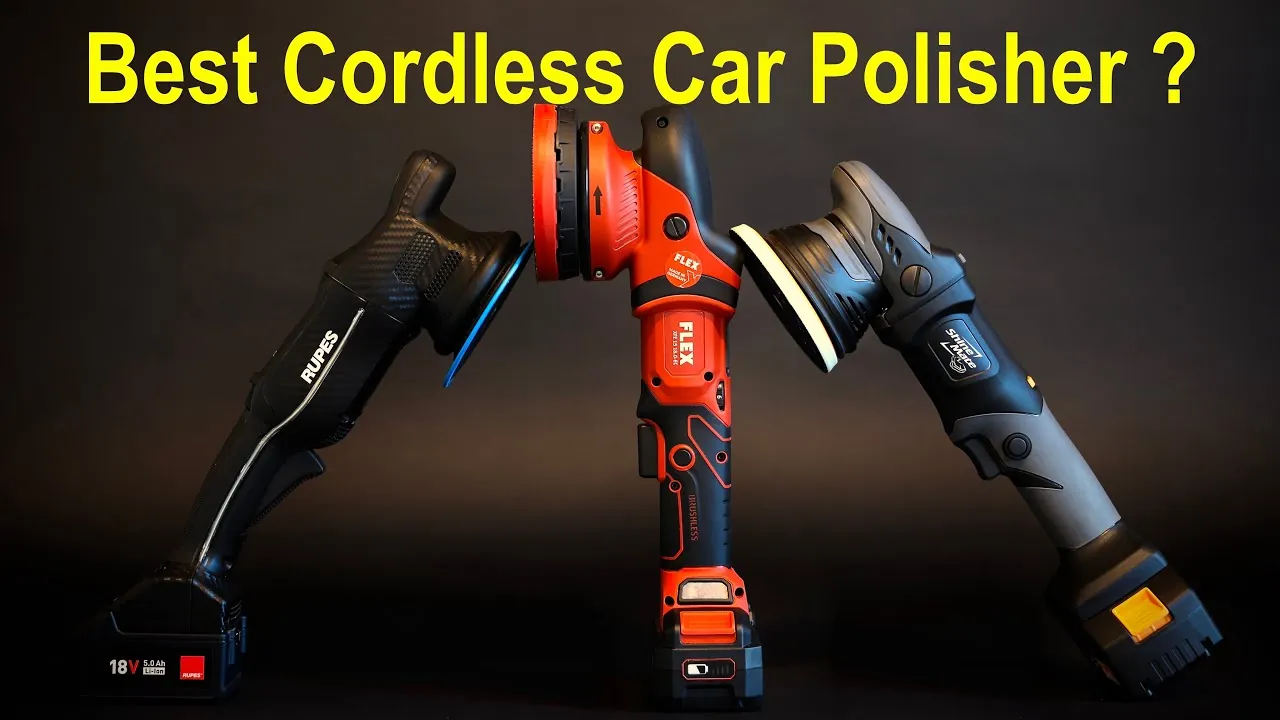
A dual-action polisher spreads heat evenly across paint. This random orbit motion significantly reduces the risk of burning through clear coat compared to rotary polishers, making it safer for learners. Beginners often mistake high speed for better results, but excessive RPMs actually reduce cutting power and increase vibration fatigue.
These tools use 4Ah to 8Ah lithium-ion batteries. Brushless motors maintain torque as voltage drops, unlike brushed motors.
Safe polishing steps for new users
Follow this sequence to avoid swirl marks and holograms on fresh paintwork:
- Wash and decontaminate paint using iron remover and clay bar before polishing
- Attach 6-inch foam pad to backing plate with hook-and-loop system centered
- Apply four pea-sized dots of compound directly onto pad surface
- Set speed dial to position 2 or 2,500 OPM for spreading product
- Increase to speed 4 or 3,500 OPM for correction work over 2×2 foot sections
- Use overlapping passes with light pressure letting machine weight do work
- Wipe residue with clean microfiber towel after each section completes
- Inspect finish under LED inspection light before moving forward
If paint feels hot to touch, stop immediately and let surface cool; if vibration increases suddenly, check pad alignment or bearing wear.
Polisher settings by task type
Different jobs need specific speed and pad combinations to work correctly without damage.
| Situation | What to use | How long | What to watch for |
|---|---|---|---|
| Light swirl removal | 6″ foam pad, speed 3-4 | 30-45 min/battery | Pad staying flat, no edge digging |
| Heavy defect correction | 5″ wool pad, speed 4-5 | 20-30 min/battery | Heat buildup, product drying too fast |
| Wax or sealant application | 6″ soft foam, speed 2-3 | 45-60 min/battery | Even coverage, no sling-off |
| Tight area polishing | 3″ spot pad, speed 3-4 | 45-60 min/battery | Vibration increase, motor strain |
| Glass polishing | Dedicated glass pad, speed 3 | 30-40 min/battery | Slurry consistency, no dry spots |
Battery runtime assumes moderate pressure and fresh pads; worn pads or heavy pressure cuts time by 30%.
Technique details that prevent damage
Prime pads with product before touching paint to prevent dry-spot burns.
Pad condition is critical. Clean pads between uses to remove embedded contaminants. Store pads flat in sealed containers away from UV exposure to maintain foam integrity and adhesive strength over months of storage.
Troubleshooting common polishing issues
Match symptoms to causes using this diagnostic reference when results disappoint.
| What you notice | What it usually means | What to do first |
|---|---|---|
| Swirl marks worse after polishing | Pad contaminated or wrong compound | Switch to clean pad, verify product match |
| Holograms under sunlight | Tilting pad edges, excessive speed | Keep pad flat, drop one speed setting |
| Product slinging everywhere | Too much product, speed too high | Reduce amount, start at lowest speed |
| Battery dies mid-panel | Cold weather or aged cells | Warm batteries indoors, check manufacture date |
| Uneven finish texture | Pad not centered, backing plate loose | Re-center pad, tighten retaining nut |
If problems persist after these fixes, the tool may need professional service; contact authorized repair centers listed in your owner’s manual rather than attempting internal repairs yourself.
Safety standards and electrical rules
Cordless polishers must meet UL 62841-2-4 safety standards.
Lithium-ion batteries require UN38.3 transport certification documentation when shipping by air or ground carriers. Check your local environmental agency website for approved battery disposal locations near you.
Battery and pad maintenance routines
Store batteries at 40-60% charge between 50-77°F to maximize lifespan.
Clean backing plates with isopropyl alcohol monthly to remove compound buildup that causes pad imbalance. Record purchase dates and service intervals in your tool log to track warranty coverage and predict replacement timing accurately.
When corded or DA sanders fit better
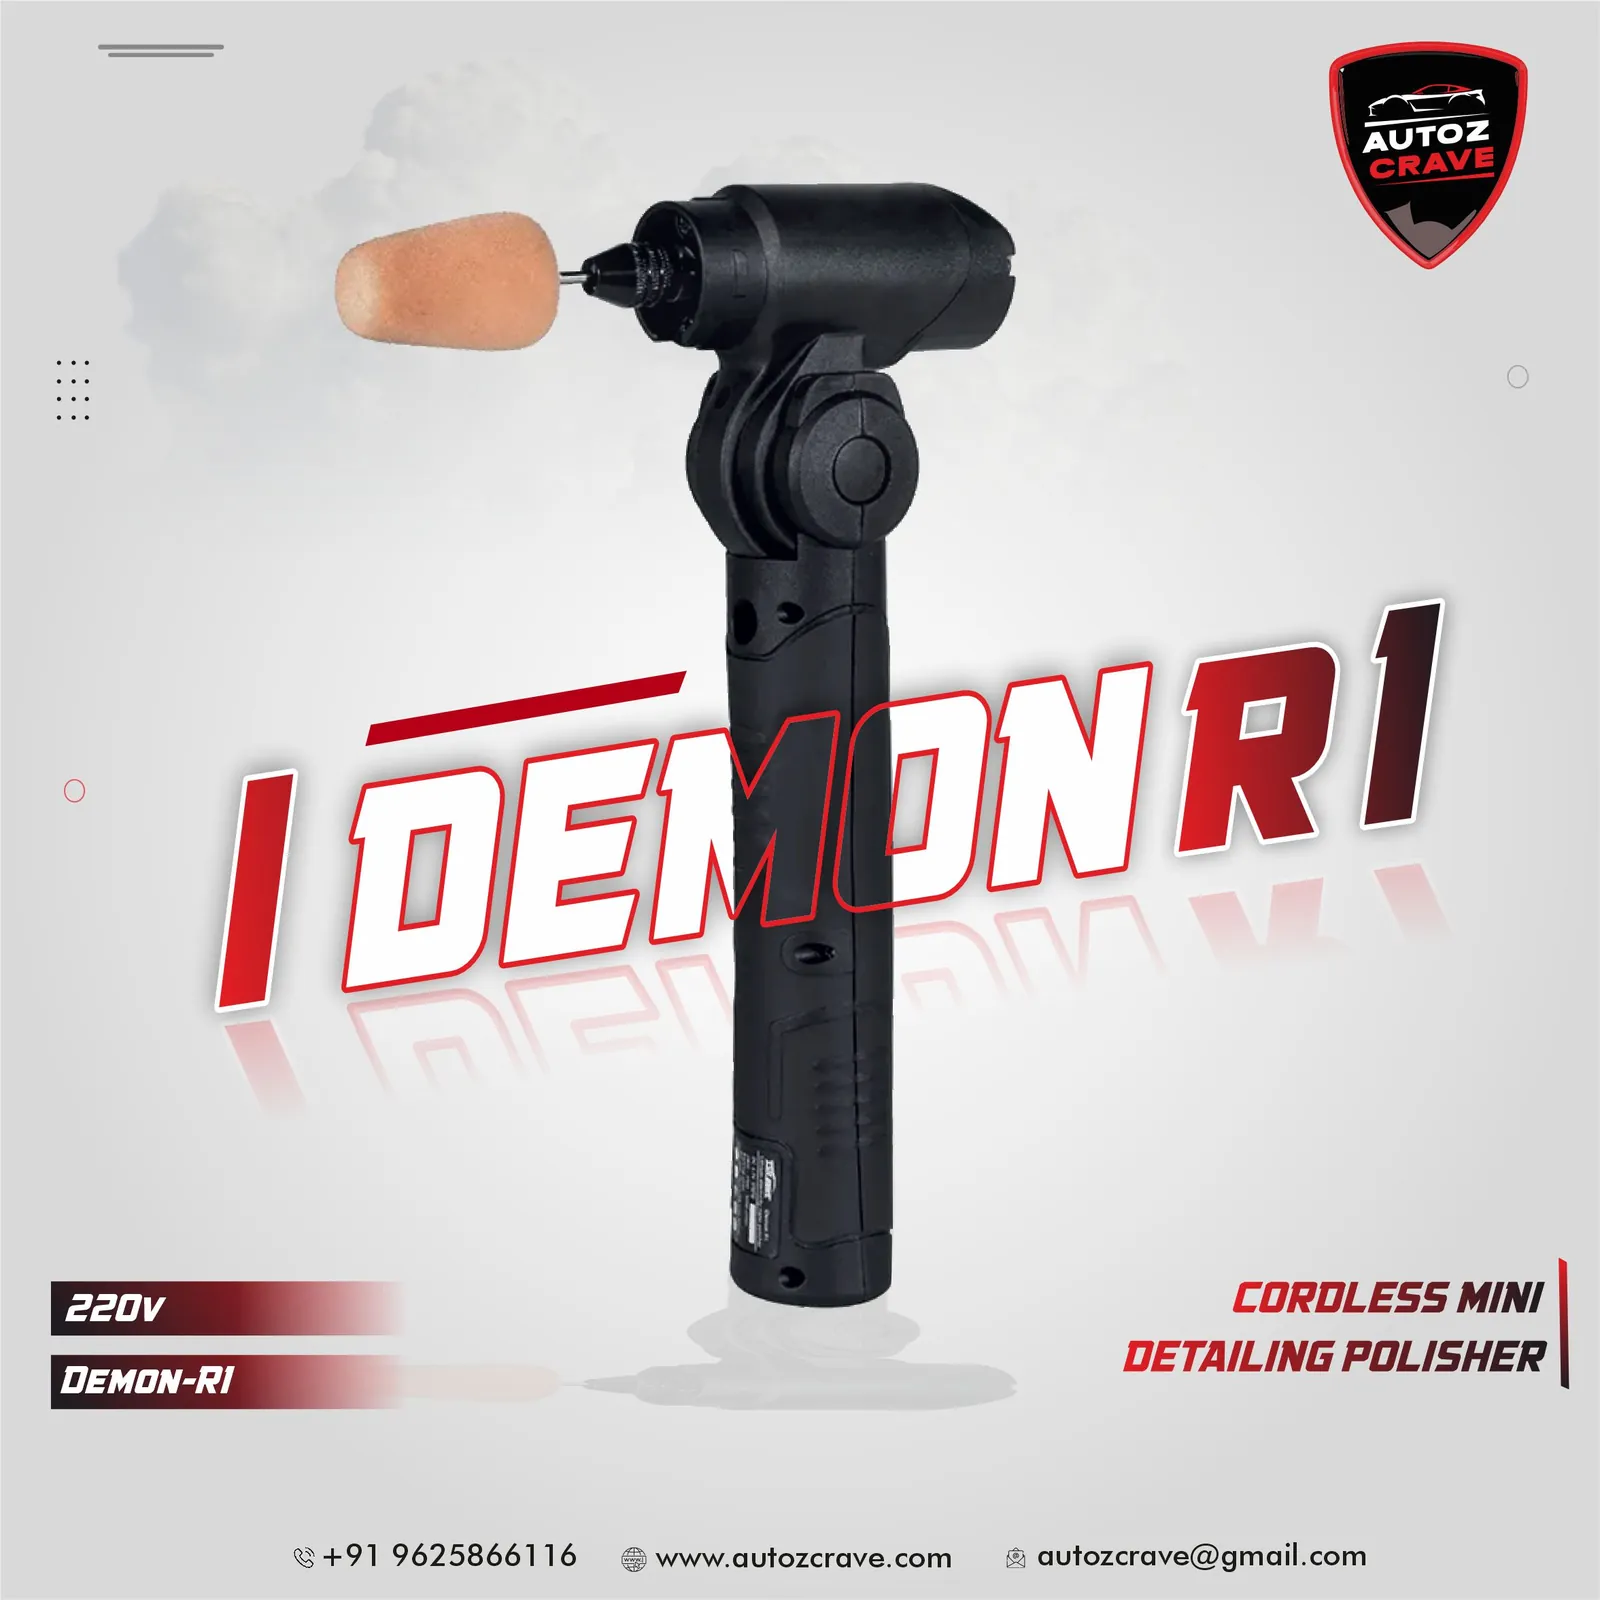
Cordless polishers aren’t ideal for full vehicle corrections exceeding three hours of continuous work.
Forced-rotation sanders suit severe defects like deep scratches. Rent or borrow a forced-rotation sander for initial defect removal, then switch back to your cordless polisher for refining and finishing stages.
Frequently asked questions
Can I use a cordless polisher on matte paint?
No, polishing matte paint creates shiny spots that can’t be reversed without repainting. Consult your vehicle manufacturer’s care guidelines before applying any abrasive products to matte or satin paintwork.
How long does a polisher battery last per charge?
Most 4Ah batteries provide 30-45 minutes under moderate load at speed setting 3-4. Check your battery’s amp-hour rating and test under your actual working conditions to establish realistic expectations.
Why does my polisher vibrate excessively?
Excessive vibration usually indicates an unbalanced pad, misaligned backing plate or worn internal bearings. If vibration continues with a known-good pad combination, the tool needs professional bearing replacement or gearbox service.
Is it safe to polish headlights with a car polisher?
Yes, but only with dedicated headlight restoration pads and compounds at speed 2-3 maximum. Use UV-resistant sealant immediately after polishing to prevent yellowing recurrence within weeks.
What happens if I drop my polisher while running?
Immediately disconnect the battery and inspect the housing, spindle and backing plate for cracks or bends. Have dropped tools inspected by authorized service technicians before resuming use regardless of visible damage severity.
How often should I replace foam polishing pads?
Replace foam pads every 10-15 vehicle panels during correction work or when compression exceeds 50% of original thickness.
Conclusion
Choosing the right tool matters less than developing consistent technique through practice on test panels before touching valuable paintwork. Skill matters more than specs, so master fundamentals before upgrading.